Signing In and Finding Your Way
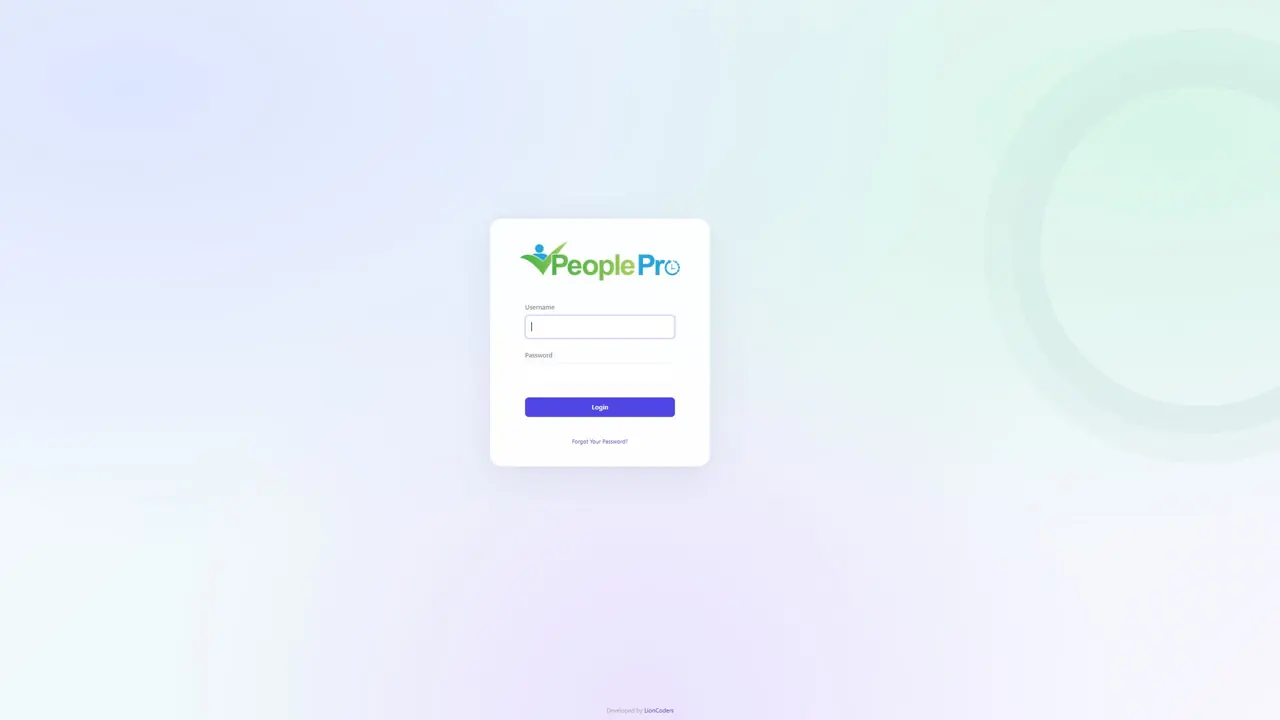
Open your PeoplePro website followed by /login.
Last updated: 16 November 2026 · Product version: not specified in the supplied guide
Sign in
Open your PeoplePro website followed by /login. Enter the username and password provided by your administrator and submit the sign-in form. Check the spelling and letter case if the credentials are rejected. Once signed in, PeoplePro opens the area available to your account. When you finish using a shared computer, sign out through the account menu.
Dashboard overview
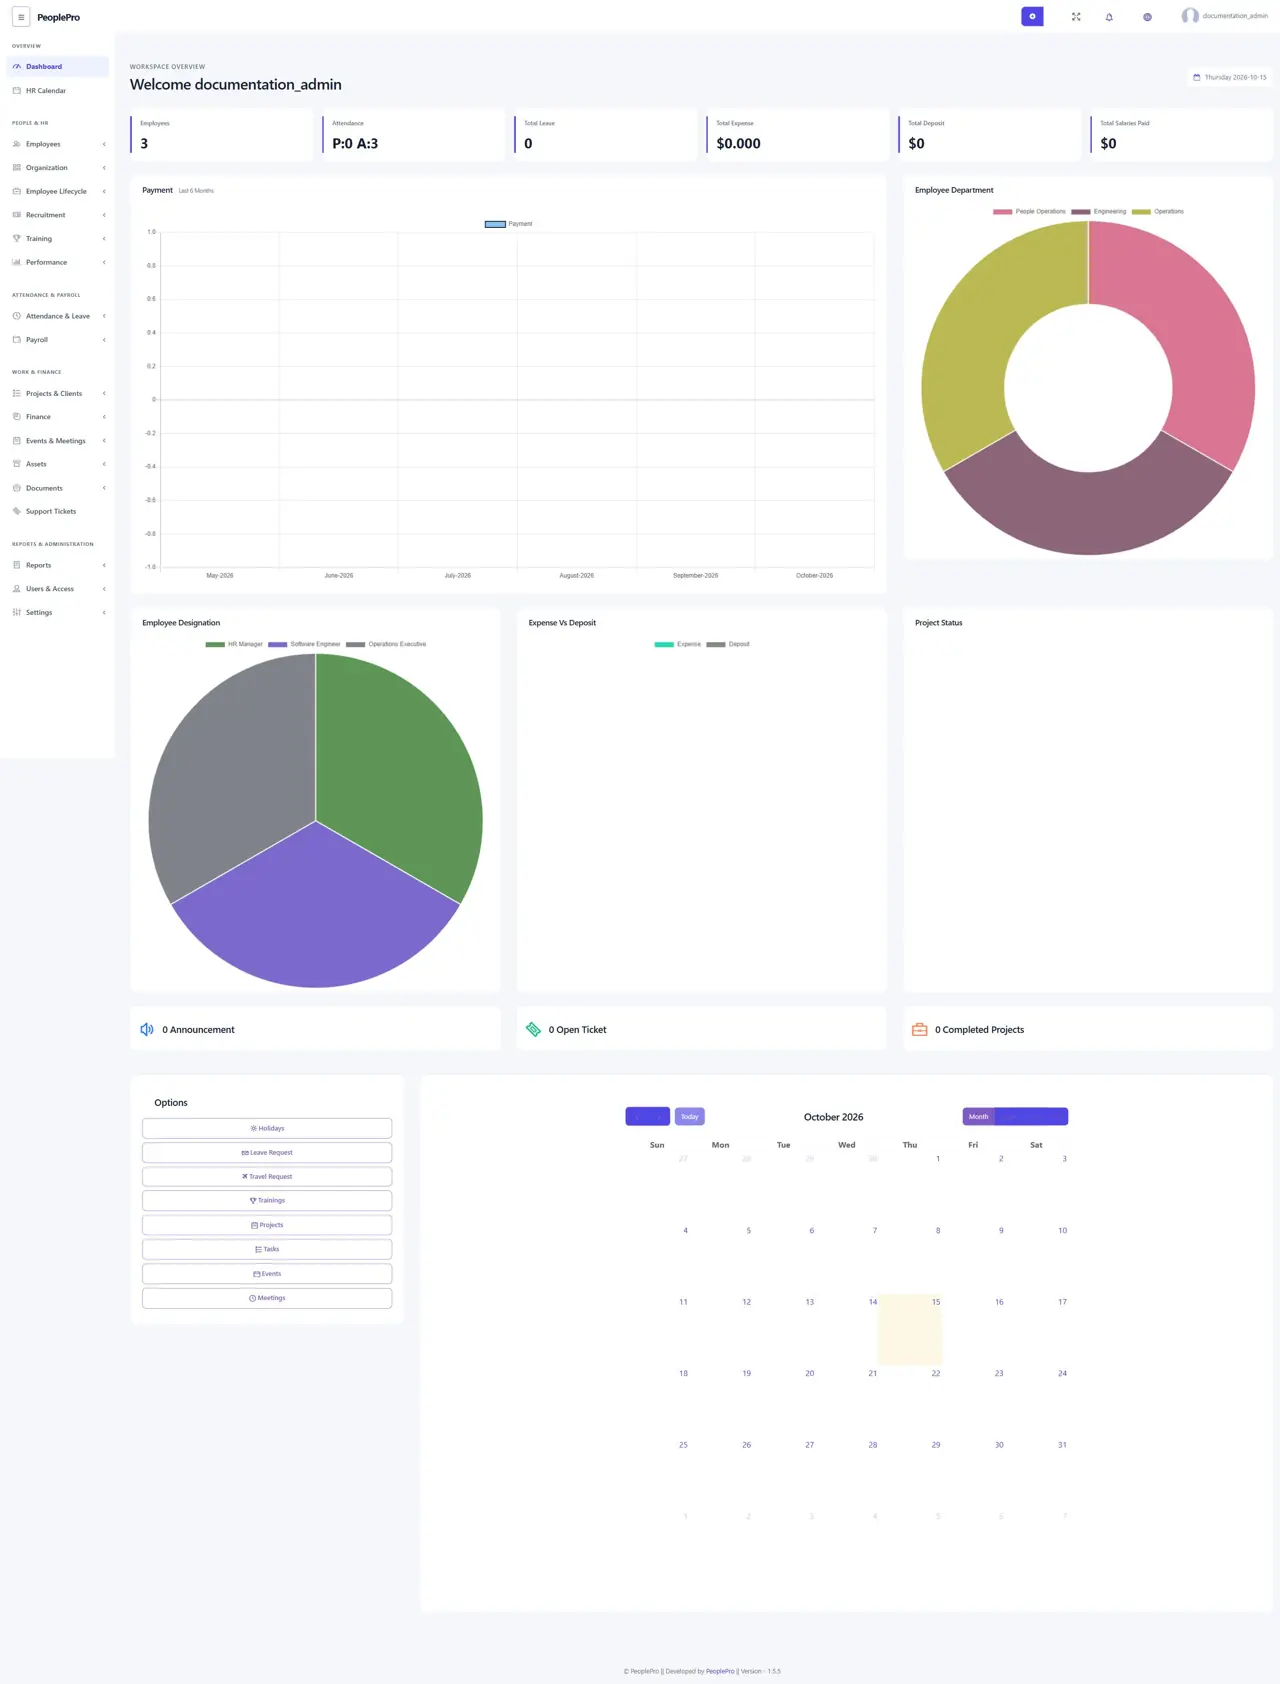
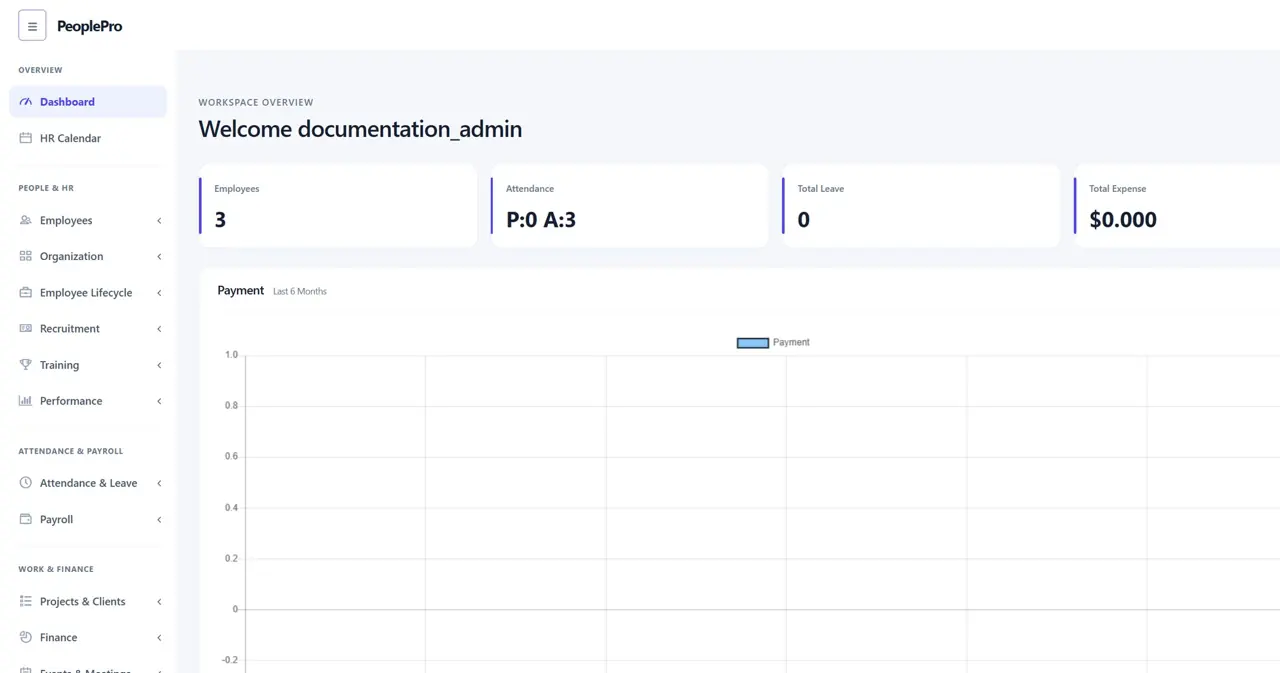
The dashboard gives you a quick view of your workspace: employee totals, today's attendance, leave, income, expenses, salary payments and charts. Announcement, ticket and project summaries help you see what needs attention. The calendar brings scheduled activities together. These figures depend on the records and permissions available to your account.
Sidebar and quick-create menu
Use the sidebar groups to move between People & HR, Attendance & Payroll, Work & Finance, and Reports & Administration. Select a group to expand its pages. The plus button in the top bar provides shortcuts for records you have permission to create. These shortcuts open the same forms available from the relevant module.
Search, filters and table controls
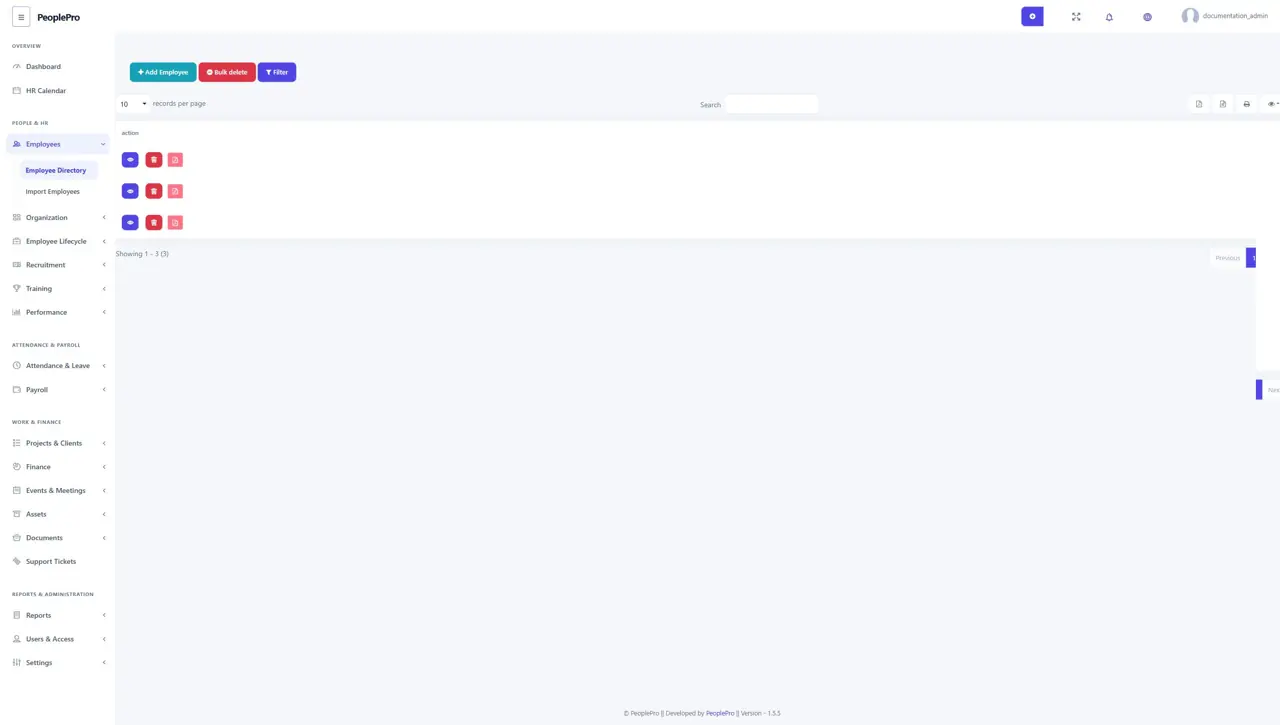
Use the Search box above a list to find matching records. Where a Filter button is available, open it to narrow the list by company, department, designation or another relevant field. Change records per page to see more rows. Use the export, print and column visibility controls offered by that table. Row action buttons apply to one record; bulk actions apply to the selected checkboxes. Actions appear according to your permission for each operation: being allowed to edit does not automatically allow deletion. On a small screen, scroll a wide table horizontally; its Action column stays available at the edge. If you previously hid a column, use Column visibility to show it again.
Your profile and account information
Open Profile from the account menu to review your own employee information. The tabs separate personal details, profile picture, salary information, leave, HR records, assigned work and payslips. The fields and tabs you can change depend on your permissions. After editing an available form, use its Save button and check the confirmation before leaving.
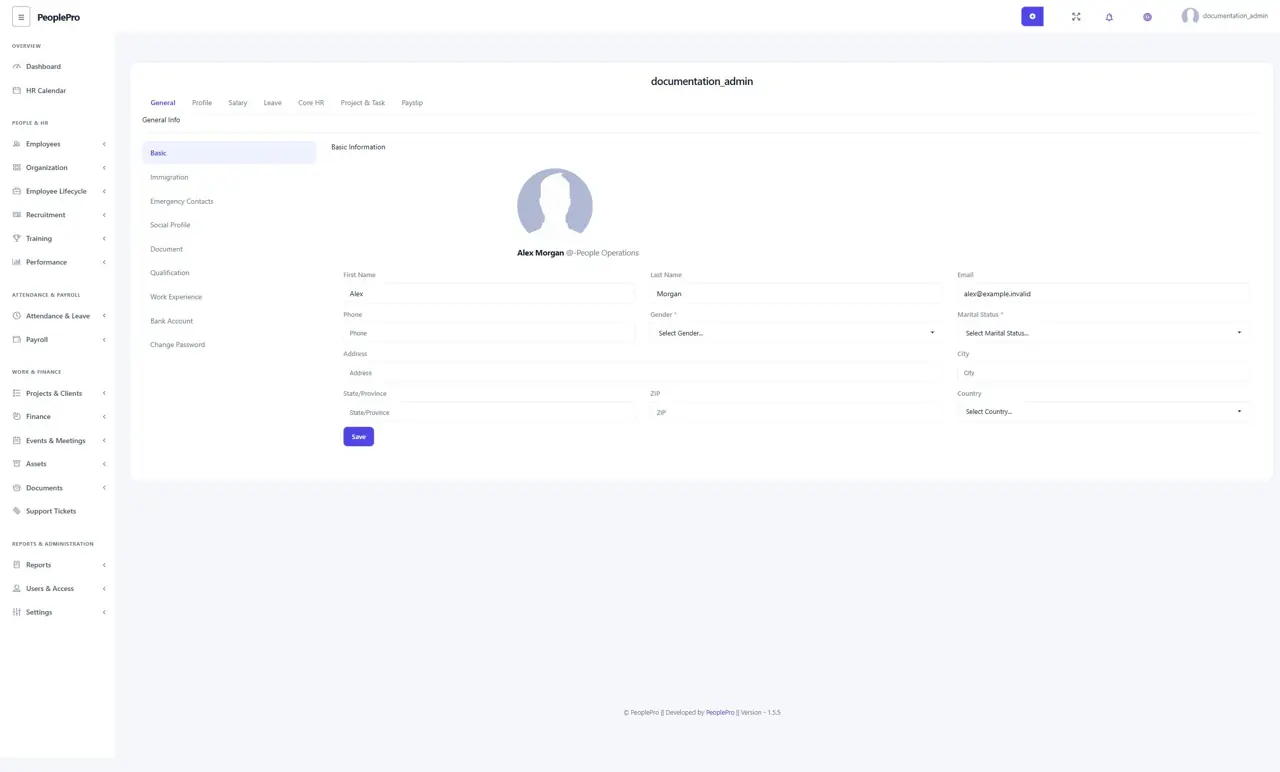
Profile for an account without an employee record
An account that is not linked to an employee opens a simpler profile form. Open Profile from the account menu to change the profile image, first name, last name, username, email and contact details offered. Save the profile form after reviewing the changes. The separate Change Password form is optional and is used only when you intend to replace the password.
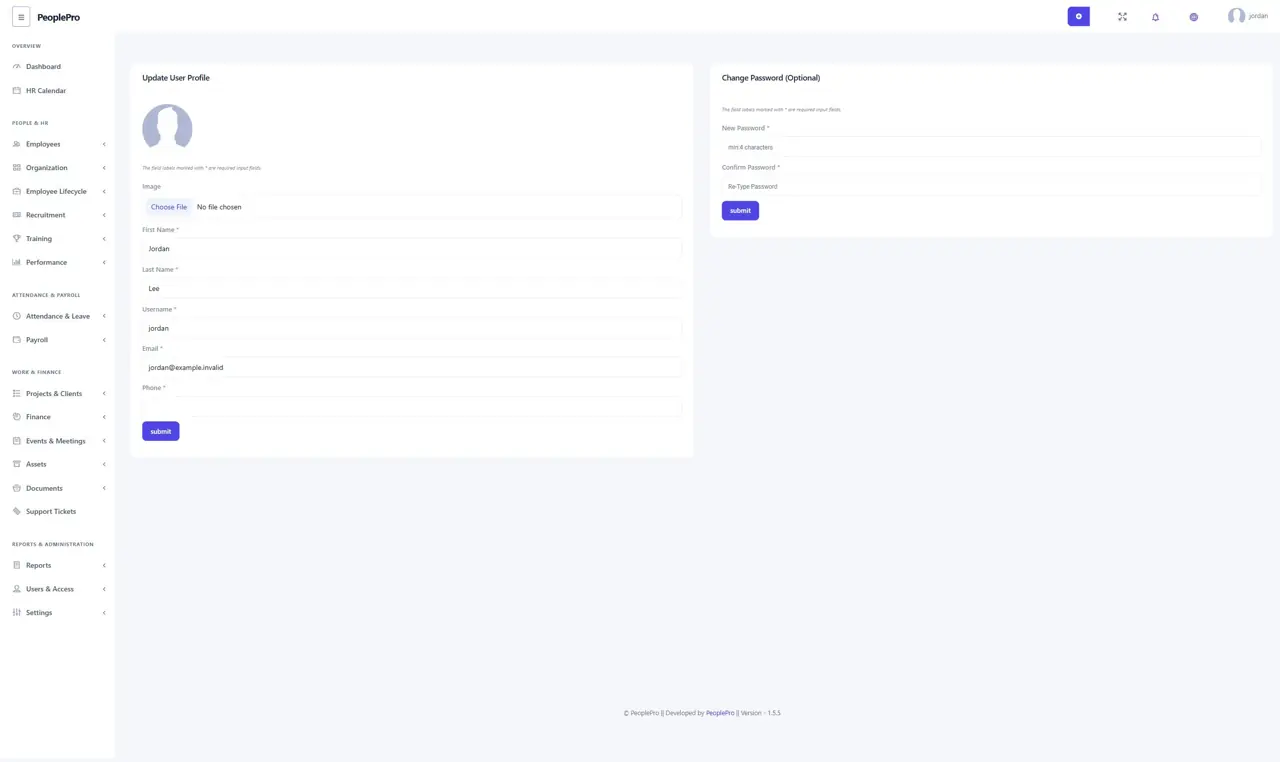
Change your own password
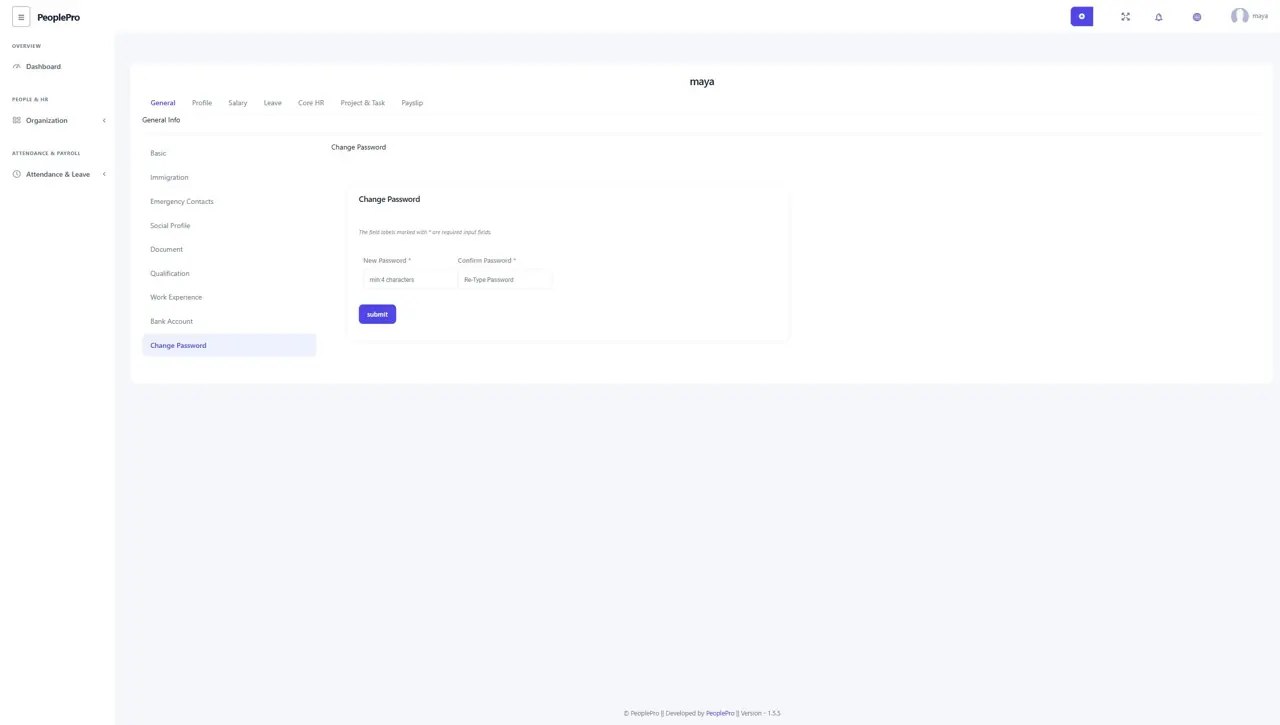
For an employee account, open Profile > General > Change Password. Enter a new password and repeat it in Confirm Password, then submit that form. Accounts with a simpler user or client profile have a separate Change Password form on their profile page. Use a strong, unique password and keep both entries identical. This guide shows the empty form; no password change was performed for the screenshots.
Forgot your password?
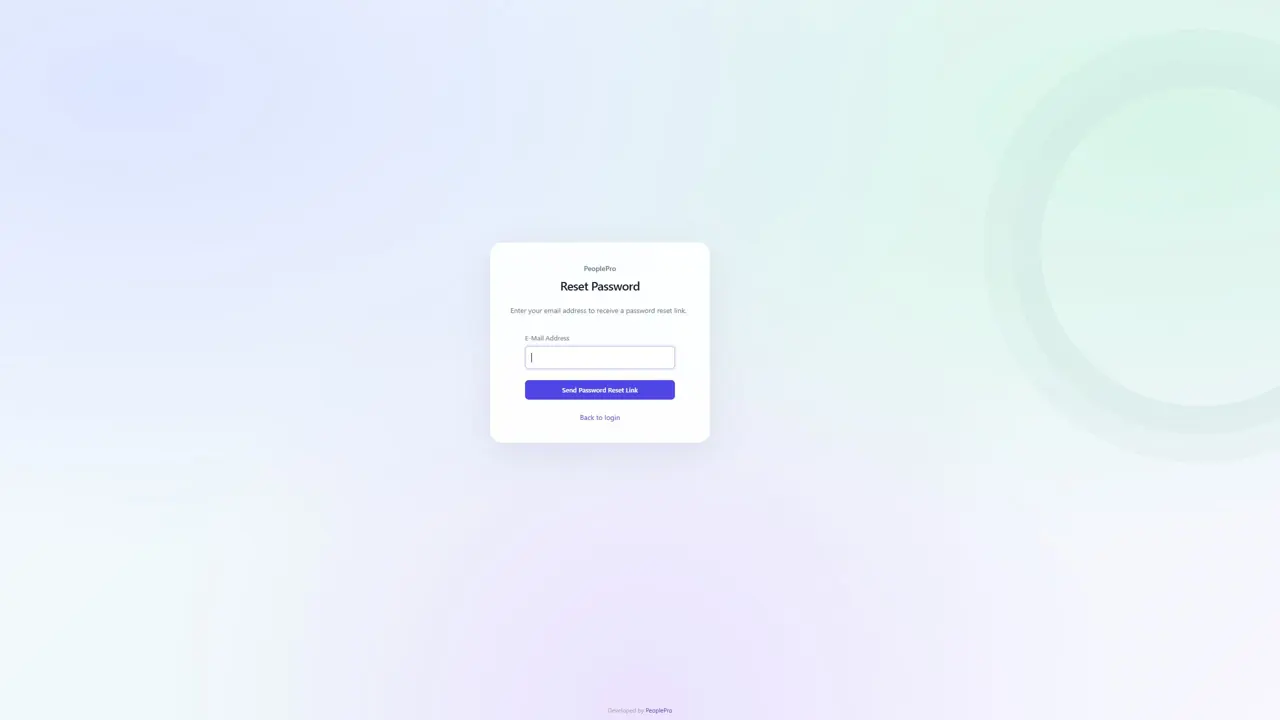
On the sign-in page, select Forgot Your Password? Enter the email address associated with your account and select Send Password Reset Link. Check that mailbox and follow the link to choose a new password. Outgoing mail must be configured for the reset email to arrive. If you cannot access the mailbox or the message does not arrive, contact your administrator.
Notifications
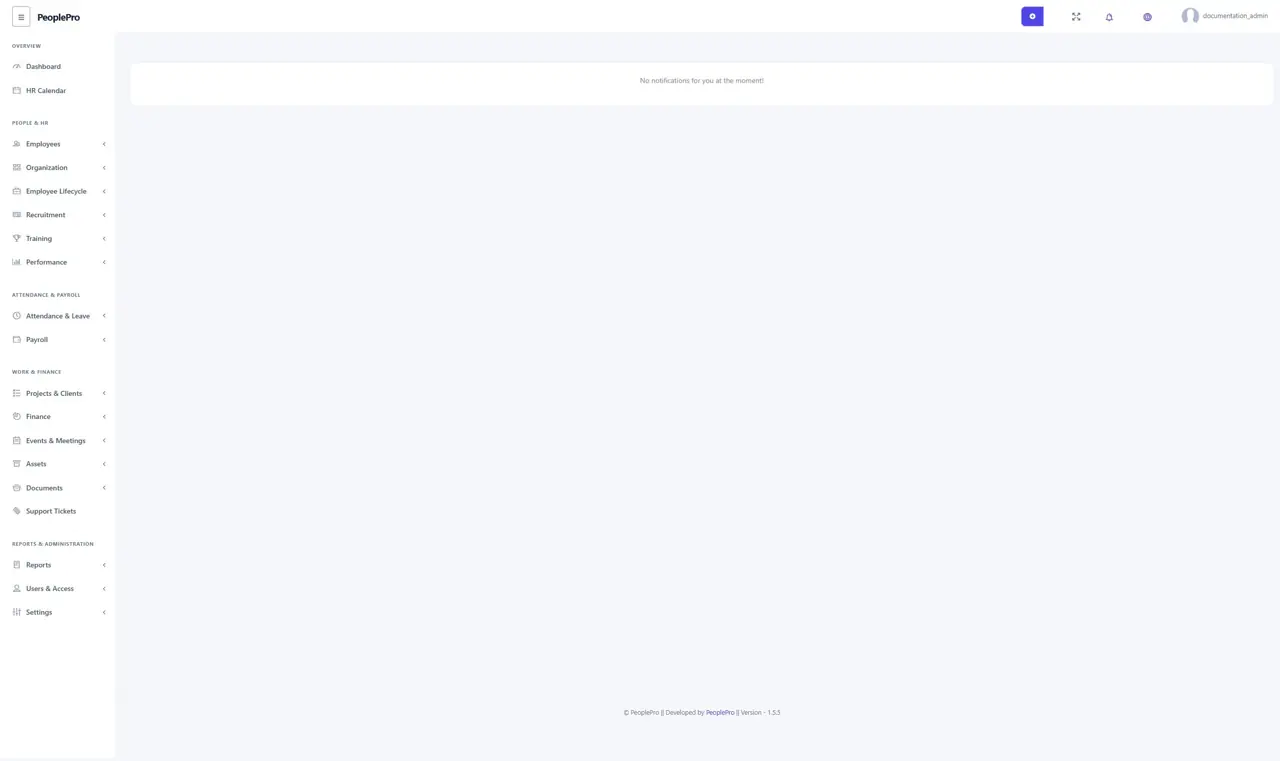
Use the notification icon in the top bar to review the updates sent to your account. Select a notification to open its related record, or use See All to open the full notification list. An empty list means there are no notifications available for that account. Notifications reflect application activity; they do not replace checking pending leave requests or other work in its own module.
Export Database
Administrators can open the account menu and select Export Database to download a database export. Store the downloaded file privately. This export contains database records; it does not include uploaded documents, employee photographs or the application configuration. Use your hosting backup tools when you need a complete recoverable copy of the installation.
Sign out and full-screen view
Open the account menu and select logout to finish your session, especially on a shared computer. The top-bar Full Screen control changes the viewing area while you work; use it again or exit full-screen mode to restore the normal view. Neither action changes your employee records or business settings.
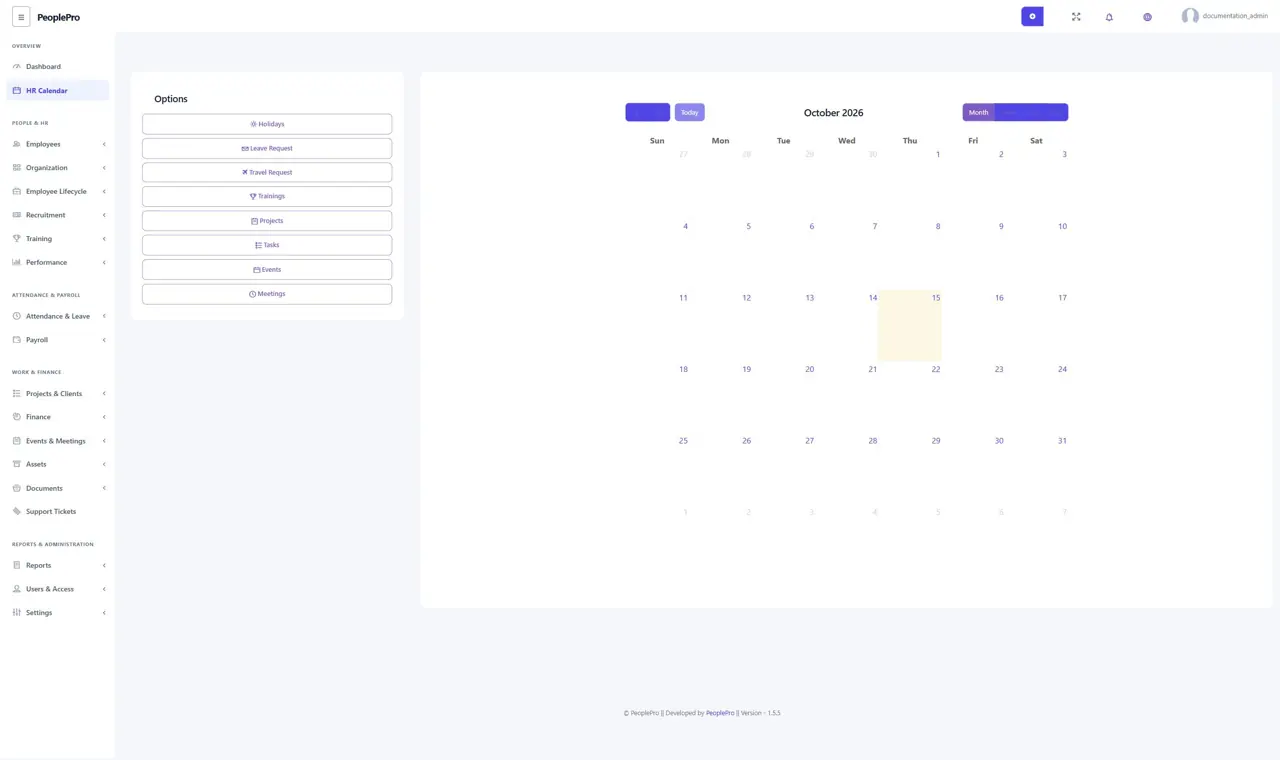
HR Calendar
Open Overview > HR Calendar to view scheduled HR activities together. Switch between month, week, day and list views to suit your task. Use the available activity filters to focus on holidays, leave, travel, training, projects, tasks, events or meetings. Select a calendar item to review the information offered for that activity.