Email Templates, Web Enquiries and Campaign Tracking
Open CRM marketing and choose Campaigns, Individual emails, Email templates or Web lead forms.
Last updated: 16 November 2026 · Product version: not specified in the supplied guide
Use Marketing tabs and open only the form you need
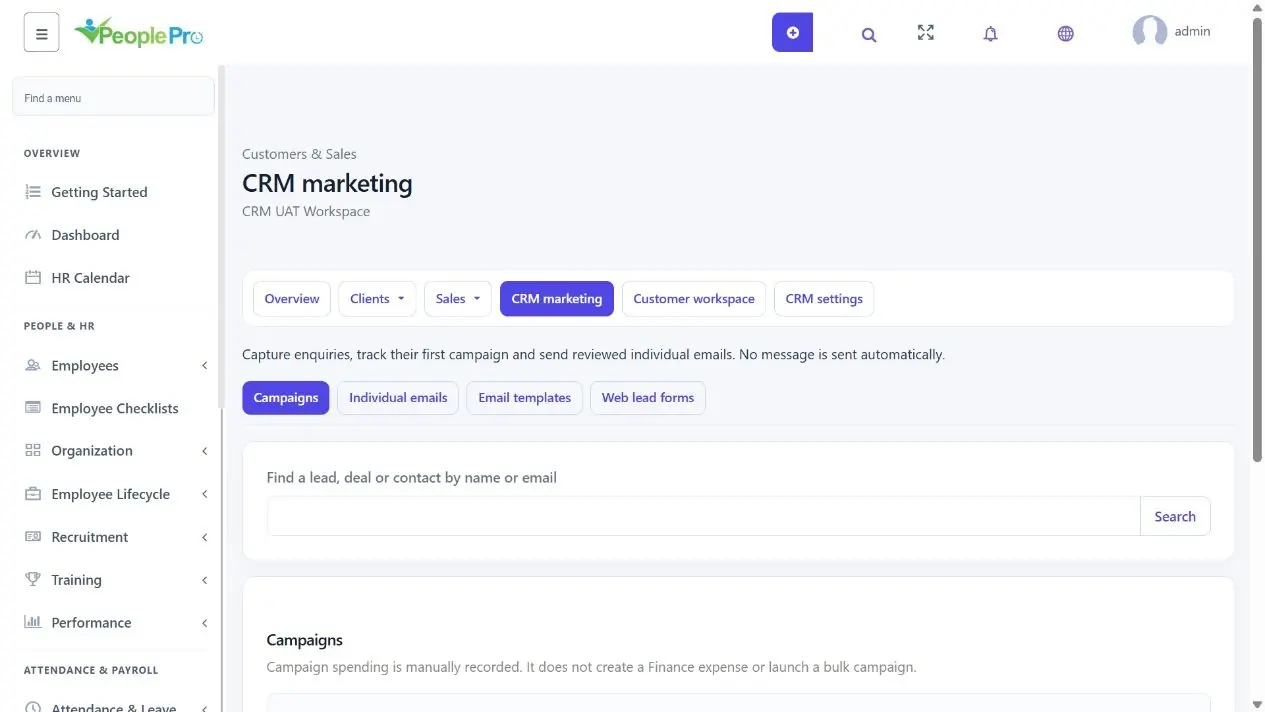
Open CRM marketing and choose Campaigns, Individual emails, Email templates or Web lead forms. Start with the list, then expand an Add or Edit heading when you need a form. These sections are separate from the main CRM sales navigation.
Changing a section does not send an email or save a form. Use its Add or Save button when ready. Typed values remain while switching sections on that page; navigating away or reloading can discard unsaved values. After a validation message, return to the reopened form, correct the marked fields and submit again.
For a paper overview, browser Print includes the permitted sections and opens the form details for that print operation. Use a quotation or invoice own Print preview when you need a customer-facing sales document.
Create and maintain a plain-text email template
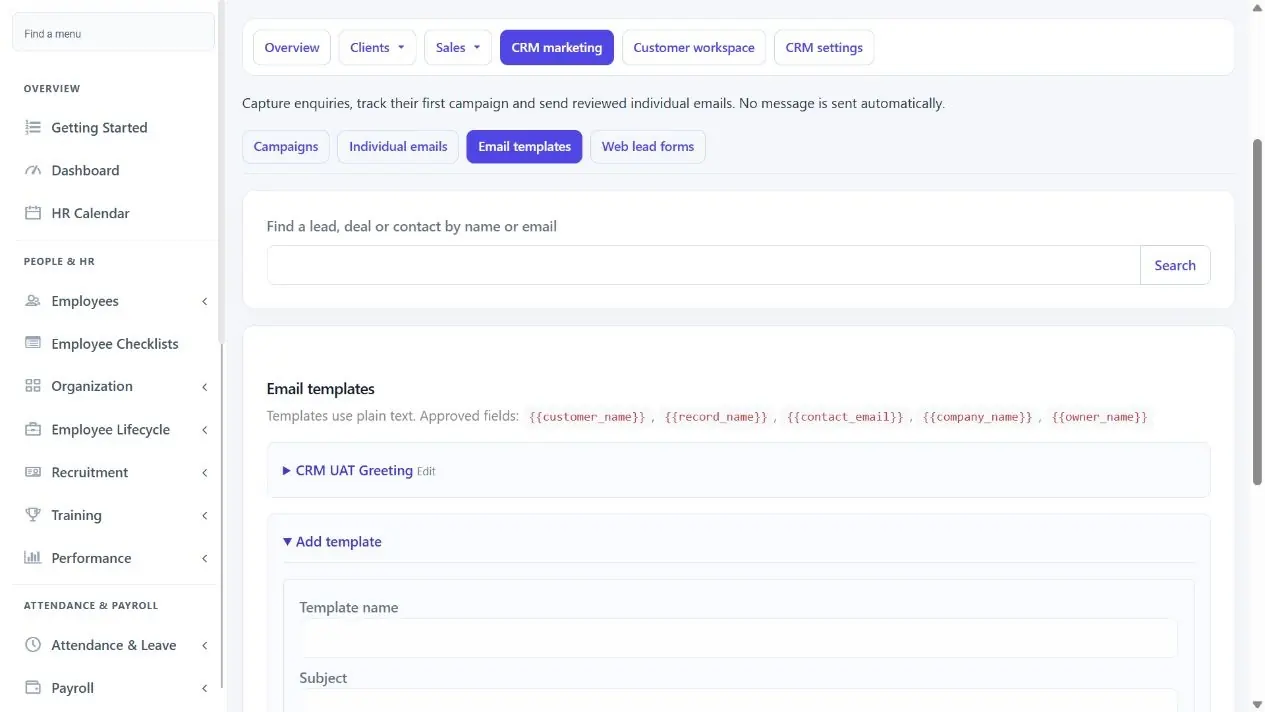
Choose Email templates and expand Add template. Enter an internal Template name, a Subject and the Email body. Keep Status Active when the team should be able to select it, then select Add template. Open a saved template heading to edit and Save template, or make it Inactive to remove it from future choices.
Supported fields are {{customer_name}}, {{record_name}}, {{contact_email}}, {{company_name}} and {{owner_name}}. Copy the field spelling exactly. Preview a message against the intended saved lead or contact to check the final wording. Templates are plain text; HTML formatting and attachments are not added by this feature.
Preview an individual email before sending
Configure and verify this company Mail Setting first. Find an eligible lead or contact using the marketing search and choose its email action. Compose from an active template or write a new subject and body. The recipient comes from that saved record; confirm it before selecting Preview email.
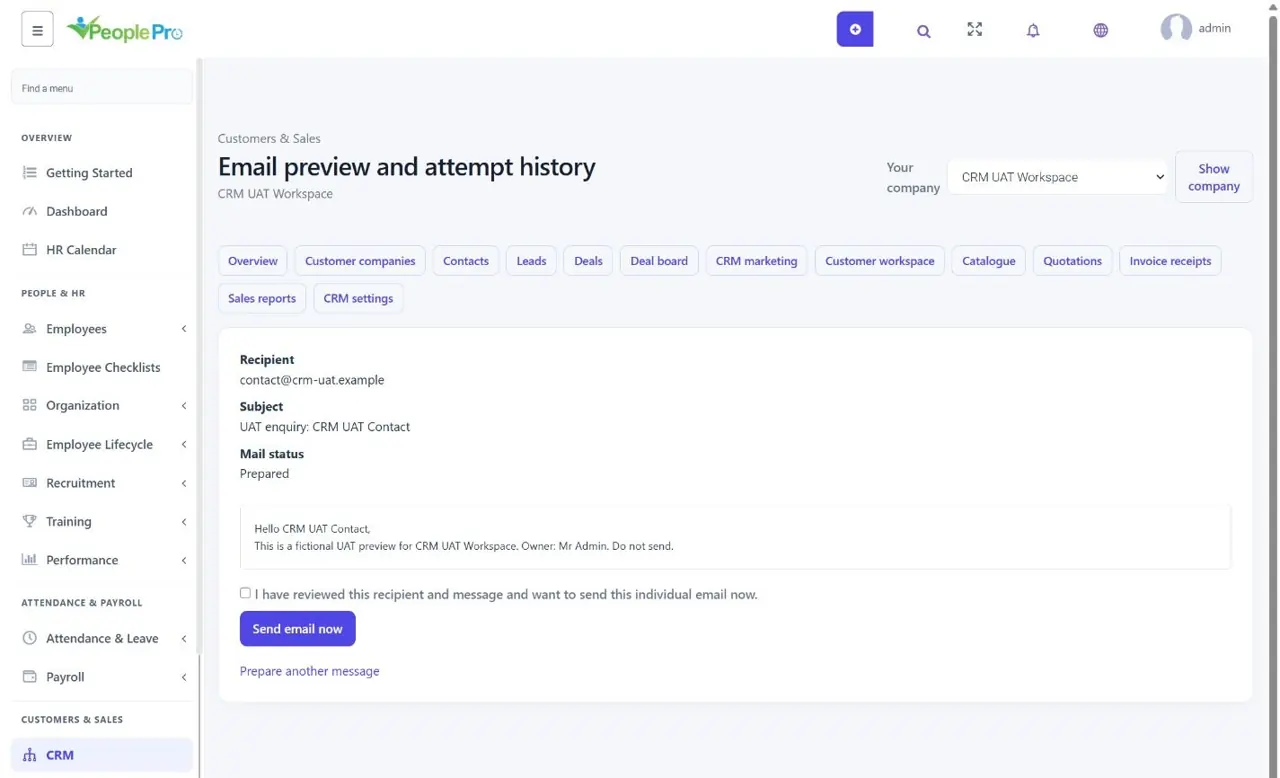
Preview shows the resolved recipient, subject and plain-text content without sending. Only Send email now makes a delivery attempt. Check spelling and customer context before this confirmation; there is no automatic mailing from opening a record or creating a campaign.
Prepared means no send attempt has happened. Accepted by transport means the mail server accepted the message, not that it reached the inbox. Delivery unknown needs a provider check before preparing another attempt. Refreshing the page is not a reason to send the same message again.
Set up a web lead form before publishing
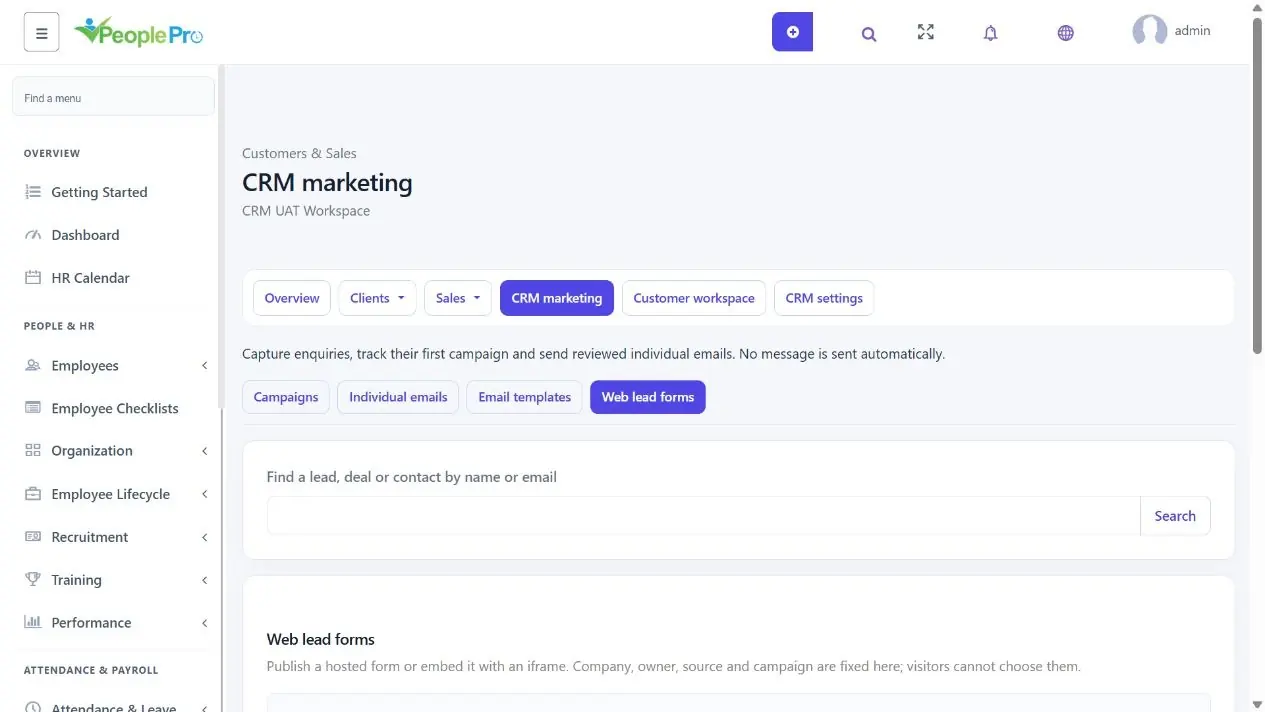
Choose Web lead forms and expand Add lead form. Enter Form title, optional Introduction and the Success message visitors should see. Select the Lead owner, optional Campaign, Fixed lead source and Initial lead status. These settings decide where an enquiry goes; the visitor cannot change them.
Create the form as Inactive while checking the settings. Select Active when you are ready to accept enquiries. Save it and copy the generated public link and iframe code when shown; the private link is displayed only at that point. Keep it with the website administrator who will publish the form.
Publish an enquiry form or embed it on your website
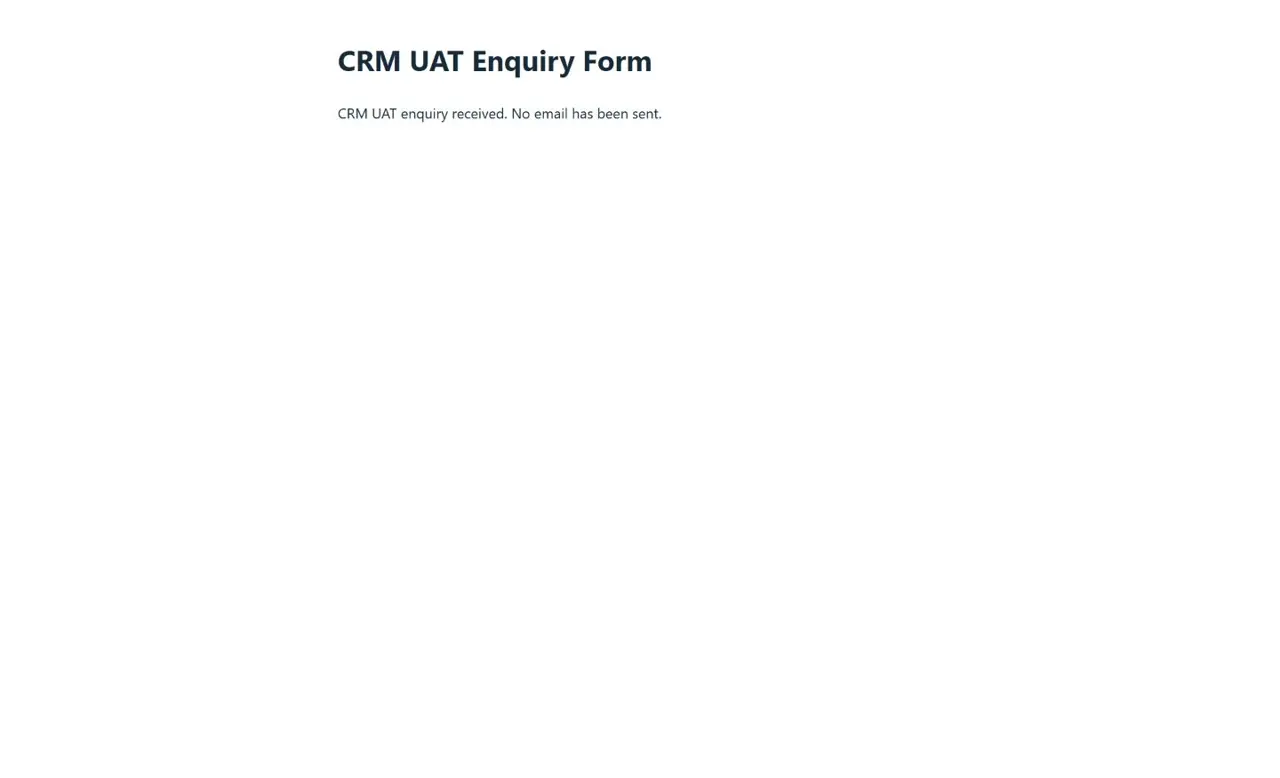
Publish the generated link or paste its iframe code into the website page that should collect enquiries. Check the title, introduction and consent wording from the visitor point of view. The form accepts contact details; it is not an employee application, payment checkout or file-upload form.
Open an existing form heading and select View enquiries to review its submitted details. A repeated email is flagged for duplicate review without overwriting the existing lead. Check whether the enquiry belongs to a person already in CRM before following up.
Set a form Inactive to stop accepting new enquiries. Generate a new public link and stop the previous link invalidates the old address, so update your website embed at the same time. This changes the intake link, not the leads already recorded.
Record a campaign and follow its results
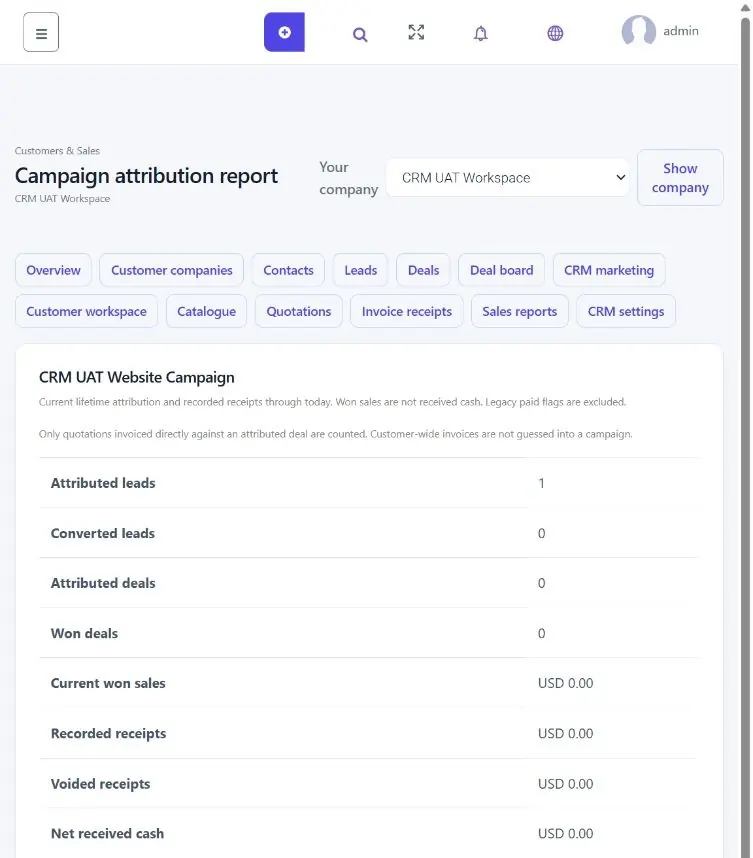
Choose Campaigns, expand Add campaign and enter its name, type, status, dates, budget and recorded spending. Save the campaign. Open it to see its captured leads, related deals and available cash results. Use Edit when the manually maintained details need correcting.
Choose the campaign when creating a web lead form so new enquiries keep that first-campaign source. Where offered, use Attribute a lead or deal to its first campaign for an eligible unassigned record. Review this choice first; the history is intended to keep the original campaign rather than silently replace it later.
Compare campaign activity with recorded cash
Add a campaign, budget, dates and manually recorded spending. Campaign spending does not automatically create a Finance expense or send a bulk campaign. First-campaign attribution follows captured leads and their converted deals. Reports separate won estimates from recorded receipts and voids; unrelated customer invoices are not guessed into a campaign. Return percentages are unavailable for zero spending or incomplete visibility. Bulk email, SMS, WhatsApp and provider automation are separate future features.