Installing PeoplePro
Before starting, have your PeoplePro application files, valid purchase code and an empty MySQL database ready.
Last updated: 16 November 2026 · Product version: not specified in the supplied guide
Prepare your hosting
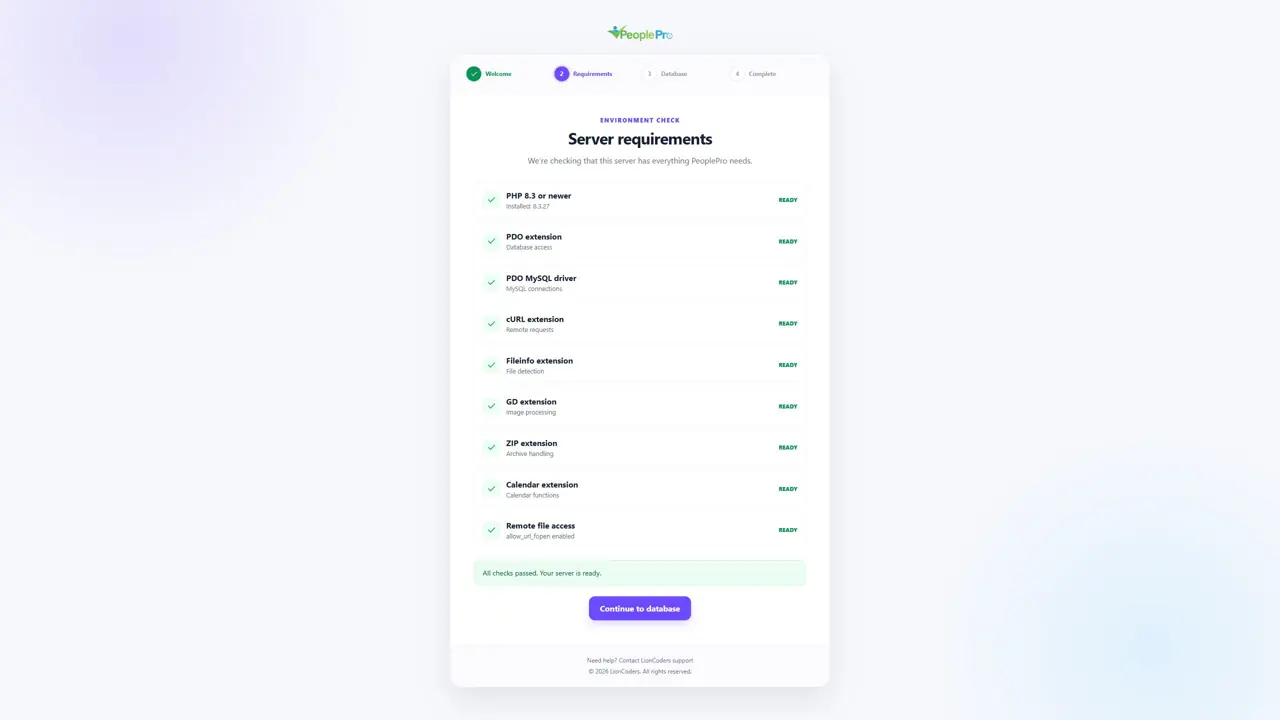
Before starting, have your PeoplePro application files, valid purchase code and an empty MySQL database ready. Ask your hosting provider to use PHP 8.2 or later and enable PDO/MySQL, cURL, Fileinfo, GD, ZIP and Calendar. The installer also checks allow_url_fopen. Point the website document root to the application public folder, enable HTTPS and allow the application to write its configuration, storage and cache files. The requirements screen helps you identify missing server settings.
Upload the application and open the installer
Upload and extract the supplied application package into the location prepared by your hosting provider. Open your website in a browser. For a fresh standalone installation, the installation wizard starts at /install/step-1. Read the welcome and license information before continuing. Use the installer for a new installation, rather than opening it again over an existing PeoplePro database.

Step 1: Welcome and license
The welcome screen introduces PeoplePro and the installation steps. Read the license information and continue when you are ready. Keep your purchase code available for the database step. If your website does not open this screen, ask your hosting provider to check the domain document root and application configuration.
Step 2: Server requirements
Check each requirement before moving on. A missing PHP extension must be enabled by your hosting provider or server administrator. Refresh the page after the server setting is changed. Resolving the checks at this stage helps avoid an incomplete installation later.
Step 3: Purchase code and database connection
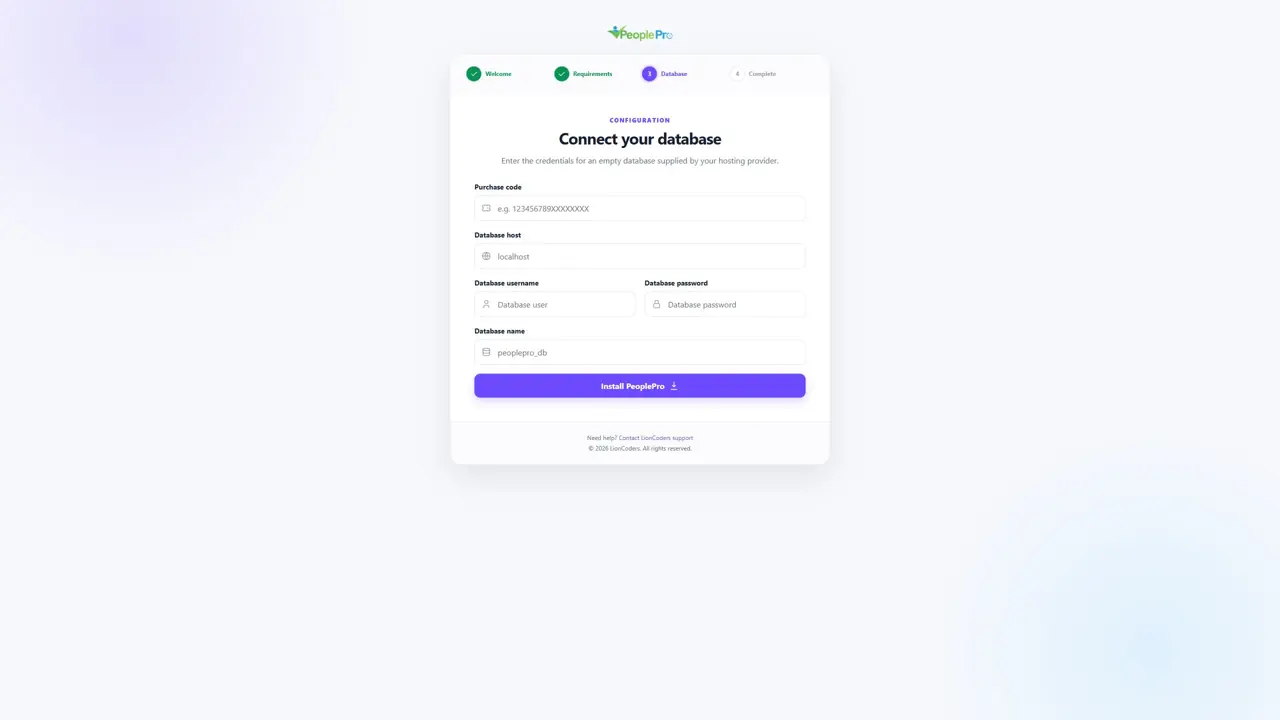
Enter your valid purchase code and the database details supplied by your hosting provider. Database host identifies the database server, commonly localhost. Database username and password identify the account allowed to use that database. Database name must match the empty database you created, including any hosting account prefix. Click Install PeoplePro once and let the operation finish. PeoplePro creates its tables and required starting records through its migrations and seeder.
Step 4: Installation complete
When PeoplePro reports that installation is complete, select Open admin login. The standalone completion screen provides the temporary username admin and password admin. Sign in and replace the temporary password immediately. Keep the new credentials private and update the administrator contact details before inviting your team.

First setup in the recommended order
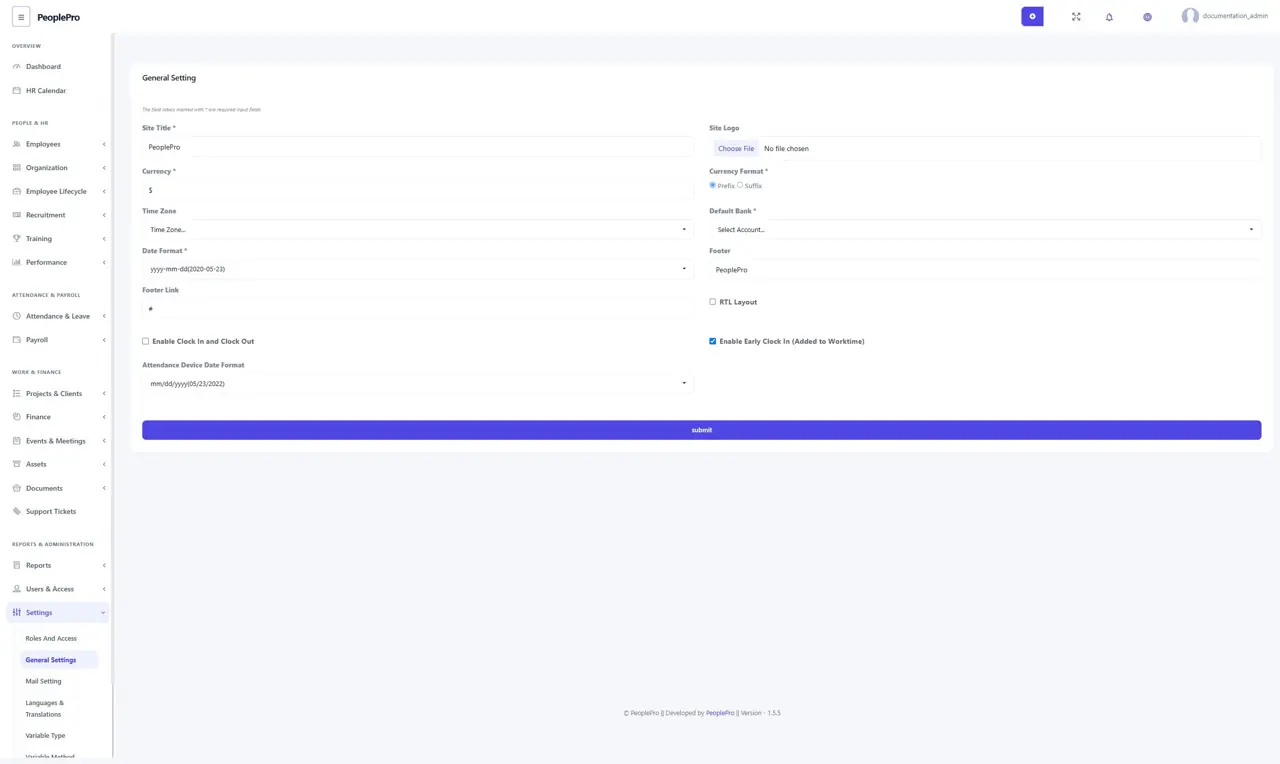
Start with General Settings, then configure outgoing mail. Create your locations, companies, departments and designations. Set up office shifts and the leave types your organization uses. Review roles and access before adding employees. Finally, enter salary details and try a small attendance and payroll example before using the workspace for your entire team. This order ensures that the employee forms already have the choices they need.