Attendance, Shifts and Leave
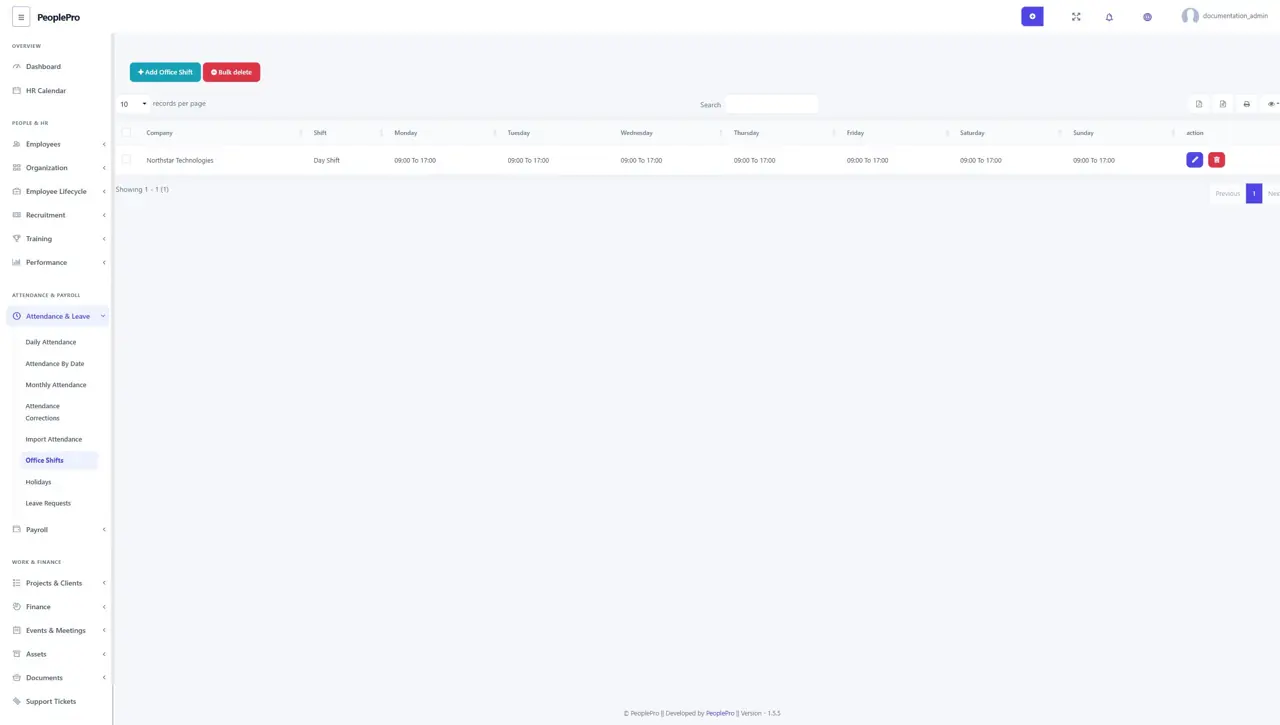
Open Attendance & Leave > Office Shifts and select Add Office Shift.
Last updated: 16 November 2026 · Product version: not specified in the supplied guide
Office shifts
Open Attendance & Leave > Office Shifts and select Add Office Shift. Choose the company and give the shift a recognizable name. Enter the start and end times for each working day; configure non-working days according to the form. Save the shift, then assign it to the relevant employee from the employee record. Shift times are used when calculating attendance measures such as lateness and early leaving.
Night shifts that finish the next day
For a shift such as 22:00 to 06:00, enter the evening start and the next-morning end time in Office Shifts. Assign that shift to the employee. PeoplePro keeps the overnight attendance against the day the shift starts: a clock-in on October 7 at 22:00 and clock-out on October 8 at 06:00 belong to October 7. When importing or correcting this attendance manually, use the shift start date and avoid splitting it into two separate working days.
Clock in and clock out
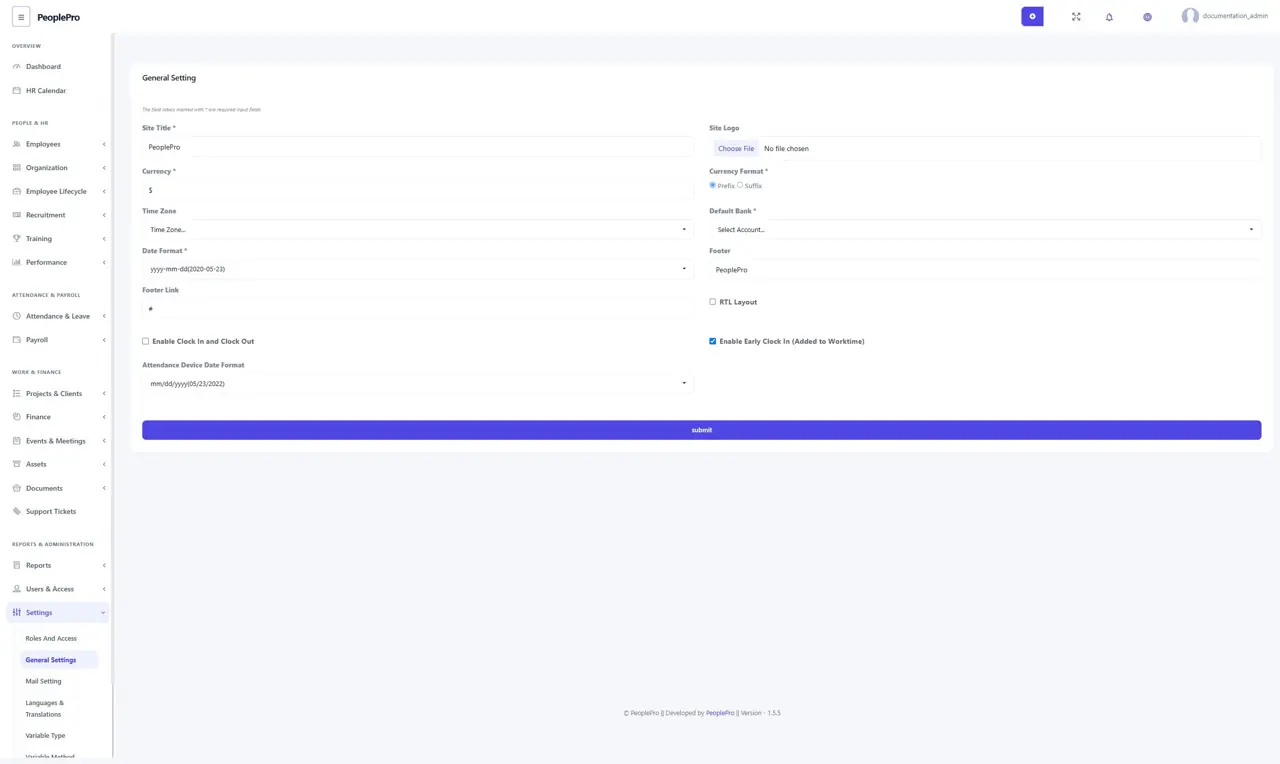
Enable Clock In and Clock Out in General Settings if employees should record their attendance through the application. Employees use the attendance control available to their account when they begin and finish work. For IP Based attendance, configure the allowed office IP addresses and select that attendance type for the employee. Review the recorded punches in the attendance pages, especially after an overnight shift.
Daily attendance
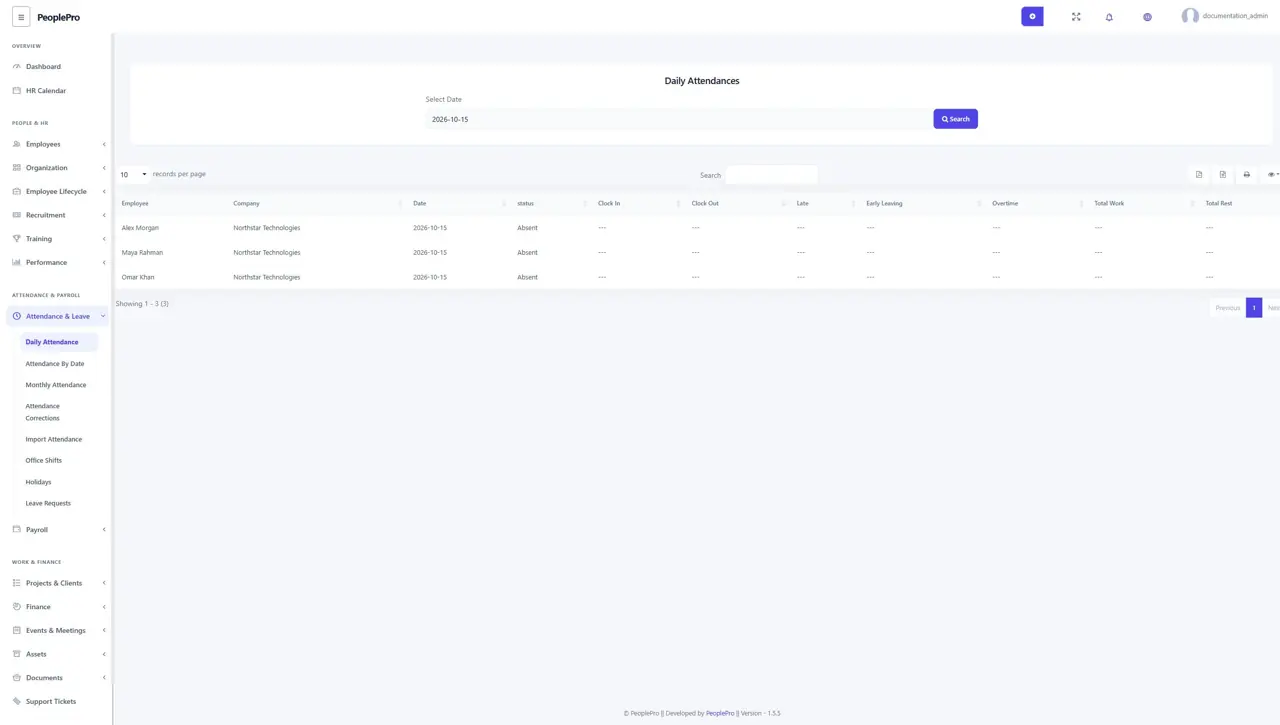
Open Attendance & Leave > Daily Attendance, choose a date and select Search. Review each employee's status, clock-in, clock-out, late time, early leaving, overtime, total work and rest. Use the employee's assigned shift when checking a discrepancy. An absent status for today can simply mean that the employee has not clocked in yet.
Attendance by date
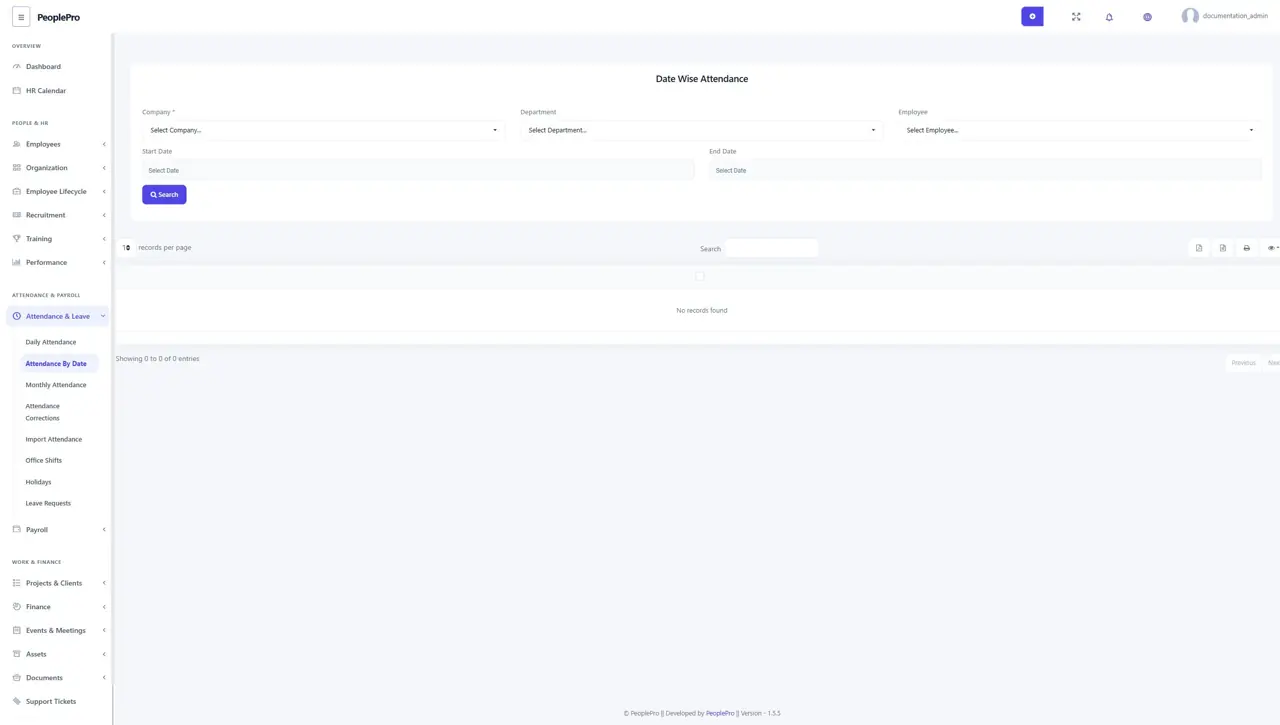
Open Attendance & Leave > Attendance by Date to inspect attendance for a selected employee and date range using the filters offered. This is useful when checking several days for one person. Select the relevant company and employee where available, set the period and run the search before interpreting the results.
Monthly attendance
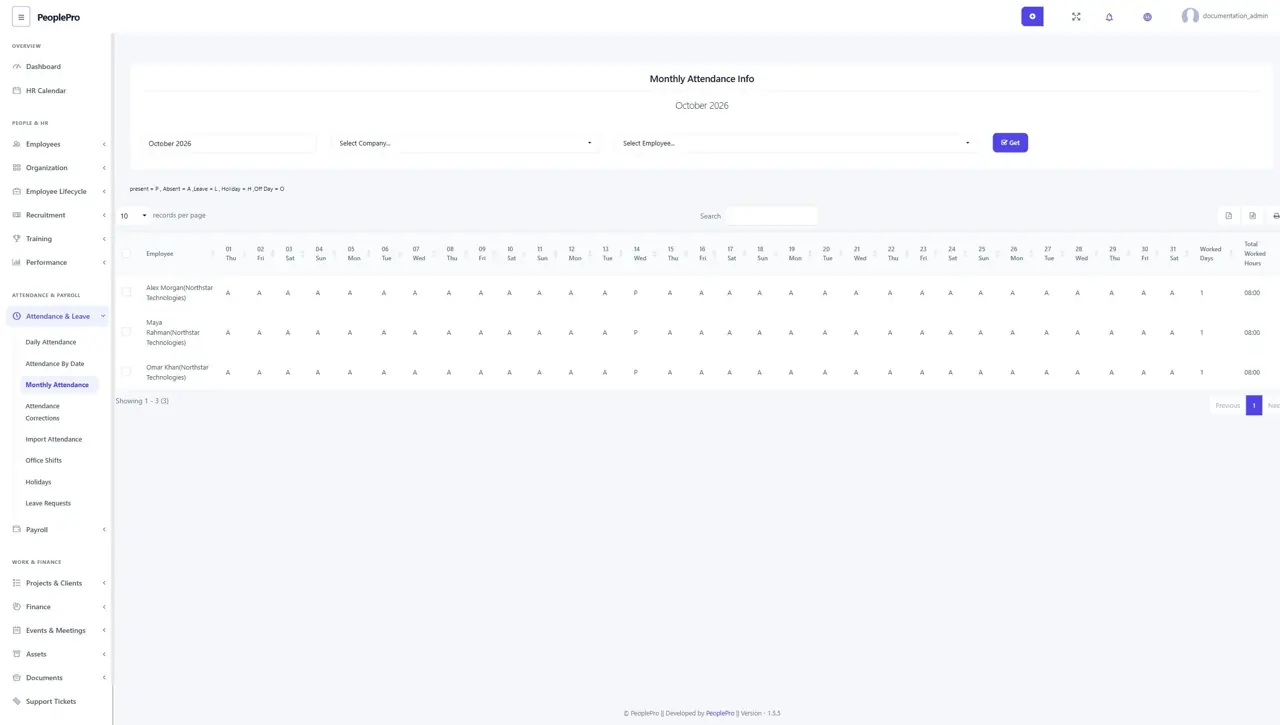
Open Attendance & Leave > Monthly Attendance to review the month as a whole. Choose the company, employee or month filters offered and select Search. Use this view to spot missing days or inconsistent records before preparing payroll. Overnight work remains associated with its shift start date.
Add or correct attendance
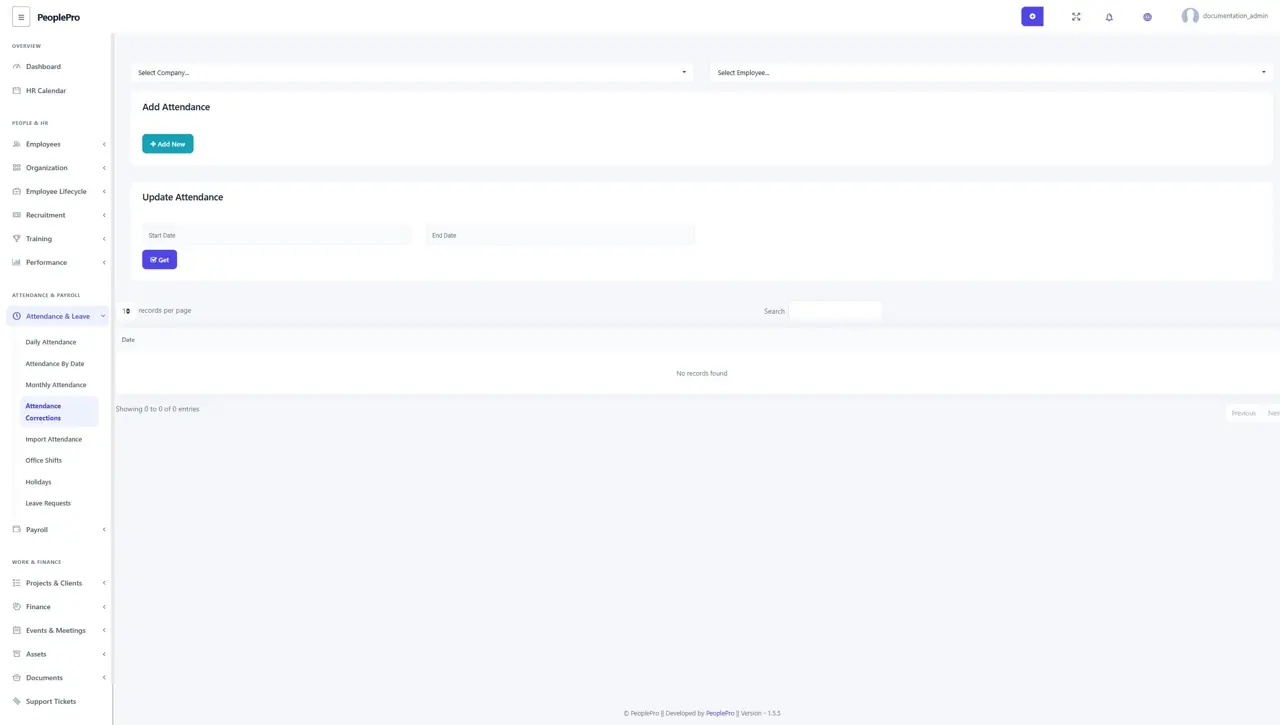
Open Attendance & Leave > Attendance Corrections. Select the company and employee first. Use Add Attendance for a missing entry, or retrieve existing records and use their action to update an incorrect entry. Enter the attendance date, clock-in and clock-out carefully. For overnight work, the date is the shift start date and the earlier clock-out time represents the following morning. Review the attendance report after saving.
Import attendance device punches
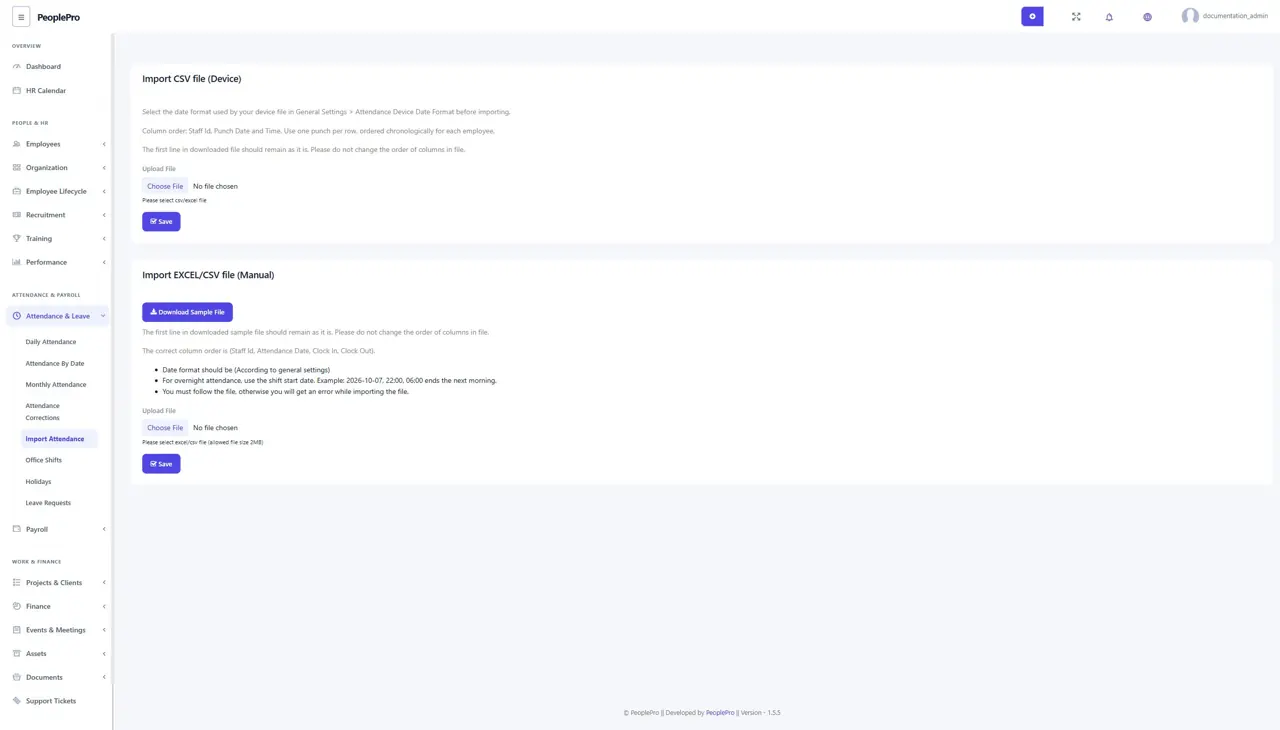
Open Attendance & Leave > Import Attendance and use Import CSV file (Device). Before uploading, set Attendance Device Date Format in General Settings to match the device export. Keep the required column order: Staff Id, then Punch Date and Time. Use one punch per row and order each employee's punches chronologically. Match staff IDs to existing employees. This imports a file exported from a device; it does not create a live connection to the physical device.
Import attendance manually
On the same Import Attendance page, use Import EXCEL/CSV file (Manual) and download the sample. Keep the sample header and column order: Staff Id, Attendance Date, Clock In, Clock Out. Use the date format selected in General Settings and stay within the displayed 2 MB limit. For an overnight example, enter the shift start date with 22:00 as Clock In and 06:00 as Clock Out. Review a small import before preparing a large file.
Holidays
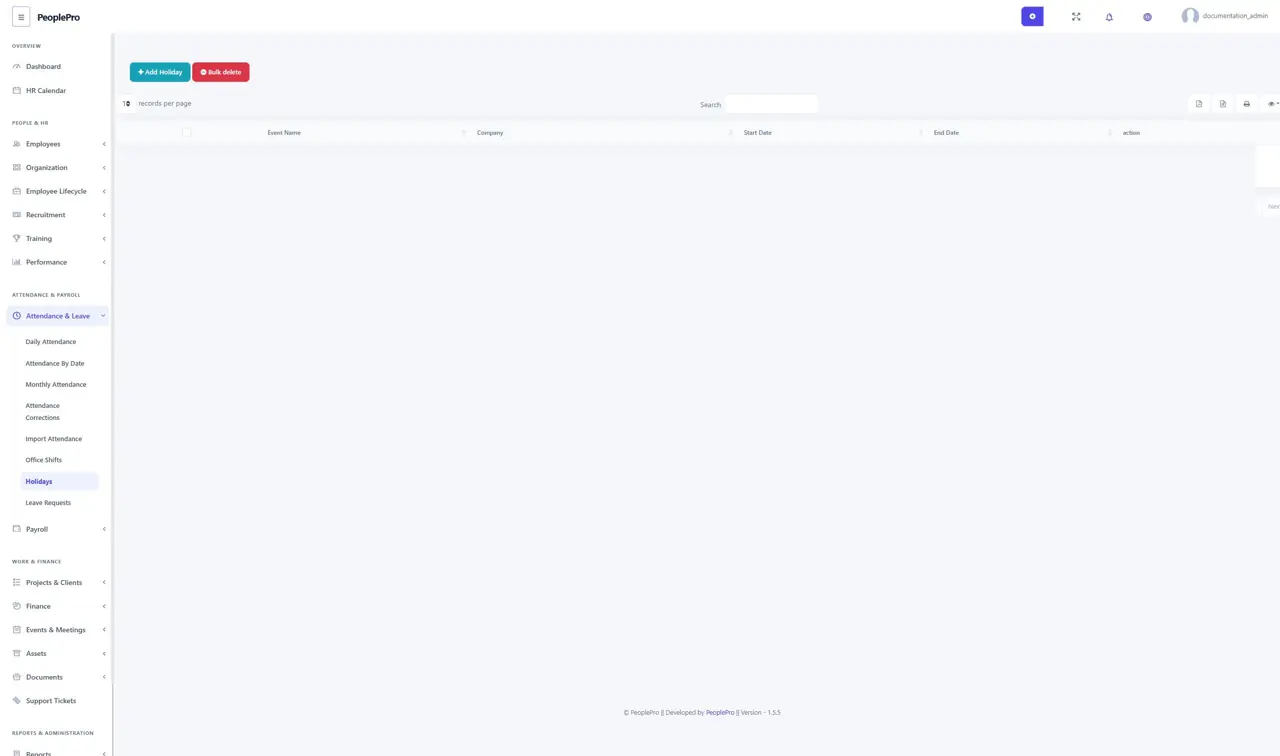
Open Attendance & Leave > Holidays and select Add Holiday. Enter the holiday name, relevant company and date range requested by the form. Check whether the holiday should be published or active using the available controls. Review holidays before attendance and payroll processing so non-working days are represented correctly.
Leave requests and approval
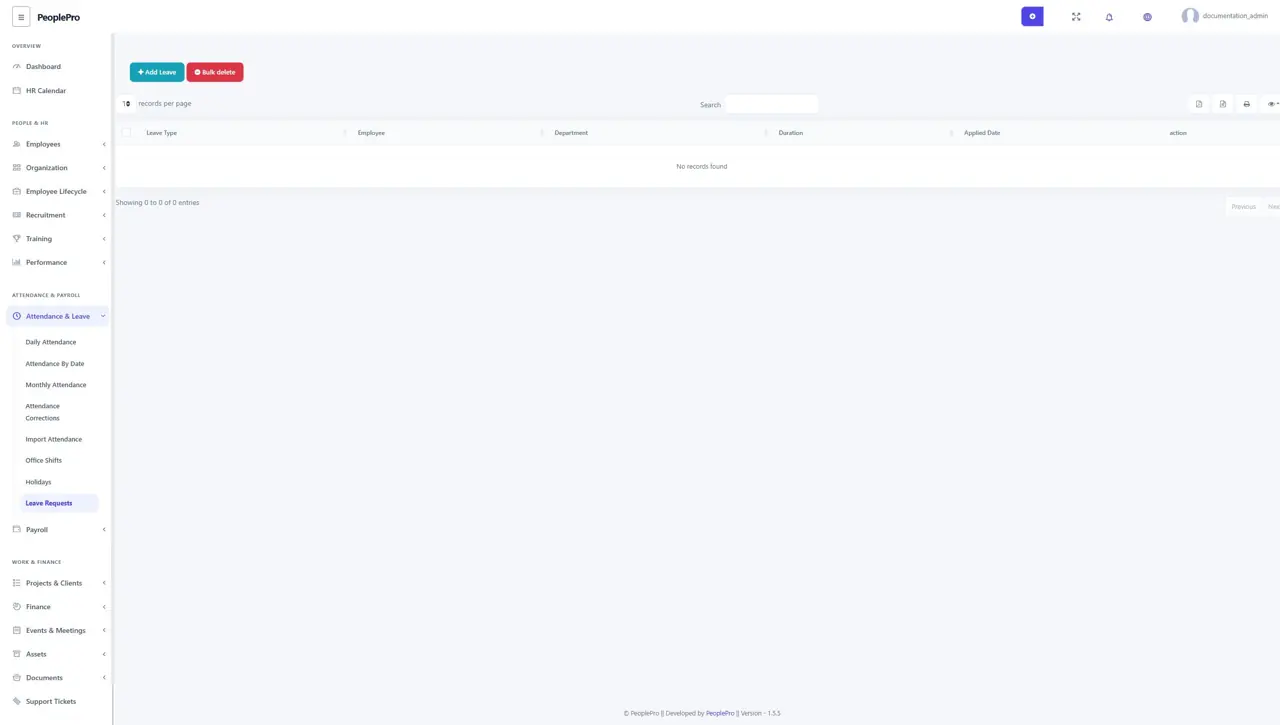
Open Attendance & Leave > Leave Requests to review or add leave. Select the employee and leave type, enter the period and reason, and save. Authorized staff use the row actions to review or change the request status. Check the employee's remaining leave and company policy before approving a request. Employees can work with the leave options available to their own account.
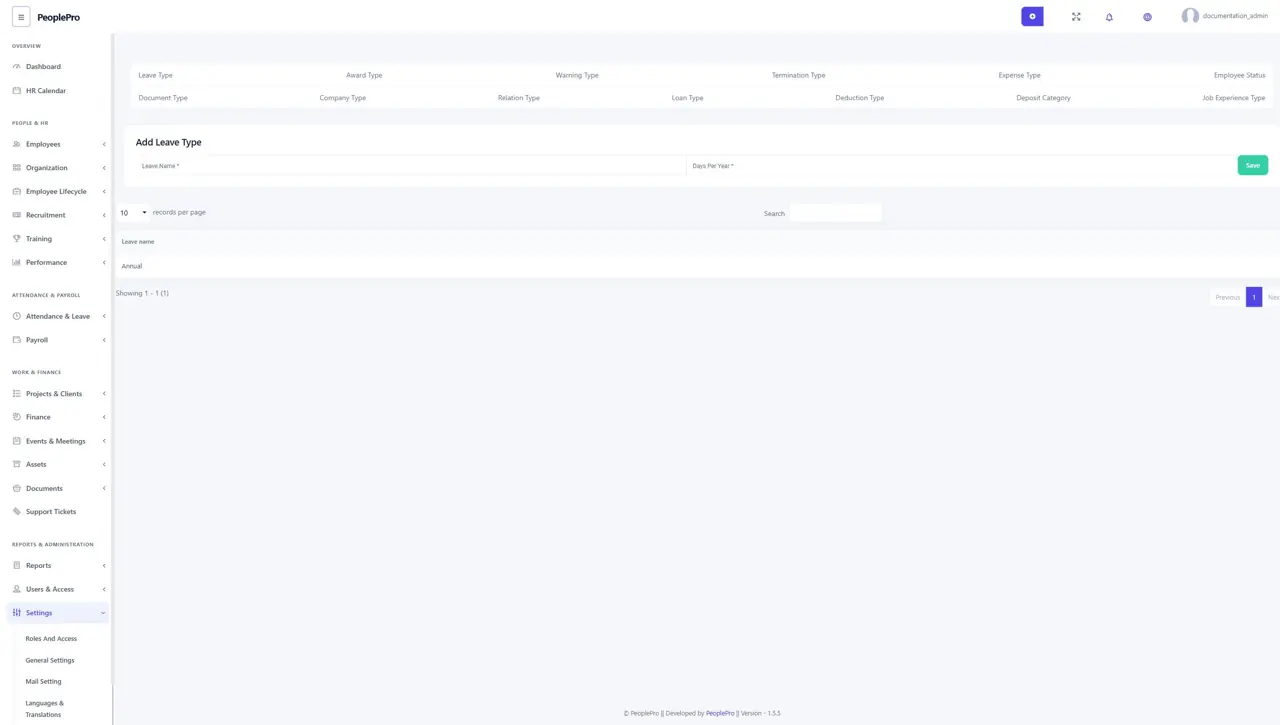
Leave types and yearly allowances
Open Settings > Variable Type > Leave Type to maintain the available leave names and days per year. Create types that match your company policy, such as Annual Leave or Sick Leave. Review the allowances before employees begin applying. Use the Remaining Leave tab in an employee record to inspect that person's balances.