
Customers and Tenant Administration
Open Customers & tenants.
Last updated: 16 November 2026 · Product version: not specified in the supplied guide
Review the customer directory
Open Customers & tenants. The summary cards show customer totals, active workspaces, trials and expired subscriptions. Search the table to locate an organization. Review its owner details, registered domains, package, billing period, expiry and status. The Action column provides workspace-specific administration. Use CSV, Print or Columns for the table tasks offered by the page.
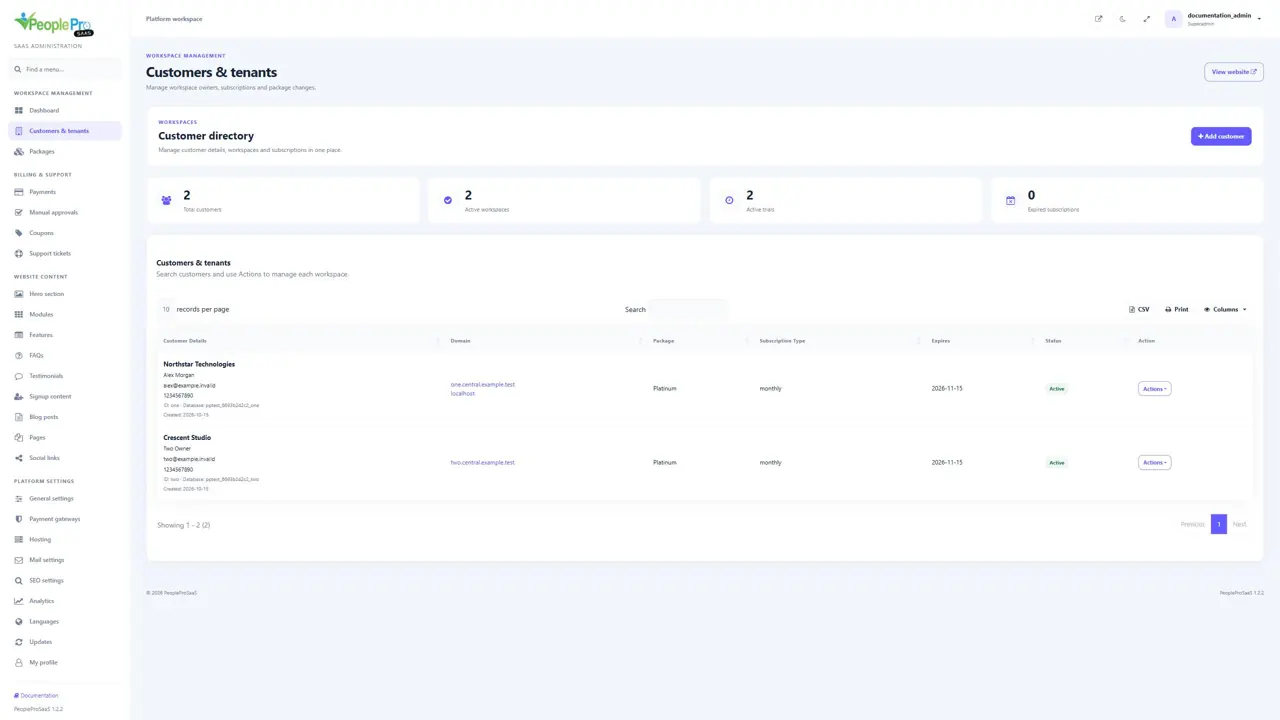
Search, sort and export administrator tables
Use the table Search field to locate a record and the records-per-page selector to change the visible row count. Select a column heading when sorting is available. CSV, PDF, Print or Columns controls appear according to the table. Use Columns to restore a hidden column. On a small screen, scroll a wide table to reach its action controls. Row actions apply to the selected record, so check the customer or package name before using one.
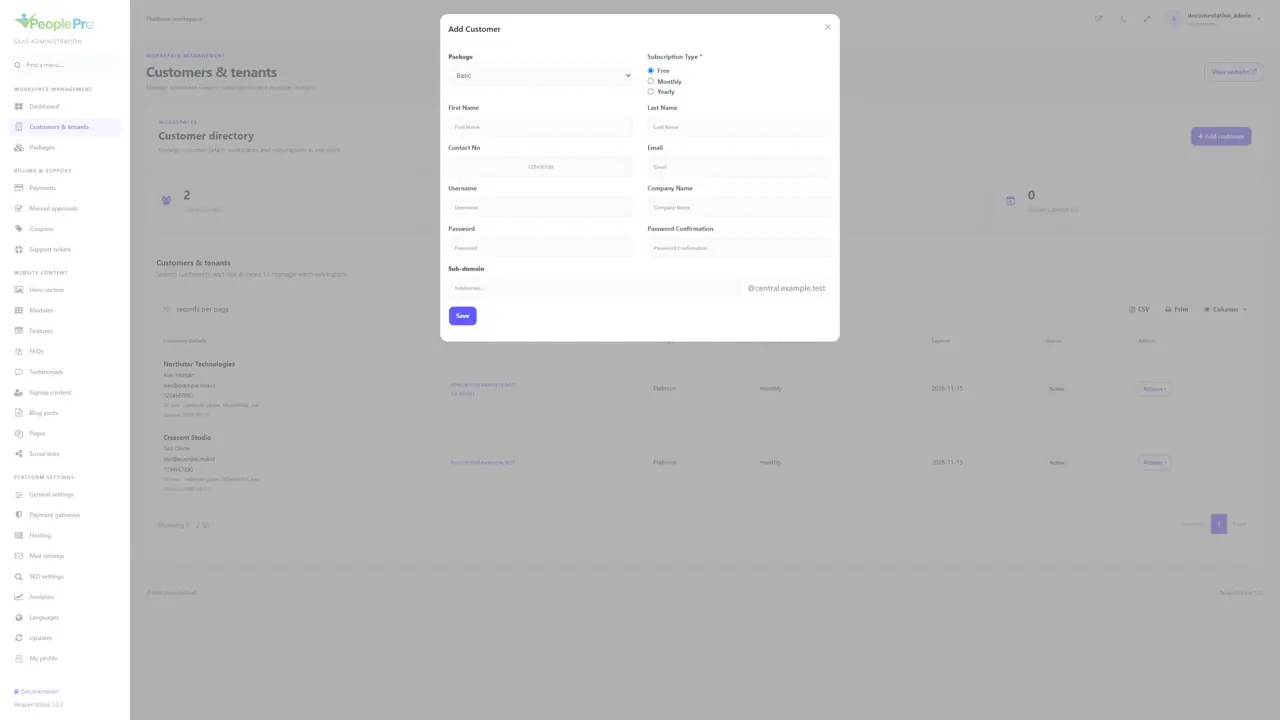
Create a customer workspace from the platform
Select Add customer. Choose the package and subscription type, enter the owner contact and account details, and provide a unique subdomain. Enter and confirm the initial password. Review the organization and selected package, then save once and wait for provisioning. The platform prepares a new tenant database and administrator. This form creates access administratively; it is separate from a customer completing an online payment at public signup.
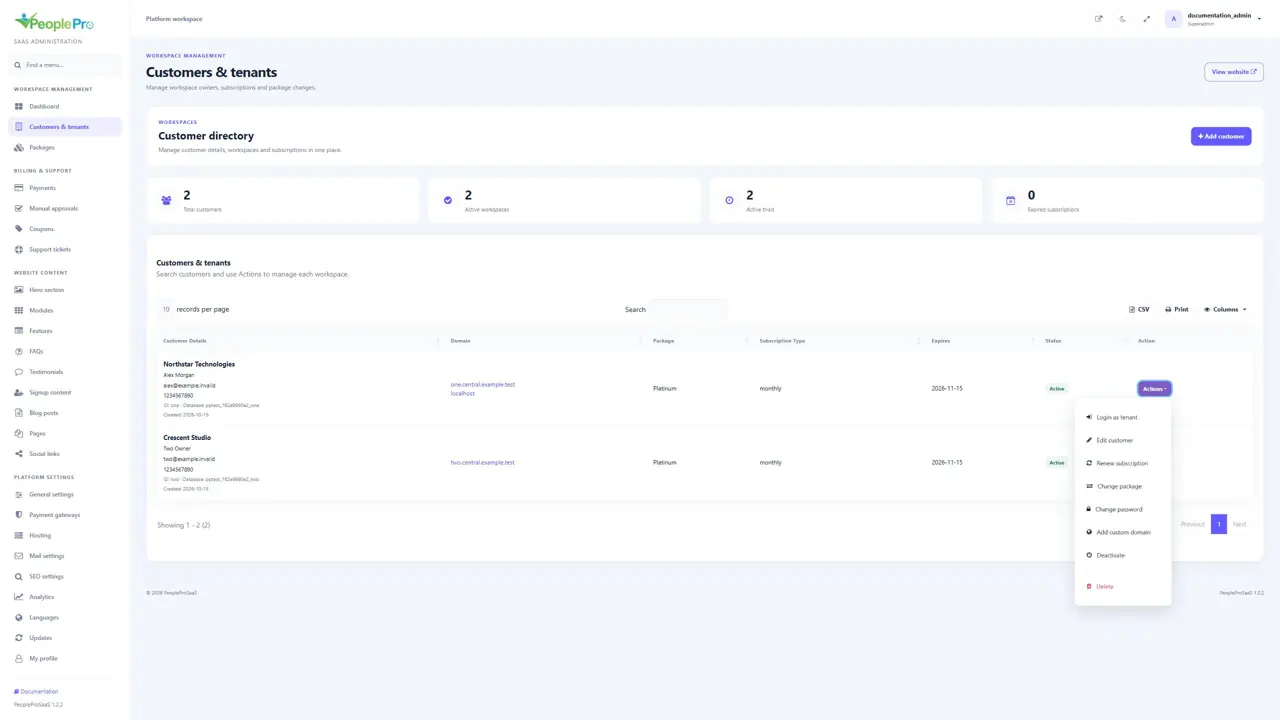
Use the tenant action menu
Open Actions beside the intended customer. The menu includes Login as tenant, Edit customer, Renew subscription, Change package, Change password, Add custom domain, access status and Delete. Read the organization and domain before choosing an action. Editing contact details, changing a subscription and changing the workspace password are separate operations.
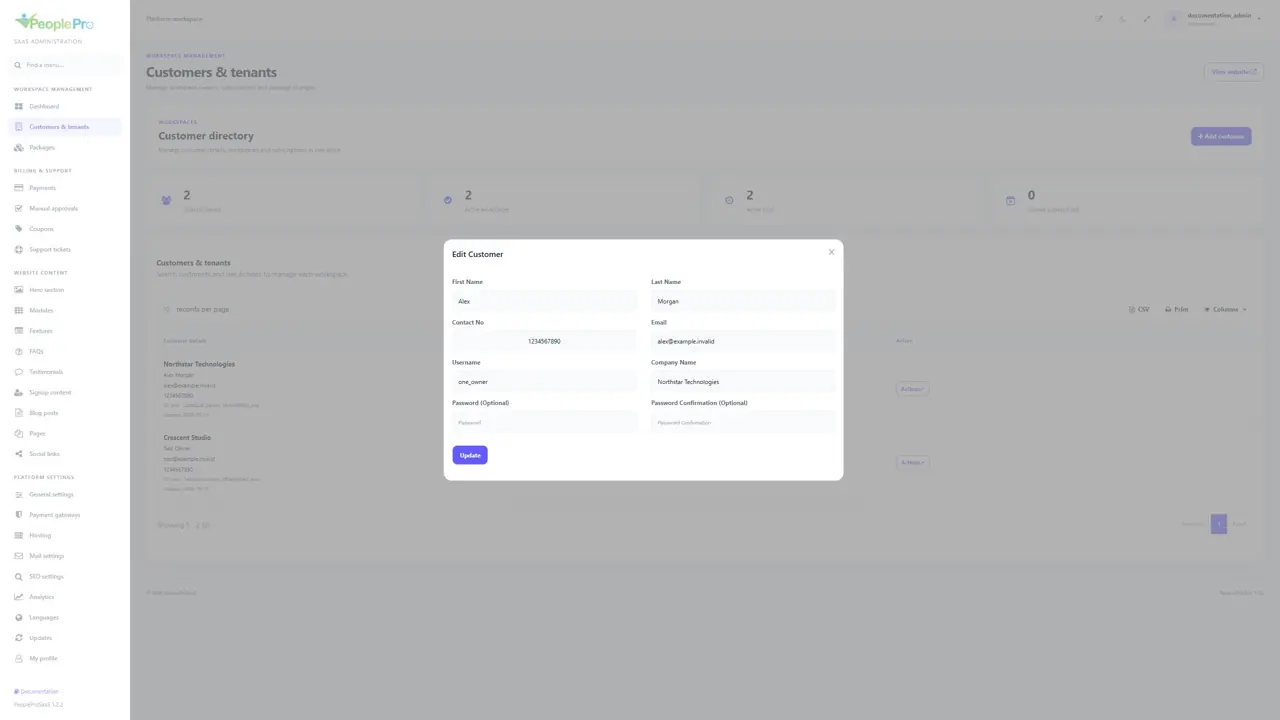
Edit customer contact details
Choose Actions > Edit customer. Update the first name, last name, contact number, email, username or company name offered by the form. The password fields are optional and should be left blank when you are only changing contact information. Review the values and select Update. Use the dedicated password action when you need to choose an active administrator inside a tenant workspace.
Open a workspace as its administrator
Choose Actions > Login as tenant when you need to help the customer inside their workspace. The application opens the registered tenant domain with a short-lived, single-use administrator handoff. It does not display the customer password. The workspace must be active and its domain must resolve to the application. Work only in the intended customer workspace and sign out when the support task is finished.
Renew a subscription administratively
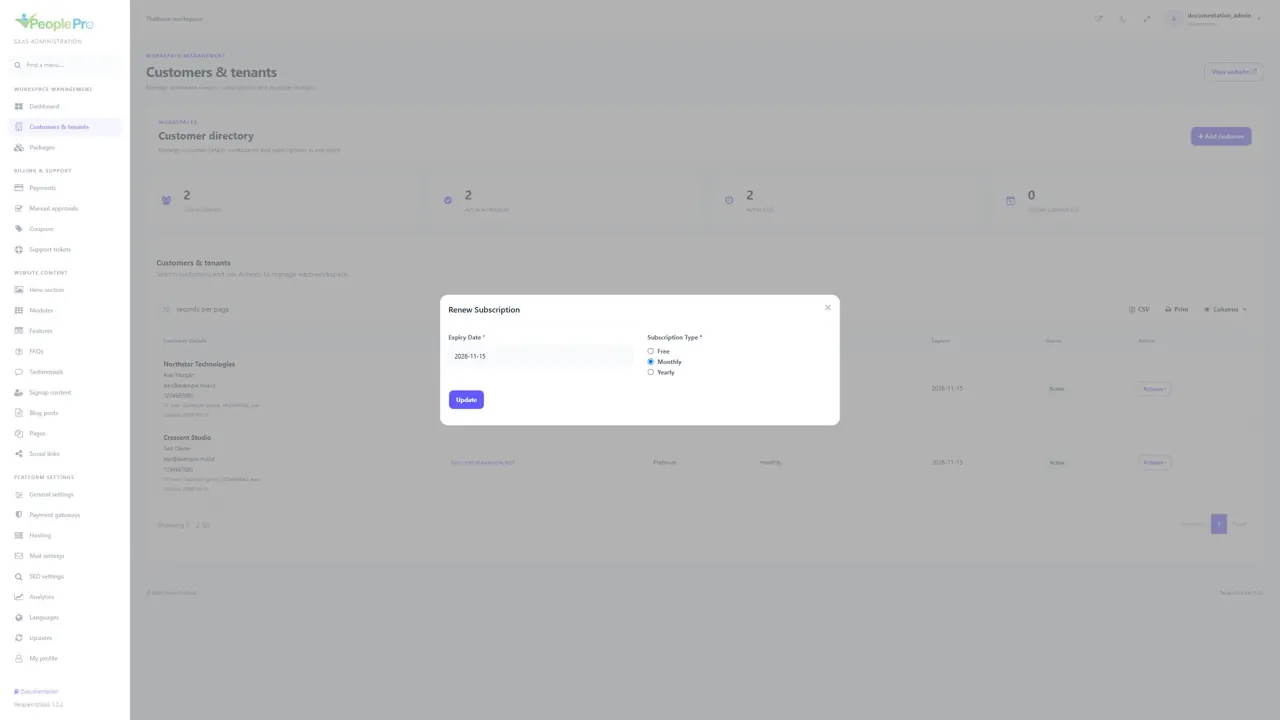
Choose Actions > Renew subscription. Set the intended Expiry Date and Subscription Type, then select Update. This changes the subscription schedule administratively. It does not by itself prove that an external payment was collected. Use the payment records and your own billing process to confirm the customer payment before extending paid service.
Change a customer package
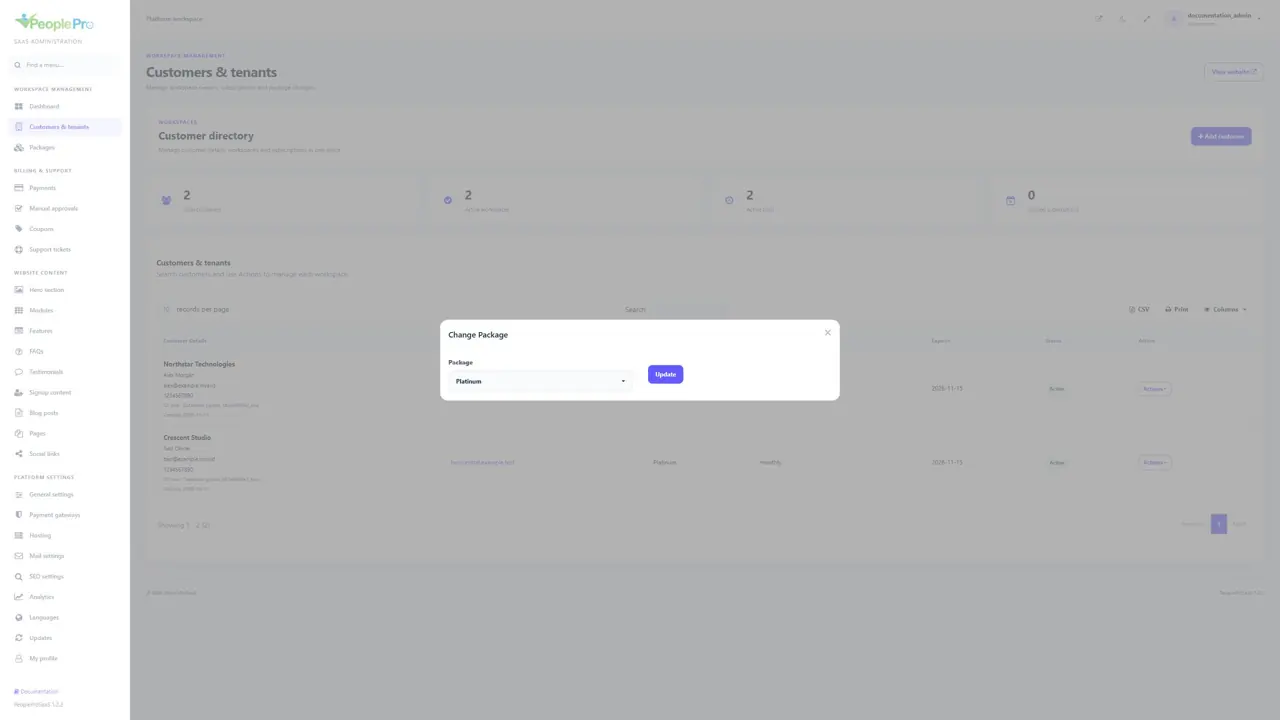
Choose Actions > Change package, select the new package and update. Review the new package user limit, employee limit and included modules before applying it. A package is the upper limit of available features; tenant roles can restrict access further. Check the customer workspace after the change, especially when removing modules or moving to a smaller team limit.
Change a workspace administrator password
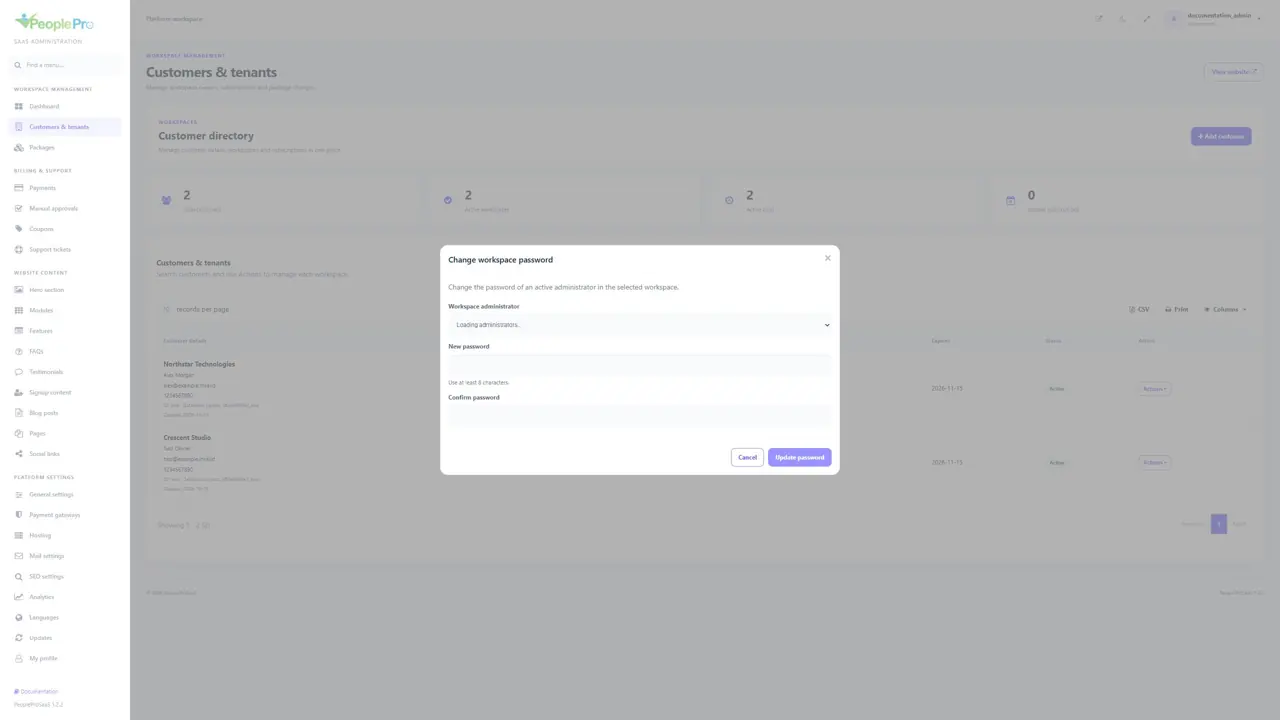
Choose Actions > Change password. Select the active workspace administrator whose password needs changing, then enter the new password and repeat it in Confirm password. Use at least eight characters and choose a strong password. Submit only after checking the selected organization and administrator. This resets a tenant account password; it is different from changing your own platform password.
Register a custom tenant domain
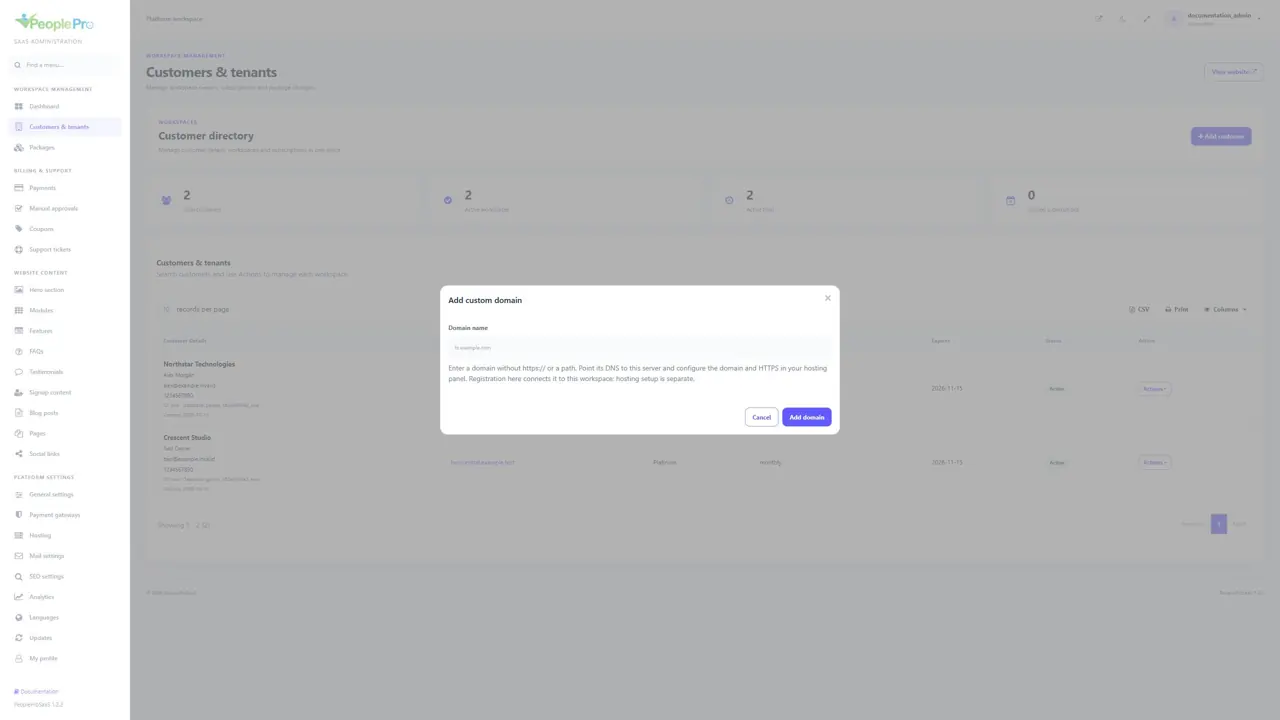
Choose Actions > Add custom domain and enter the domain without https:// or a path, for example hr.customer-example.com. Add the domain to the intended workspace. Separately point its DNS to your server, configure the hosting domain to use the application public directory and enable HTTPS. Registration in the panel links the hostname to that customer; it does not change DNS or issue its certificate.
Deactivate or reactivate a workspace
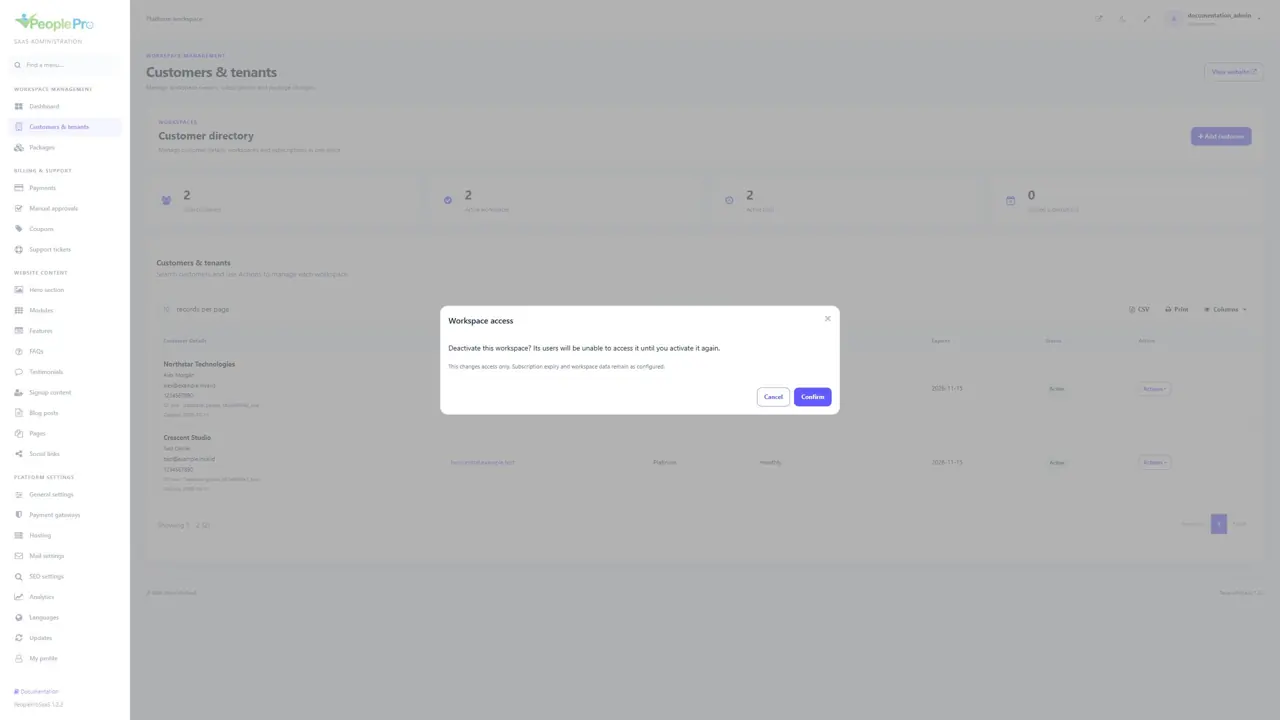
Use Deactivate to pause a workspace account, or Activate to restore account access. Read the confirmation for the selected customer. This changes the active status without rewriting its expiry date or clearing its HR records. A workspace can still be blocked by an expired subscription after reactivation; review both status and expiry when restoring service.
Remove a workspace when it is no longer needed
Use Delete only when you intend to remove a workspace, and check its identity and recoverable backups before confirming. Deactivate is suitable when access only needs to be paused. Deletion can remove a database managed by SaaS; a previously attached unmanaged database remains protected from database deletion. New addon setup does not automatically attach an existing database. Do not delete a workspace merely to correct a package, password or contact detail.