Dashboard#
The tenant panel is your organization’s workspace for digital business cards, users, subscription information, invoices, settings, and support. This guide describes the Tenant Administrator view. Staff may see fewer menus depending on their permissions.
Sign in to your workspace#
- Open your vCardPro website and choose Sign In.
- Enter the email and password assigned to your tenant administrator account, then choose Log in. Your workspace name appears above the sidebar.
- If you cannot sign in, check your email and password. Use Forgot your password? if email recovery is configured, or contact your platform administrator.
- Use the sidebar to navigate. Save any form you want to keep before leaving its page.
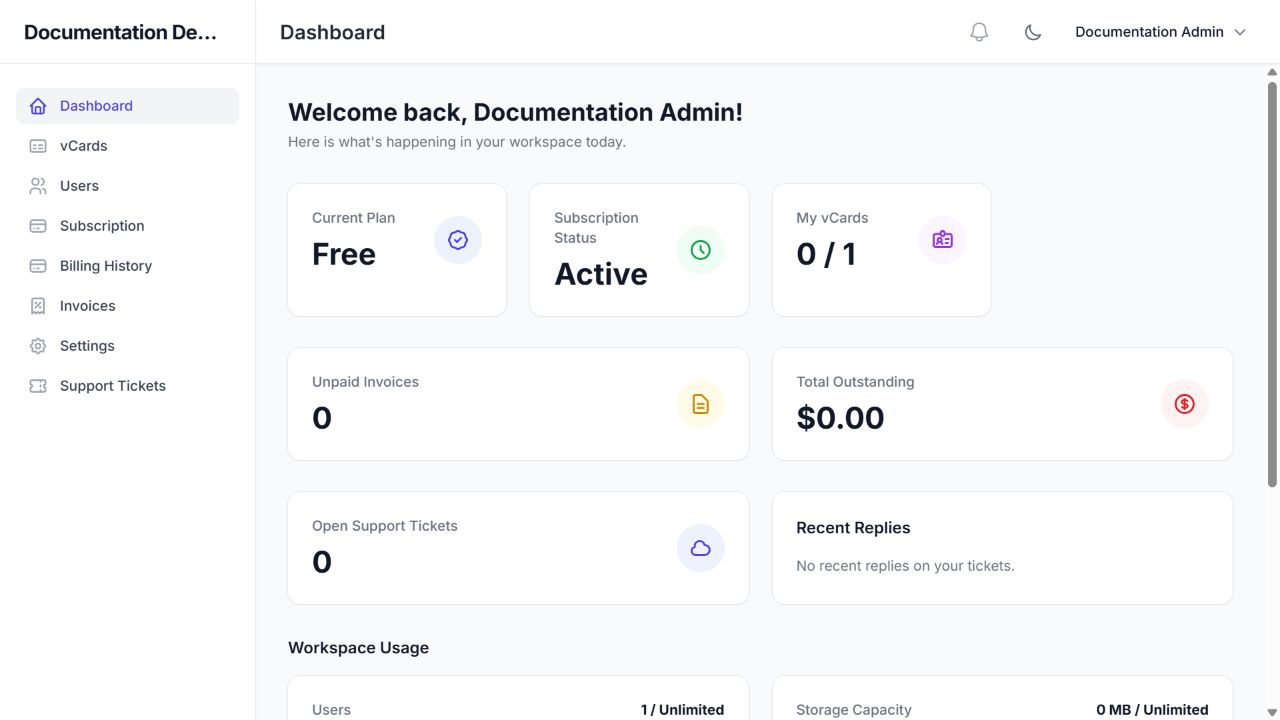
Start with the dashboard indicators#
| Indicator | What it tells you |
|---|---|
| Current Plan / Subscription Status | Which plan is attached to your workspace and whether service is active. |
| My vCards | How many cards you use compared with the plan allowance. |
| Unpaid Invoices / Total Outstanding | Billing documents that need attention and their outstanding total. |
| Open Support Tickets / Recent Replies | Your current support activity. |
| Workspace Usage | User and storage usage compared with the available limits. |
Choose Create New vCard for the card editor. A newly created workspace may legitimately show zero cards, invoices, and tickets. Use the current values in your workspace; screenshot totals are examples.
Profile, password, and sign out#
Open your name in the top-right corner and choose Profile. Save profile information separately from password changes. To change a password, provide the current password, new password, and confirmation. Use the appearance button to switch light/dark mode, and choose Log Out from the account menu to end your session.
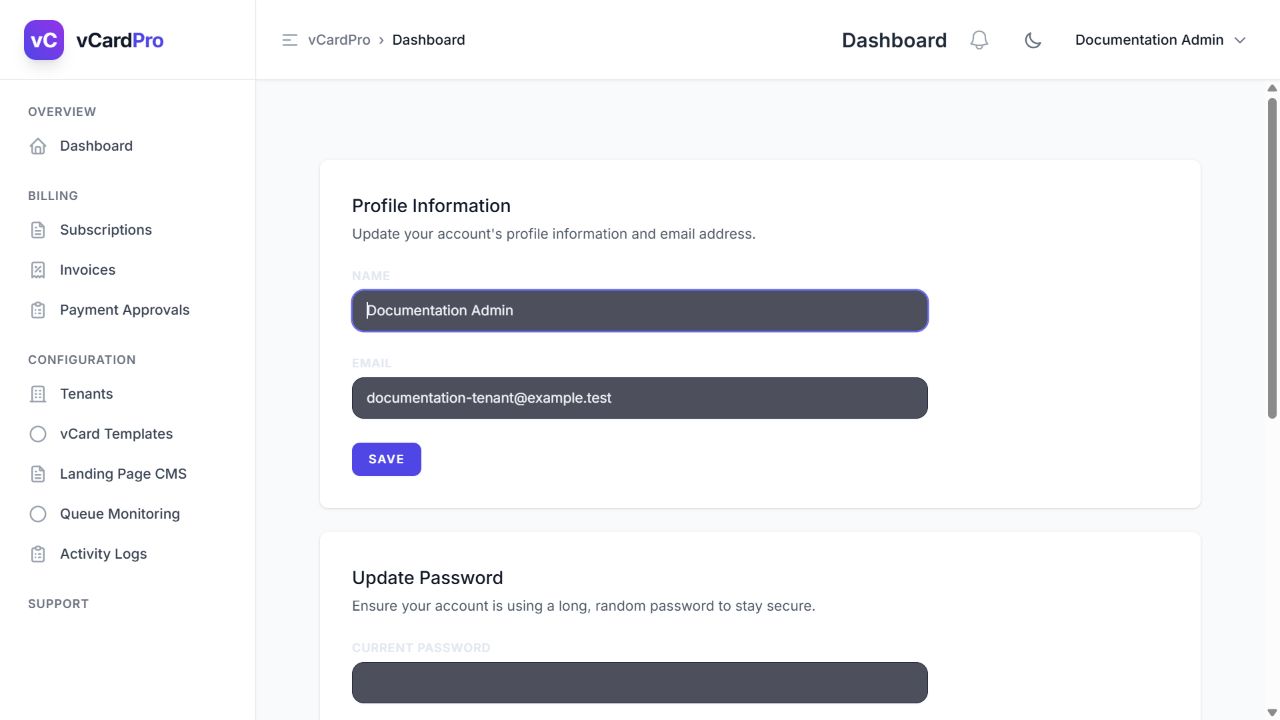
Important: The profile page’s mismatched sidebar does not grant Super Admin access. Return to your normal tenant dashboard at the site’s /tenant path. Delete Account is permanent, not a sign-out control; do not use it unless you intend to remove the account and understand the impact.
Read notifications#
Your notification inbox is available at the site’s /tenant/notifications path. It lists message title, type, date, and available actions, with search and pagination. Open a listed message to read its details and use a mark-read action when available.
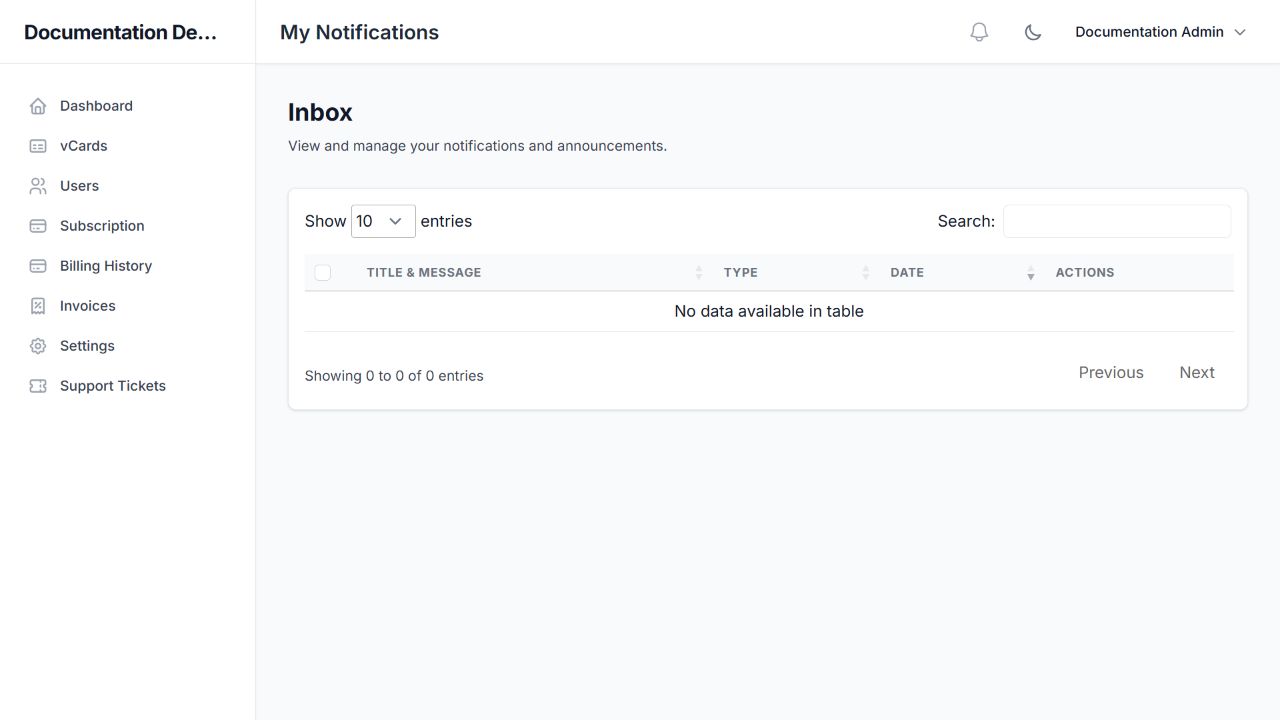
Note: The tenant bell button did not open the inbox in the reviewed installation. Until this is corrected, use the direct /tenant/notifications address on your own site. This is an installation limitation, not a step you missed.
vCards#
Use vCards to create and manage your digital business cards. The list displays your used quota and remaining allowance. Search by card details, filter Active/Inactive, and sort Newest First, Oldest First, or Name (A–Z).
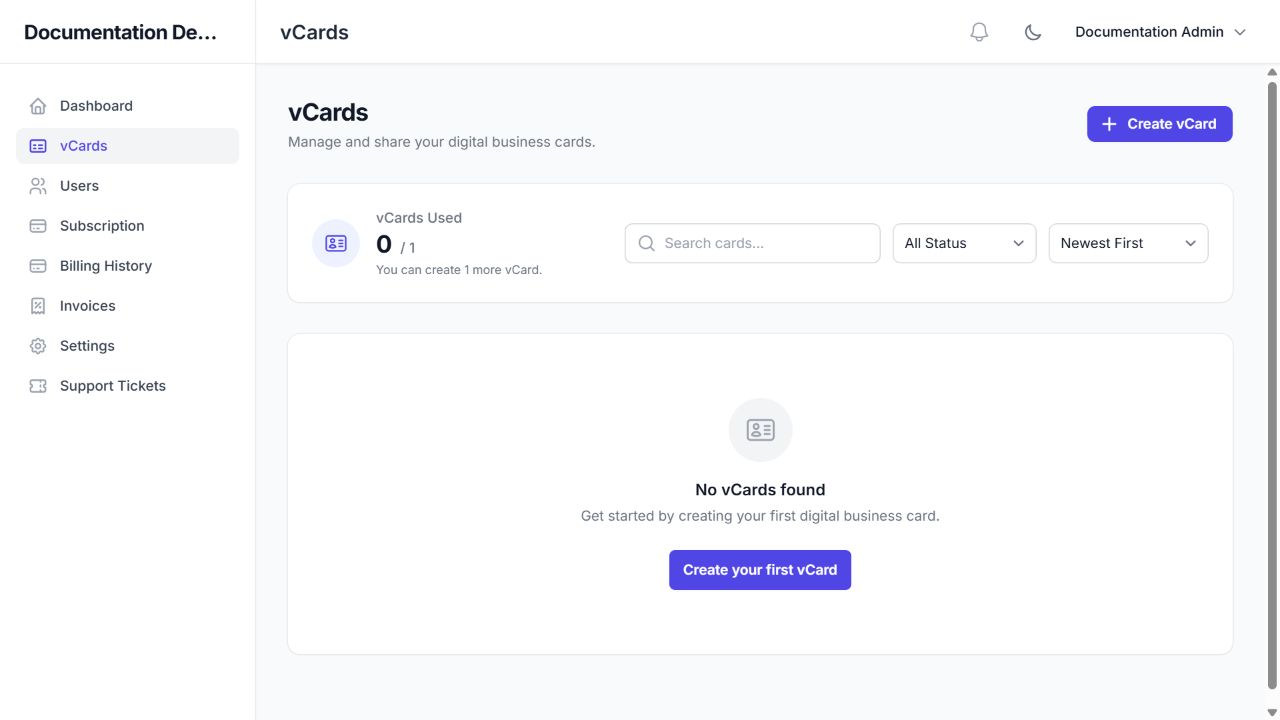
Create your first card#
- Choose Create vCard or Create your first vCard.
- Complete Basic Info, then work through Images, Contact, Social Links, and Services as needed. These tabs belong to the same card form.
- Keep Status set to Inactive while preparing a card that should not yet be public.
- Choose Save vCard. Confirm a success message or that the card appears in the list. Correct any displayed errors and save again.
- When ready for publication, verify the content and change the status to Active. Test the public link before distributing it.
Important: Both active and inactive cards count toward the vCard quota. At the limit, you must resolve the quota with your administrator or remove an unneeded card before creating or duplicating another. Deactivation alone does not free a card slot.
Manage an existing card#
When cards exist, use Edit to change their content and the card’s action menu to activate, deactivate, duplicate, or delete as offered. Use the public-view/link controls to inspect the published address. The demonstration workspace has no saved cards, so the list screenshot shows the real empty state rather than fabricated entries.
- Edit: update the relevant editor tab and save. Verify the resulting card after changes.
- Activate / Deactivate: Active makes the card publicly accessible; Inactive hides it from visitors.
- Duplicate: creates an inactive copy with a new slug and copied text/links. Profile, cover, and service image files are not copied, and the custom domain is cleared. Review the new slug and re-upload images. Duplication requires a spare quota slot.
- Delete: removes the card. Treat this as permanent and review all distributed links, printed QR codes, and NFC tags first.
Share by link, QR, or NFC#
- For an active card, use Copy Link to copy its canonical public address, in the form
https://your-site.example/c/your-slug. - Open its QR control. The QR dialog offers Download SVG and Copy Link. SVG is suitable for scaling in print layouts.
- If your plan includes NFC sharing, open NFC Sharing and copy the Canonical NFC URL. Write that URL to a compatible NDEF NFC tag using your phone’s NFC-writing tool. vCardPro supplies the destination URL; it does not physically program a tag from this panel.
- Test the URL, printed QR code, and programmed tag on another device before distributing them.
Important: Changing the URL slug changes the destination address and can break previously shared links, printed QR codes, and programmed NFC tags. Keep the slug stable once a card has been distributed. A private .test address is not a public customer-facing link.
Note: Card-management, QR, and NFC controls were checked in the application implementation. A draft save could not be confirmed during the walkthrough, and no card was activated merely to obtain a screenshot. The five editor tabs and template preview below were visited directly.
Basic Info#
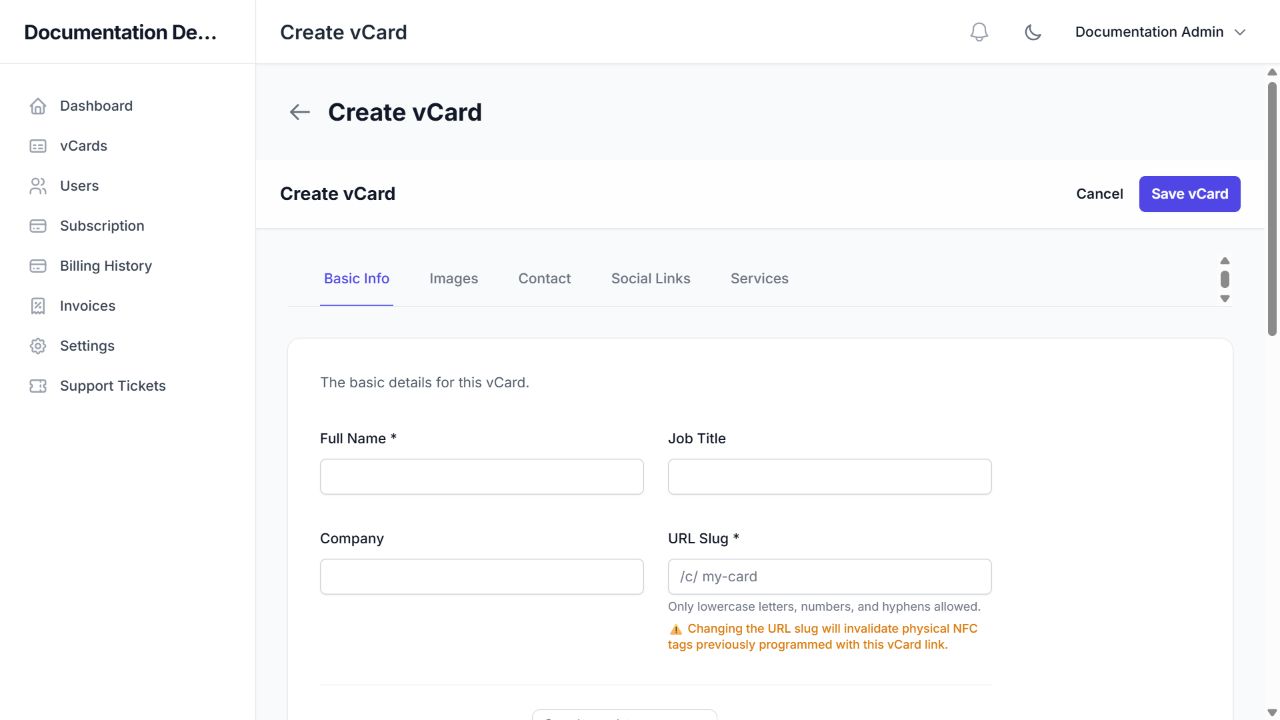
This tab defines the card identity and design. Asterisks mark required fields.
| Field | How to complete it |
|---|---|
| Full Name | Required. Enter the name that visitors should see. |
| Job Title / Company | Optional professional role and organization. |
| URL Slug | Required, unique, up to 100 characters. Use lowercase letters and numbers separated by single hyphens, such as alex-morgan. Avoid spaces and leading/trailing hyphens. |
| Template Gallery | Search or filter the catalogue by All, Business, Creative, Professional, Lifestyle, or Personal. |
| Bio / About Me | An optional short introduction, up to 500 characters. |
| Status | Inactive for an unpublished card; Active when it is ready for public access. |
Preview and select a template#
Choose Preview to inspect a template’s enlarged preview and description. Close the modal to return to editing. Choose Select for an available design; the selected design is marked Selected. Locked premium designs require the appropriate plan entitlement. In the reviewed Free plan, four designs were selectable: Default, Minimal, Education / Academic, and Personal / Social.
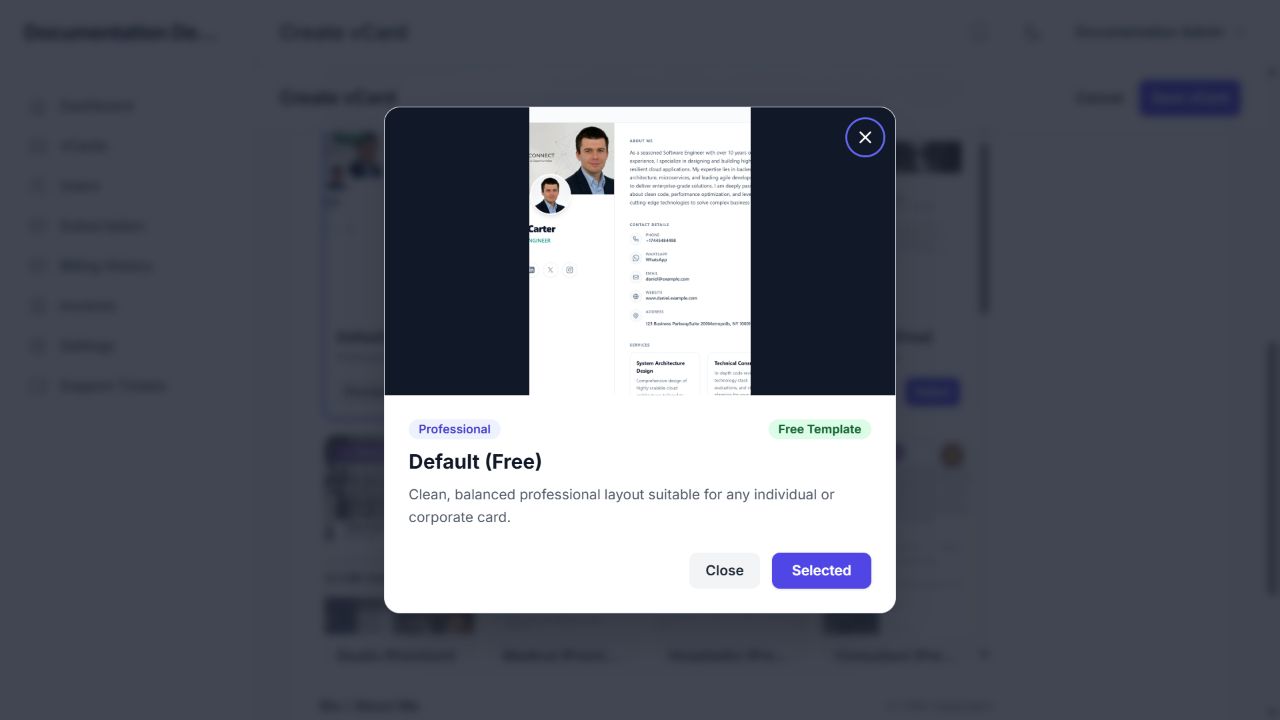
Note: A template preview is a catalogue preview, not confirmation that your card has been saved or published. Ask the platform administrator about premium access; the current tenant center does not support changing an existing plan.
Images#
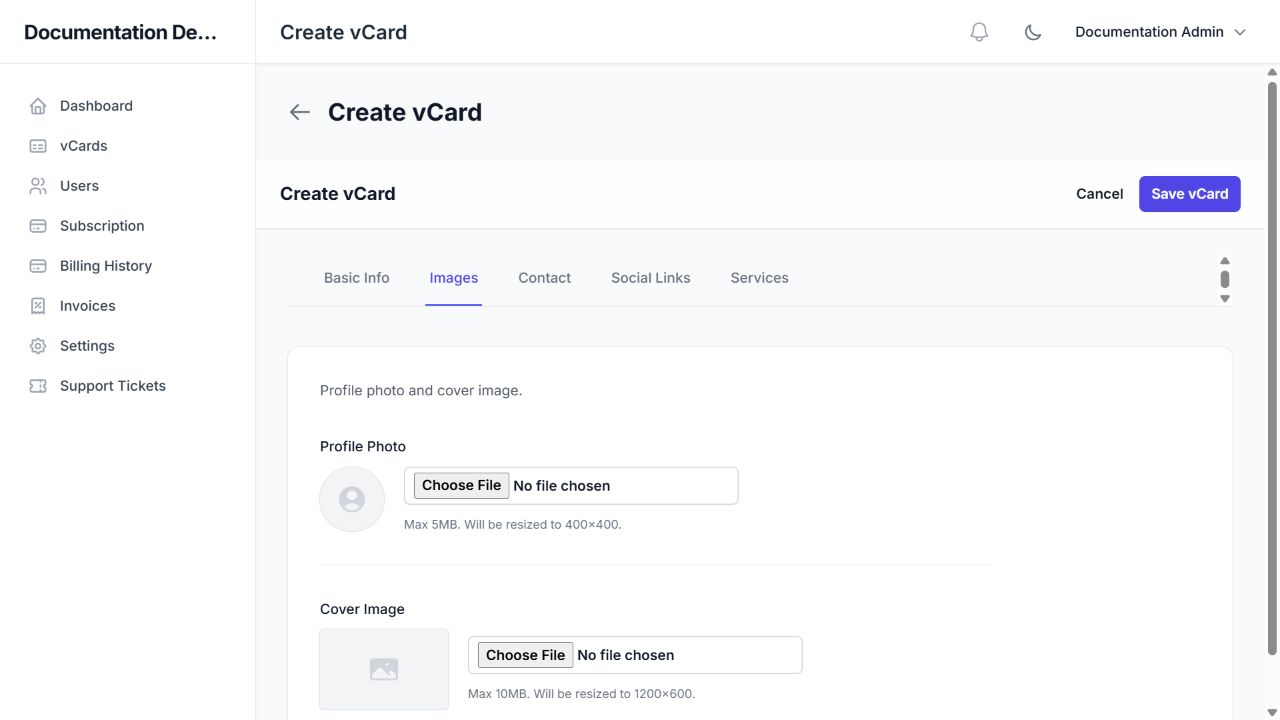
Choose a profile photo and optional cover image. Check cropping and readability before saving. Use images you have permission to publish.
| Image | Accepted input | Processing shown by the application |
|---|---|---|
| Profile photo | JPG/JPEG, PNG, or WebP; up to 5 MB; no more than 2000 × 2000 pixels | Resized for a 400 × 400 profile area. |
| Cover image | JPG/JPEG, PNG, or WebP; up to 10 MB; no more than 4000 × 4000 pixels | Resized for a 1200 × 600 cover area. |
If an upload is rejected#
Check the file format, byte size, and pixel dimensions independently. A small file can still exceed the pixel limit. Export a suitable image and choose it again. When editing, use the displayed remove/replace controls deliberately, then save the card.
Contact#
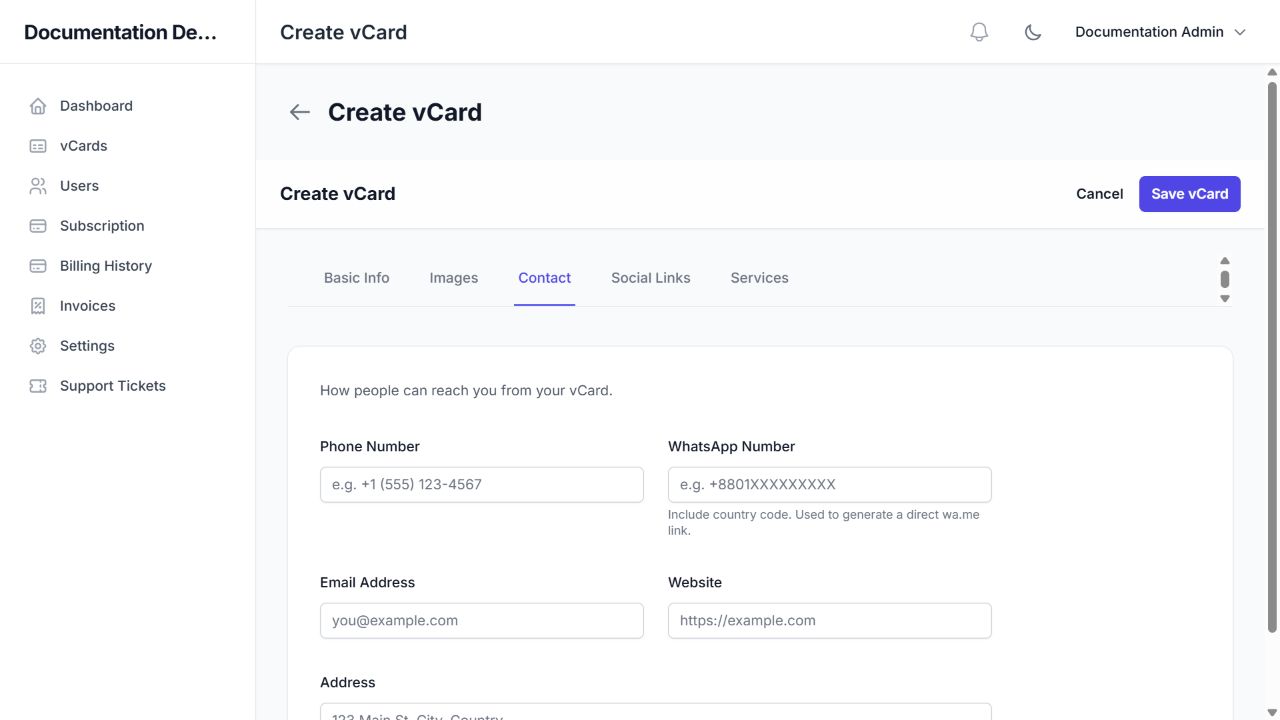
Enter the contact methods you want visitors to use. Include the country code in phone and WhatsApp numbers. The WhatsApp value is used to build a direct wa.me link. Enter a valid email address, website URL, and optional address.
Check public contact details#
Use complete https:// website addresses to avoid ambiguity. Test every public action after publication. Only enter an address or number you are comfortable making public. The reviewed editor does not display a custom-domain setup field for this Free tenant; ask the platform administrator about entitlement and infrastructure requirements instead of assuming a domain is configured automatically.
Social Links#
- Choose Add Link.
- Select Facebook, Instagram, LinkedIn, X (Twitter), YouTube, TikTok, or WhatsApp from the Platform field.
- Paste the complete profile URL. Both platform and URL are required for each added row.
- Repeat for the other profiles you need. Use Remove on an unwanted row, then save the whole card.
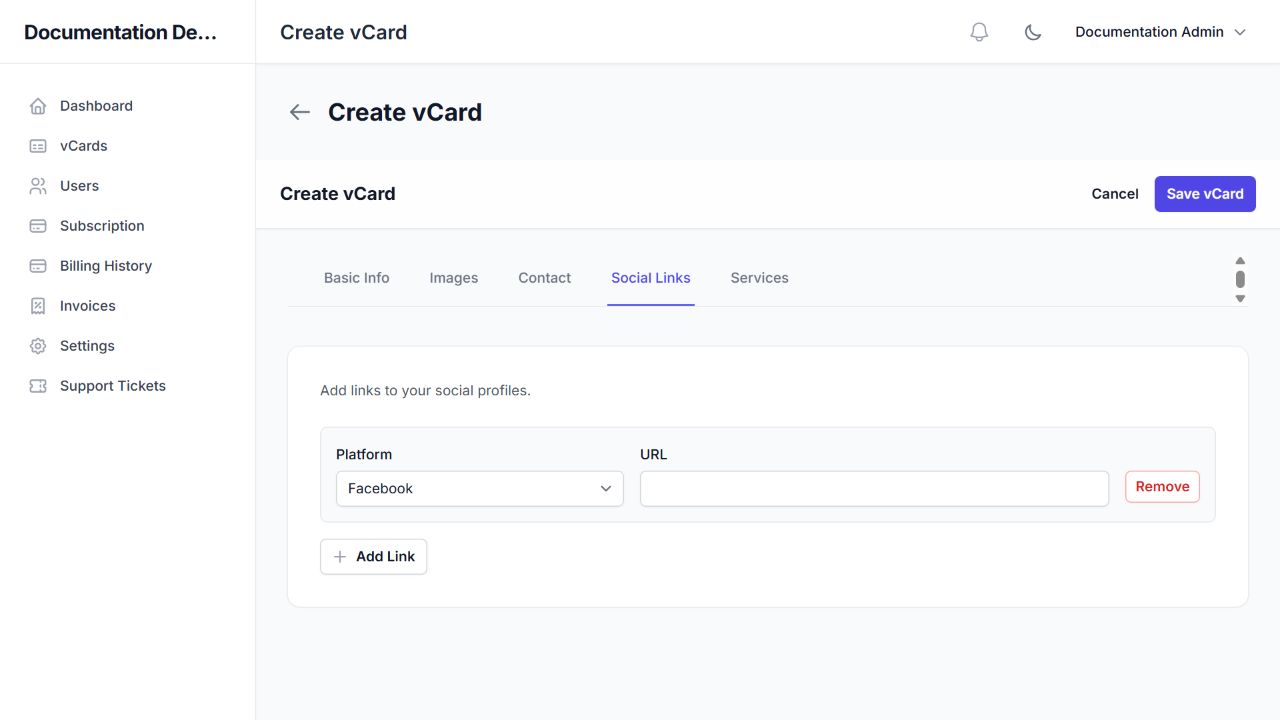
Note: The application accepts up to 50 social-link rows. Do not leave an added row with an empty URL. Check that the link points to the intended public profile rather than a private account-management page.
Services#
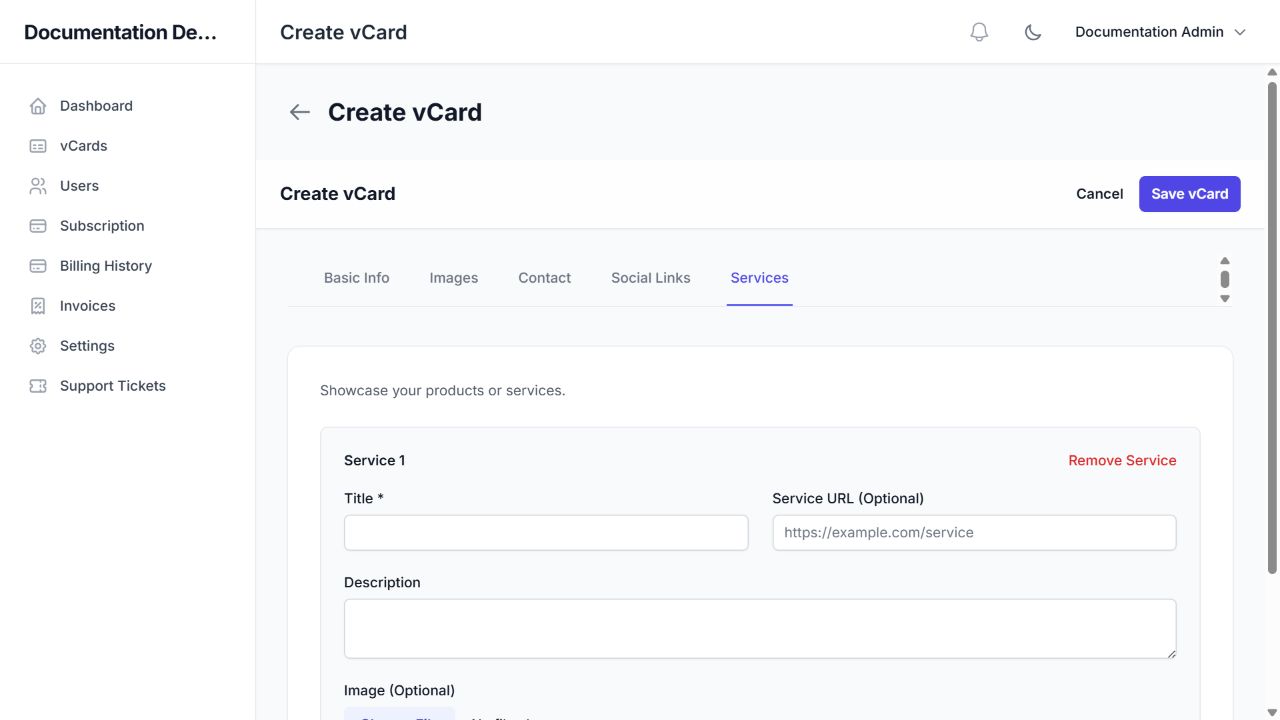
- Choose Add Service.
- Enter a Title. Optionally add a description, a service URL, and an image.
- Add further items as needed and remove unused service blocks. The form accepts up to 50 services.
- Save the card and review how the selected template displays each service.
Service image requirements#
Use JPG/JPEG, PNG, or WebP, up to 5 MB and no more than 2000 × 2000 pixels. The application processes service images for a 600 × 600 area. Use a short title and a direct service destination URL; do not leave a newly added service without its required title.
Users#
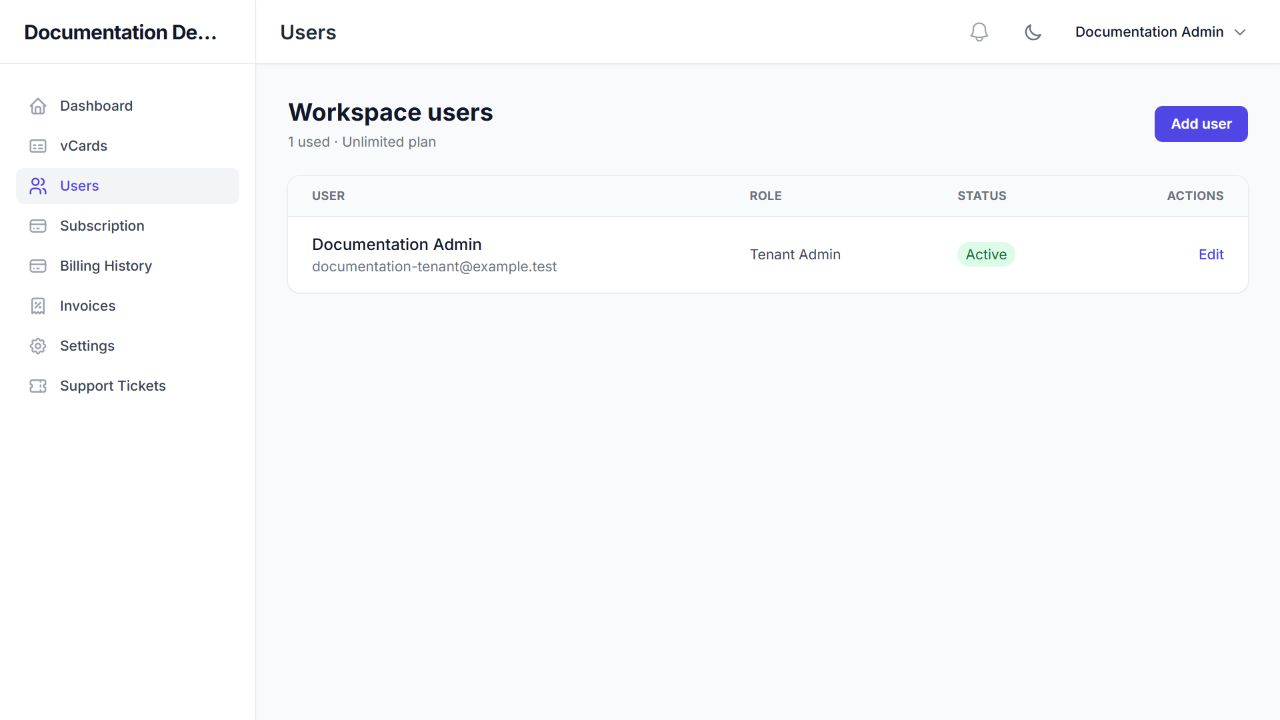
Tenant Administrators use Users to manage workspace access. The list shows each person’s name, email, role, and status, together with the available row actions. The usage summary compares the current user count with the plan allowance.
Add a user#
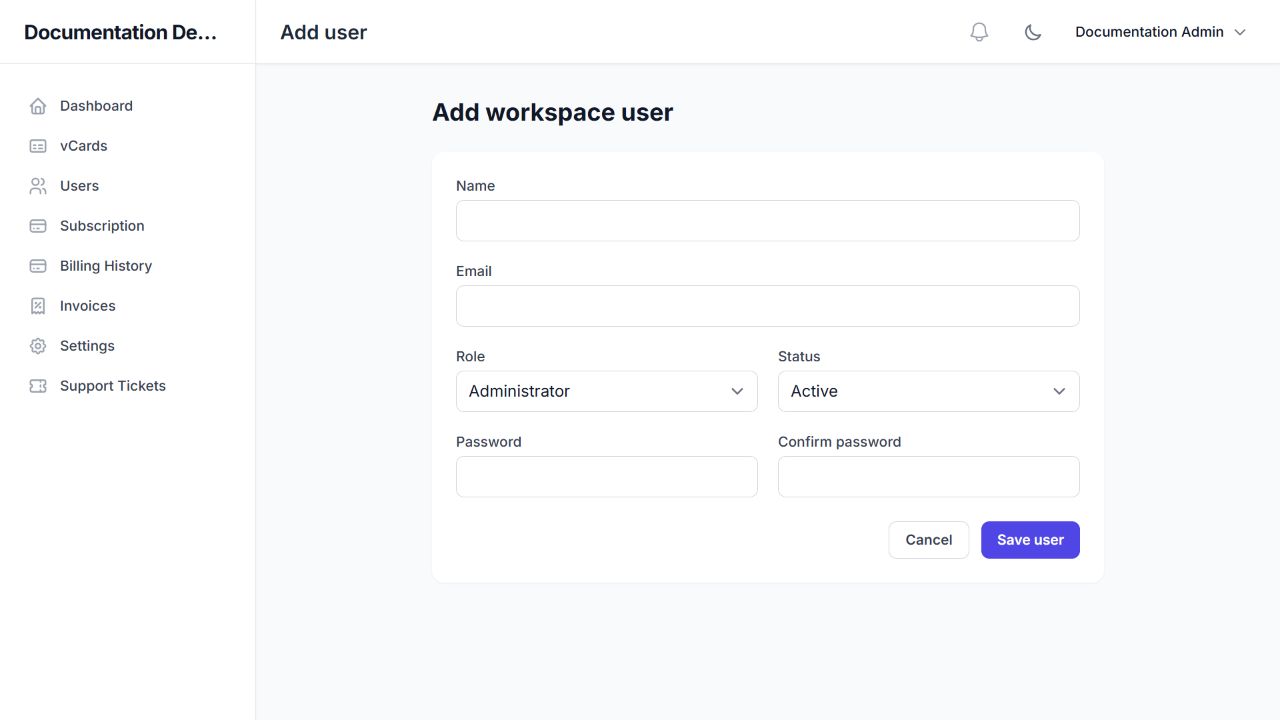
- Choose Add user.
- Enter the user’s Name and Email, then select Staff or Administrator. Give administrator access only when the person needs to manage the workspace.
- Choose Active or Inactive. Enter a password of at least eight characters and repeat it in Confirm password.
- Choose Save user and verify the new row. Provide credentials through a private channel rather than a public note or support thread.
Edit or remove access#
Choose Edit on the intended user. You can change their identity details, role, and status. Leave the password blank to keep the current password; enter and confirm a new one only for an intended reset. Save and verify the row.
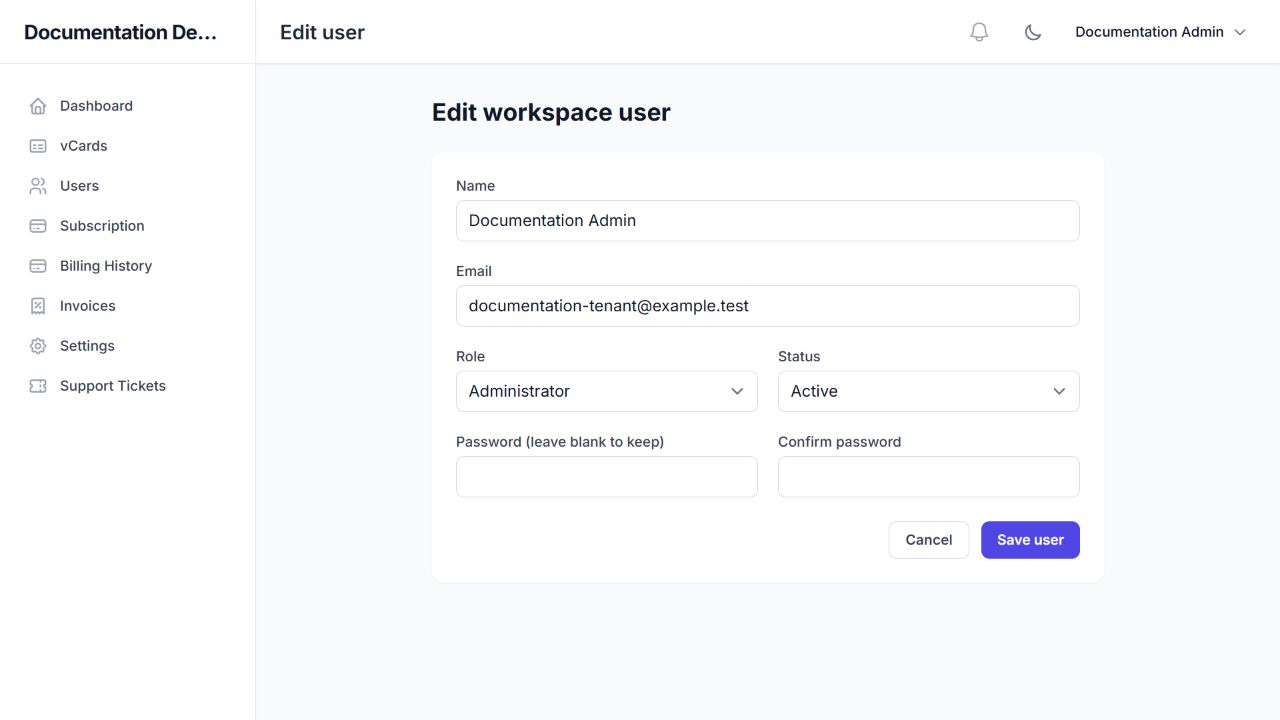
Important: The application protects the last active tenant administrator from being demoted or deactivated. You cannot delete your own account from the user list, and the last tenant administrator cannot be deleted. Keep a valid administrator available before changing access.
Why a menu or add-user action is missing#
Available menus depend on permissions, and adding users can be limited by the plan. Ask an existing Tenant Administrator or the platform support team to review your role and quota. Do not use another person’s account to work around access restrictions.
Subscription#
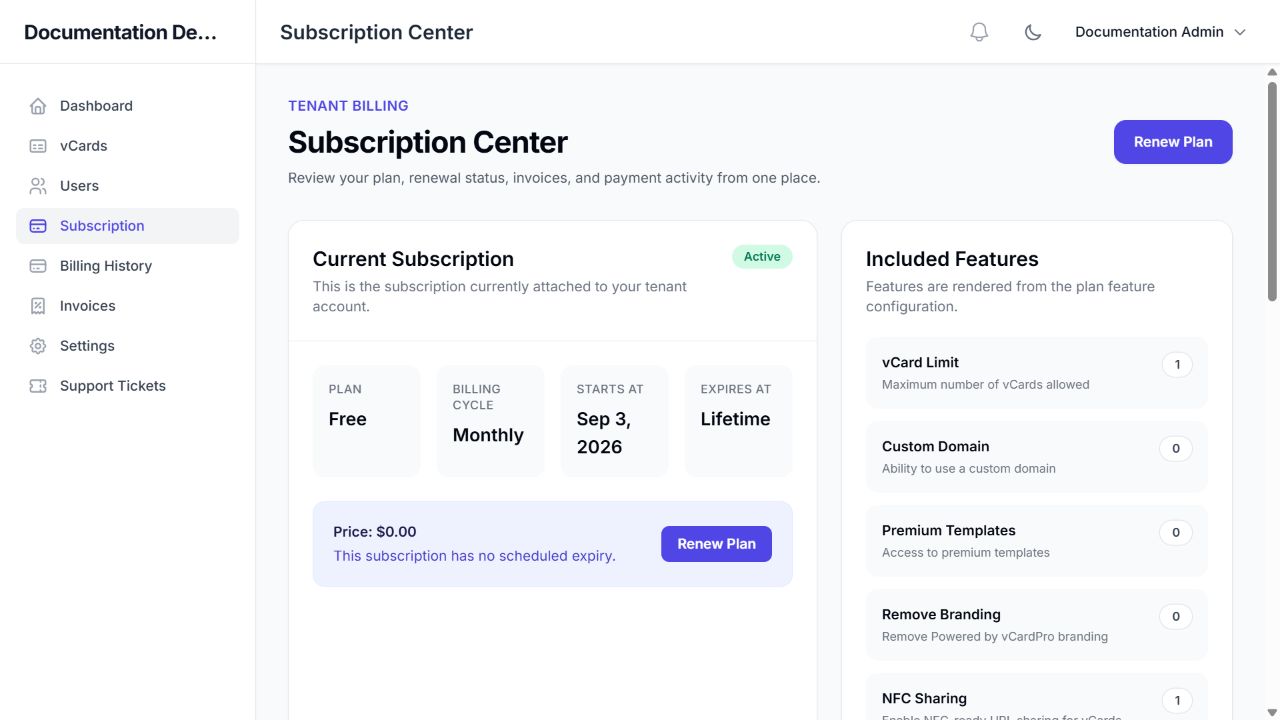
Subscription Center is the main place to review your current plan, billing cycle, service dates, included features, subscription invoices, and recent payment attempts.
Understand your plan#
Check the plan name, status, price, billing cycle, start, and expiry. “Lifetime” in the expiry field means no scheduled expiry; it can appear on this installation’s Free monthly plan. Included Features displays values supplied by the platform: a number for a quota, unlimited for no fixed quota, and usually 1/0 for enabled/disabled features.
Renew your current plan#
- Review the current plan, service dates, and any outstanding invoice first.
- Use Renew Plan or Renew Current Plan only when you intend to renew. These controls can submit the renewal request directly; do not click them merely to explore.
- For a paid renewal, follow the issued invoice/payment path presented by the application. For an expired plan, the available action may be Reactivate.
- Return to Subscription Center and confirm the resulting status and service dates. A free/no-expiry plan may not need a scheduled payment.
Important: The reviewed interface explicitly defers switching an existing plan and proration. Available Plans is therefore not an upgrade checkout for a tenant that already has a subscription. Contact the platform administrator if you need a different plan.
Choose a first plan when no subscription exists#
When there is no subscription, the application can show Activate Free Plan or Choose Plan & Pay on available plans. Choose the intended plan, review the charge, and complete the presented process. If the state is Pending Payment, use the displayed Pay Invoice Now action rather than repeatedly starting a purchase.
Complete a payment when an invoice is payable#
- Open the invoice payment action offered by Subscription Center. Confirm the invoice number, total, and currency. Checkout currently accepts issued invoices; contact support if an overdue invoice has no working payment action.
- Choose one of the enabled gateways. If no gateway is available, contact platform support.
- For Manual Bank Transfer, follow the displayed bank instructions and submit the requested payment proof after making the transfer. Proof must be JPG/JPEG, PNG, or PDF and no larger than 10 MB. Wait for the administrator’s review; uploading proof is not immediate approval.
- For an online provider, continue to its secure payment flow and complete the payment there.
- Return to the workspace and check the invoice, payment-attempt status, and subscription. If the outcome is unclear, ask support to reconcile the reference before paying again.
Note: The review used a Free tenant and did not create a paid invoice or execute a payment. Payment and no-subscription instructions above were checked against the application’s conditional screens and handlers. Enabled methods and actual charges depend on your platform configuration.
Billing History#
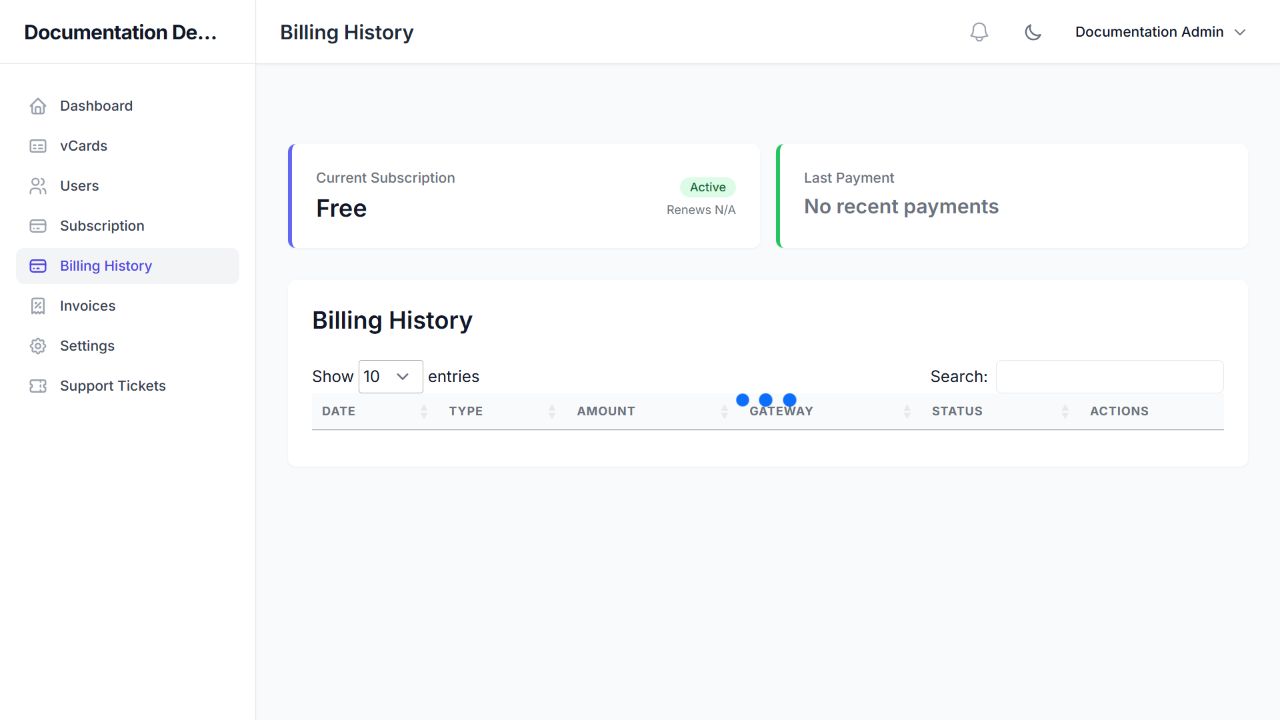
Billing History summarizes the current subscription and most recent payment, followed by a table of recorded billing activity. It is useful for finding the date, type, amount, gateway, and status of a previous transaction.
Find a previous payment#
- Use Search to narrow the table and choose 10, 25, 50, or 100 entries per page as needed.
- Inspect the transaction date, amount, gateway, and status. Open any available row action for more detail.
- Cross-check the related invoice in Invoices or Subscription Center if you need the billing document.
Note: “No recent payments,” “Renews N/A,” or an empty table can be normal for a Free or newly created workspace. A receipt uploaded for manual review may remain pending until the platform administrator verifies it.
Invoices#
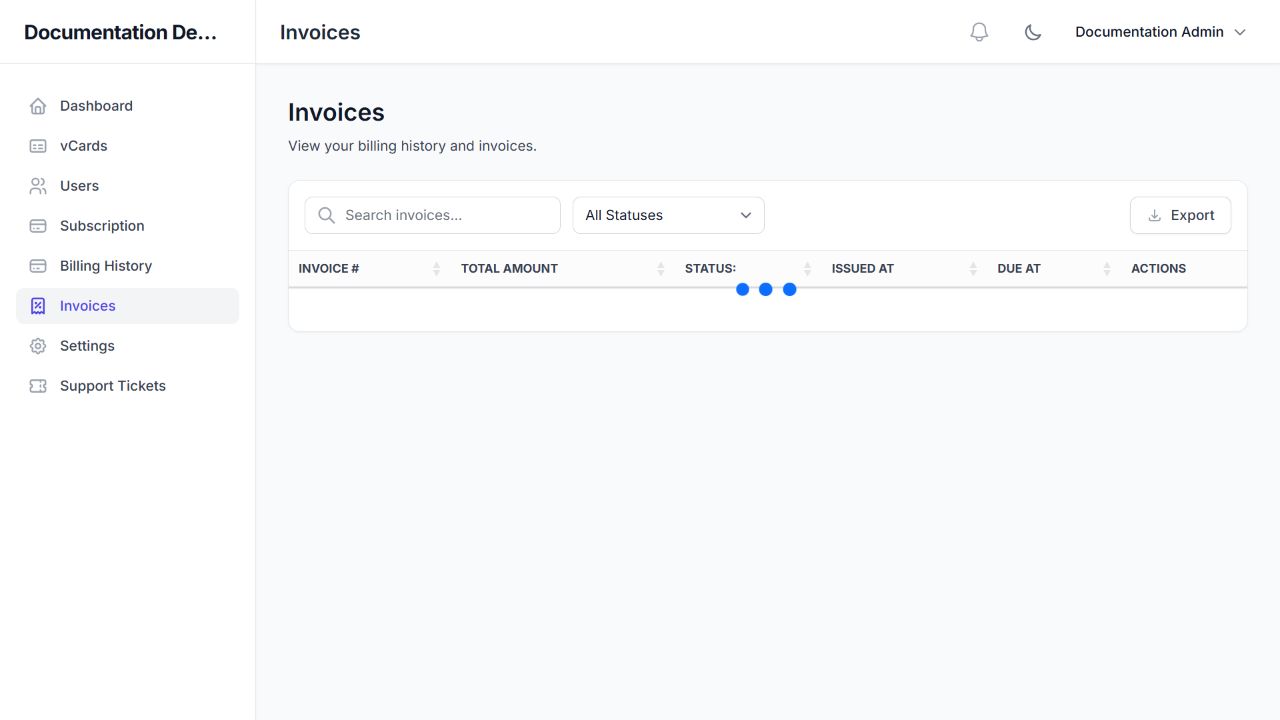
Invoices lists the billing documents belonging to your tenant. Use search and the status filter to locate a specific document, and Export when you need a list for your records.
Read or download an invoice#
- Open the invoice through its row action.
- Check the invoice number, billing identity, issue and due dates, line items, currency, tax, and total.
- Use the PDF download action to save the invoice. Keep it with your own billing records.
- For a payable subscription invoice, use the payment action available in Subscription Center. Do not assume every invoice state can be paid.
Understand the status#
| Status | Meaning for you |
|---|---|
| Draft | A billing document still being prepared. |
| Issued | Issued and awaiting settlement. |
| Overdue | Past its due date and still outstanding. |
| Paid | Recorded as settled. |
| Cancelled / Void | Not a current payable invoice; contact support if you believe it should be active. |
Tenants do not mark their own invoices paid. If you believe a payment is missing, open a support ticket with the invoice number, payment reference, date, and amount. Do not include account passwords or full card details.
Note: The invoice list was visited, but the demonstration tenant had no invoice records to open. The PDF/detail workflow was verified from the application’s invoice screens.
Settings#
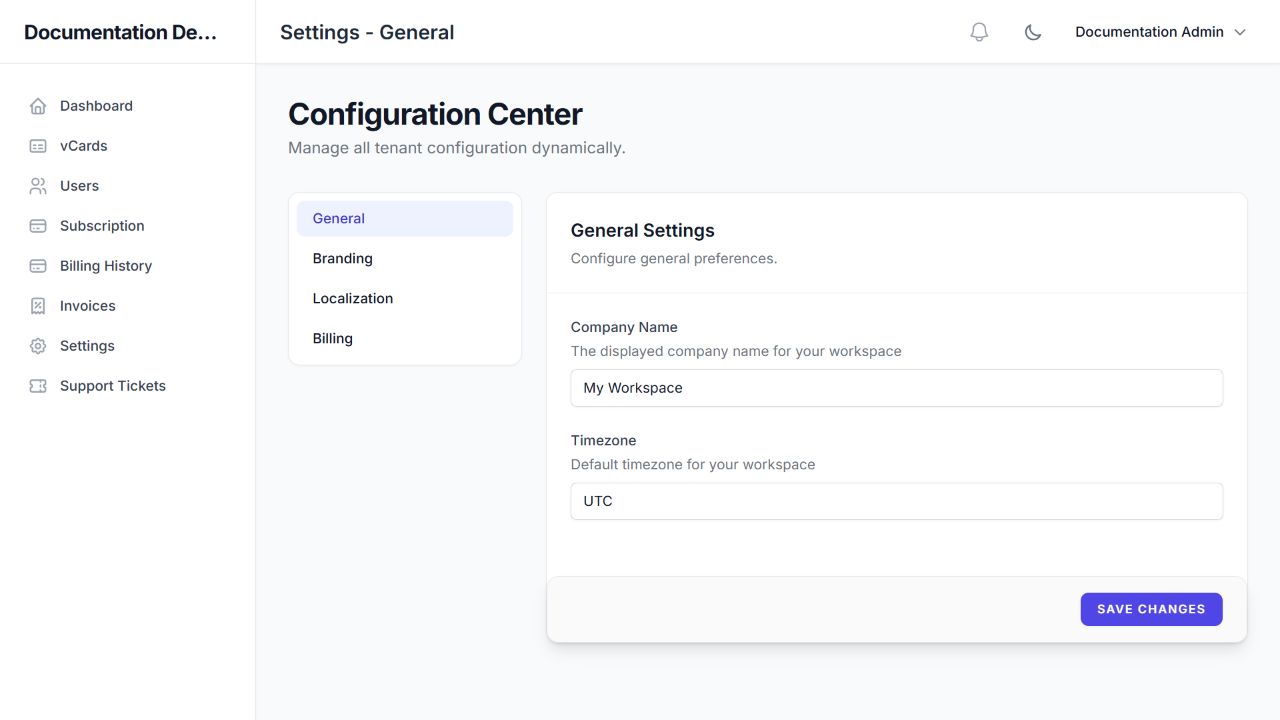
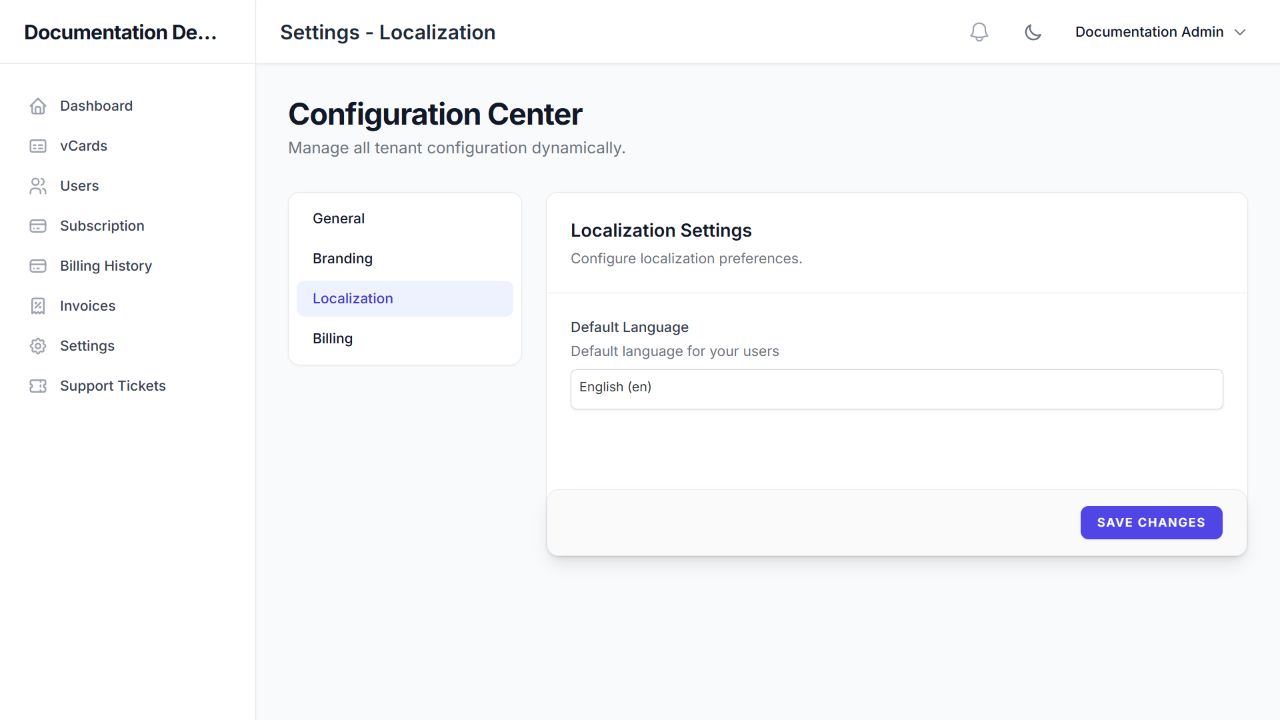
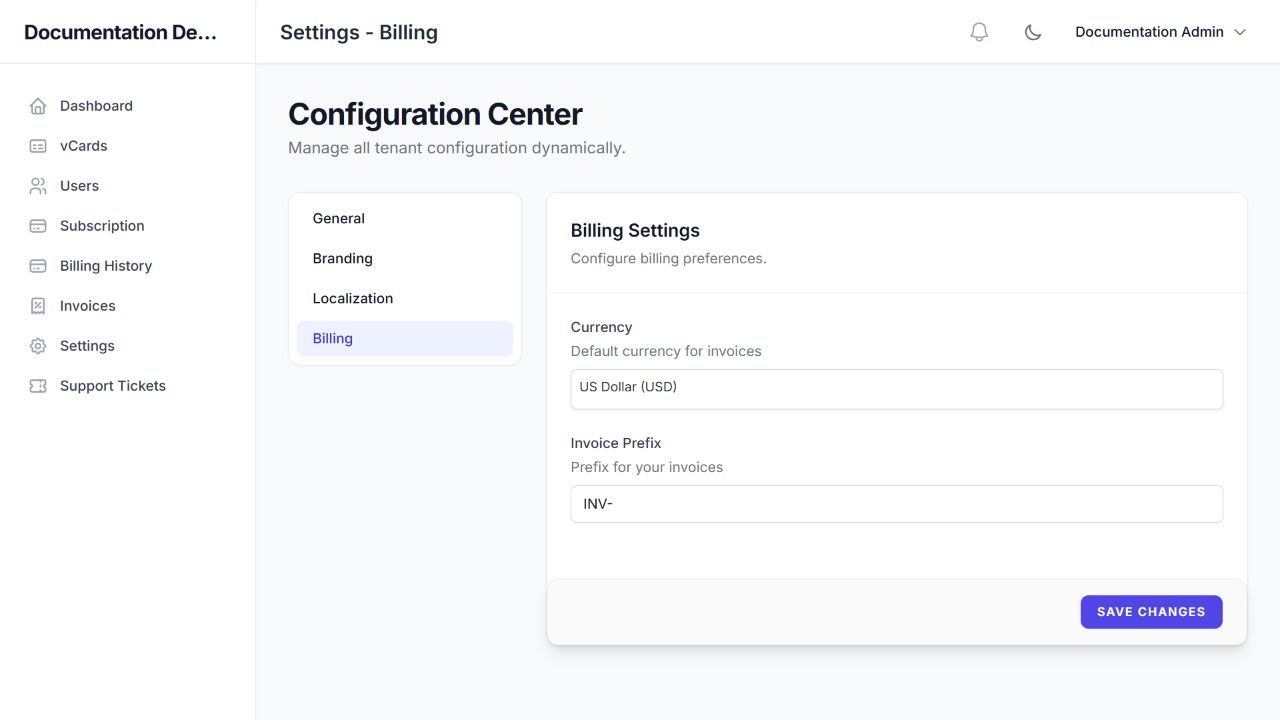
The tenant Configuration Center contains four categories. These settings belong to your workspace. Open a category, change the intended fields, and choose Save Changes before leaving the page.
General#
Set the displayed Company Name and default Timezone for the workspace. The initial company-name setting can differ from the tenant account name shown in the sidebar. Check both before reporting a naming discrepancy.
Branding#
Upload your workspace logo and favicon, and enter the primary brand color as a hexadecimal value, such as #4F46E5. Use appropriately sized images and review the result after saving. Follow any validation errors for the selected file.
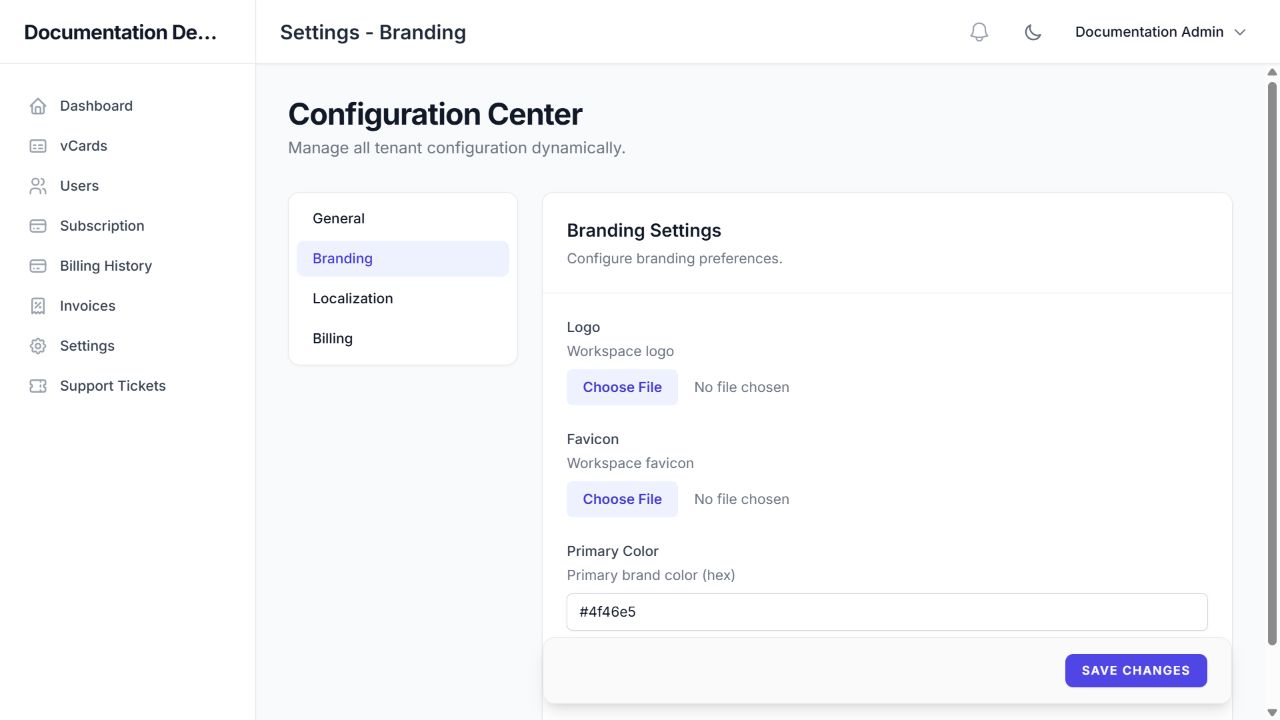
Note: Workspace branding settings are separate from the plan entitlement that removes “Powered by vCardPro” from public cards. Saving a logo does not automatically grant branding removal.
Localization#
Choose the default language for your users and save. Review the main pages afterward. A listed language may not have every translation completed in your installed version; report untranslated labels to platform support.
Billing#
Choose the workspace’s default invoice currency and invoice prefix. Review these with the person who manages your accounting. A preference change does not itself convert amounts, revise an existing invoice, or change your subscription price.
Support Tickets#
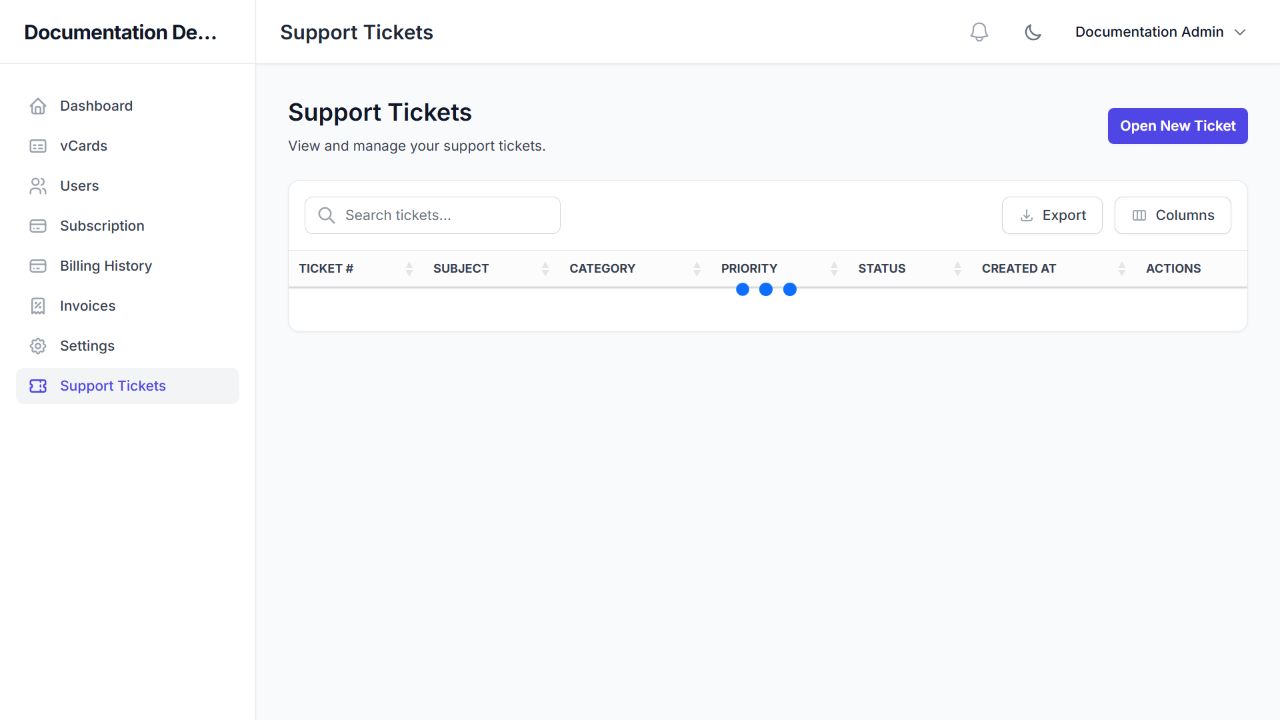
Use Support Tickets to communicate with the platform support team. The list shows ticket number, subject, category, priority, status, and creation time. Search or sort the table to find a previous conversation; Export and Columns are available.
Open a support request#
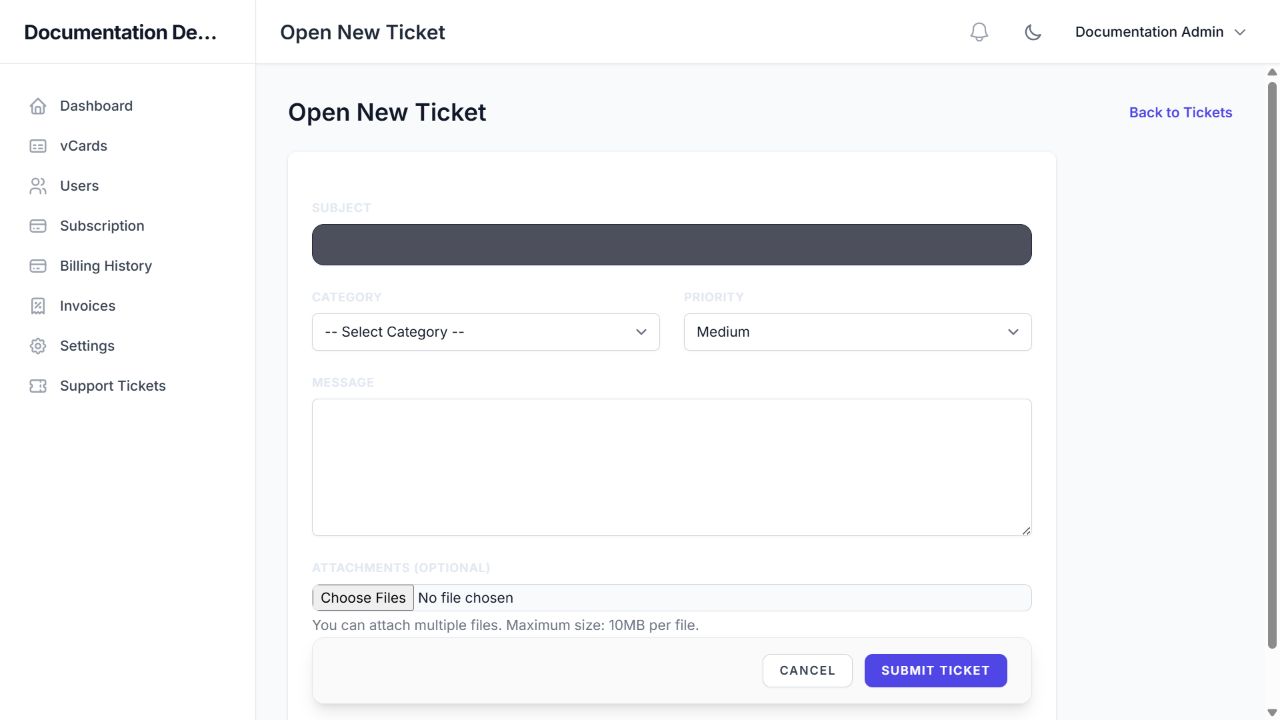
- Choose Open New Ticket.
- Write a specific Subject and choose Billing, Technical Support, General Inquiry, or Feature Request.
- Choose Low, Medium, High, or Urgent priority to match the actual impact.
- Describe what you were doing, what happened, what you expected, and any reproducible steps. For billing questions, include the invoice/payment reference.
- Attach useful screenshots or documents if needed. Review the message for private information, then choose Submit Ticket.
- Confirm the ticket appears in the list and keep its ticket number for follow-up.
Allowed attachments#
Each file may be up to 10 MB. Supported formats are PDF, JPG/JPEG, PNG, WebP, TXT, CSV, DOC/DOCX, XLS/XLSX, and ZIP. Multiple attachments are allowed. Remove unnecessary personal information from diagnostic files before sending them.
Reply, close, or reopen#
Open an existing ticket to read the conversation and attachments. Add a reply when you have requested information or need to clarify the issue. Close a resolved ticket; reopen it if the same issue needs further work. Keep follow-up about the same issue in the existing ticket so the history stays together.
Important: Never send your password, secret keys, or full payment-card details in a ticket. For a suspected incorrect charge, supply the transaction reference and let support reconcile it instead of paying again.
Note: The create form and empty list were visited. No ticket was sent just to generate a screenshot, so conversation and close/reopen instructions were checked against the application implementation.
Need a hand?
Our support team can help you continue.
Tell us which step you are on and include a screenshot when possible.