Installation
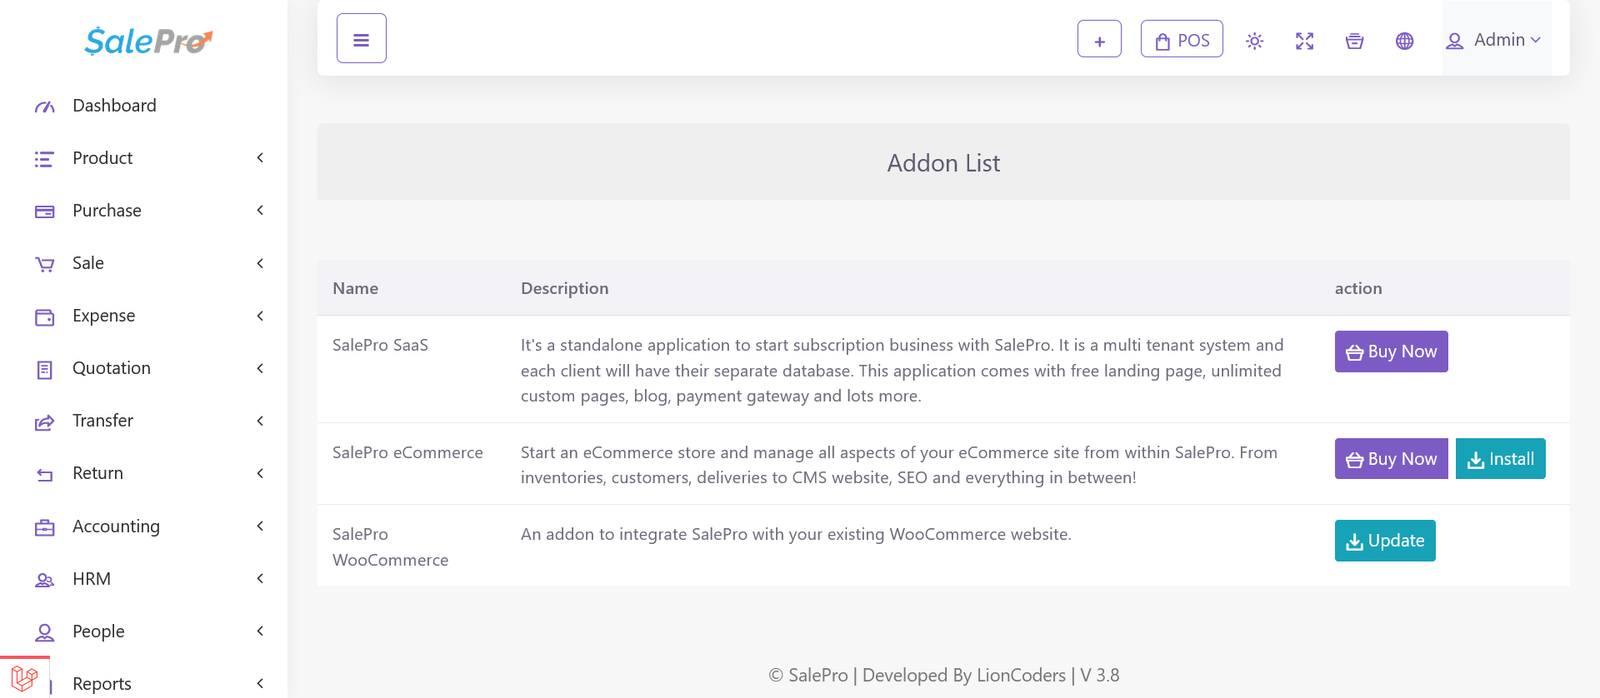
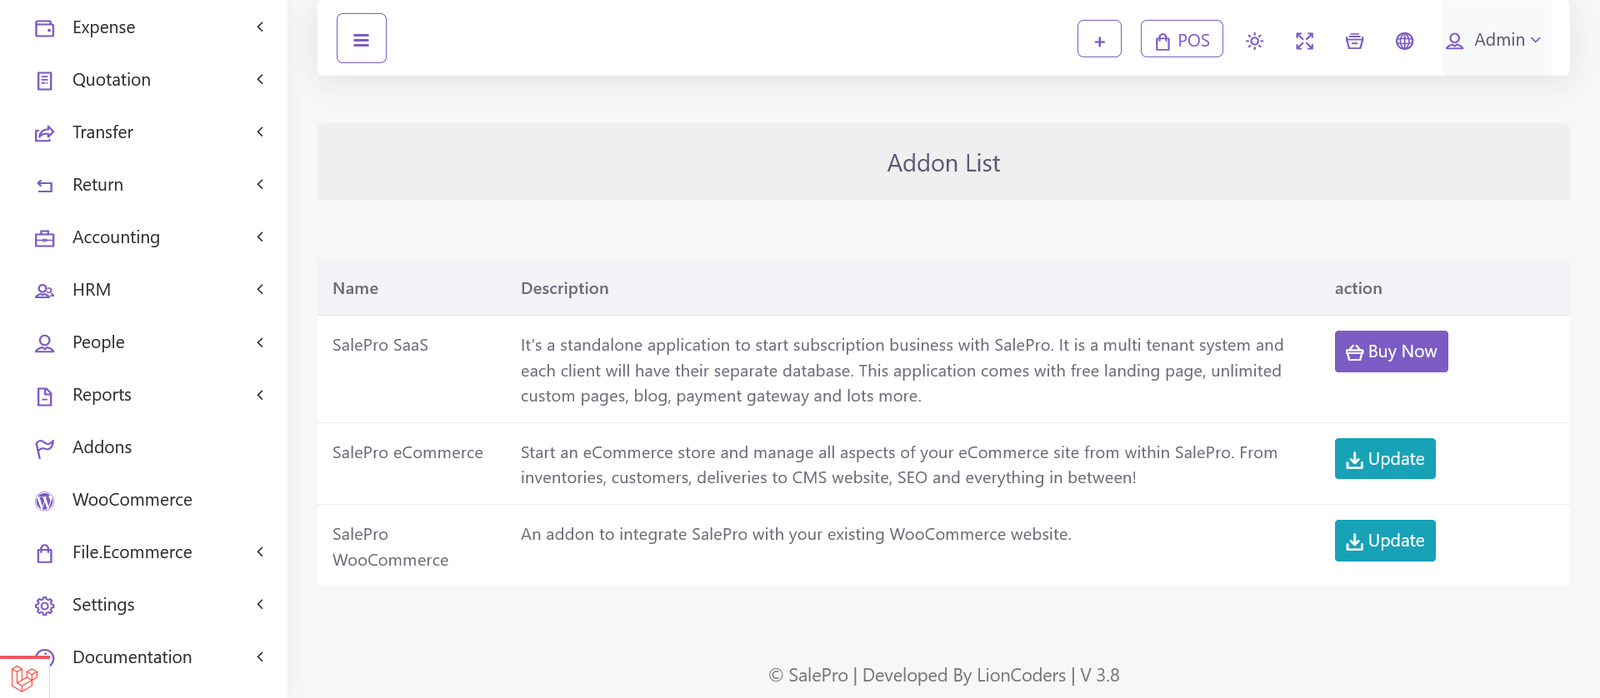
It is presumed that you already have SalePro installed on your server. If you login to SalePro, you should see ‘Addon List’ menu item on your admin panel/dashboard sidebar. Click ‘Addon List’ and on the following page you should see ‘SalePro eCommerce’ listed along with other Add-ons. Unless already installed, it should show ‘Buy Now’ and ‘Install’ button. When installed, it will show ‘Update’ button.
To purchase this addon click the ‘Buy Now’ button. If you have already purchased, click the ‘Install’ button
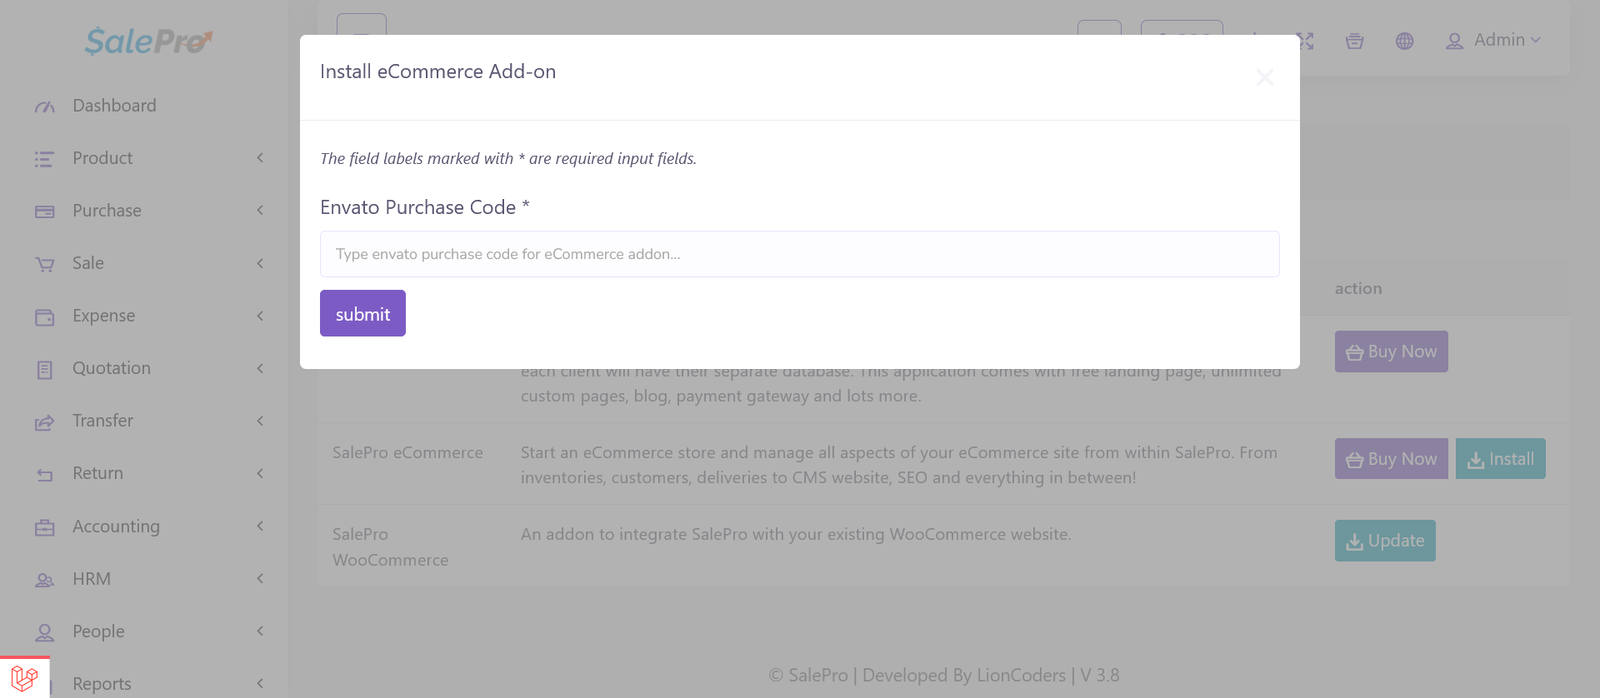
Type your purchase key which you will get from the envato during the purchase. Then click on the submit button. If your purchase key is correct then the addon will be installed automatically and you will see a new option on the left side bar named eCommerce.
If you go to the eCommerce menu on dashboard sidebar, you’ll see all necessary options to manage an eCommerce store – both backend and CMS/frontend.
Update
When we release an update you can update it automatically from the addon list page. You’ll have to insert your purchase code for updating the system (just like installation) and updates will be automatically imported to your server and installed
Product
Adding product for eCommerce is just like adding product for POS/inventory in SalePro.In addition to existing input fileds on ‘Add Product’ page, few eCommerce specific input fields are added. These input options are listed right at the bottom of the ‘Add Product’ page.
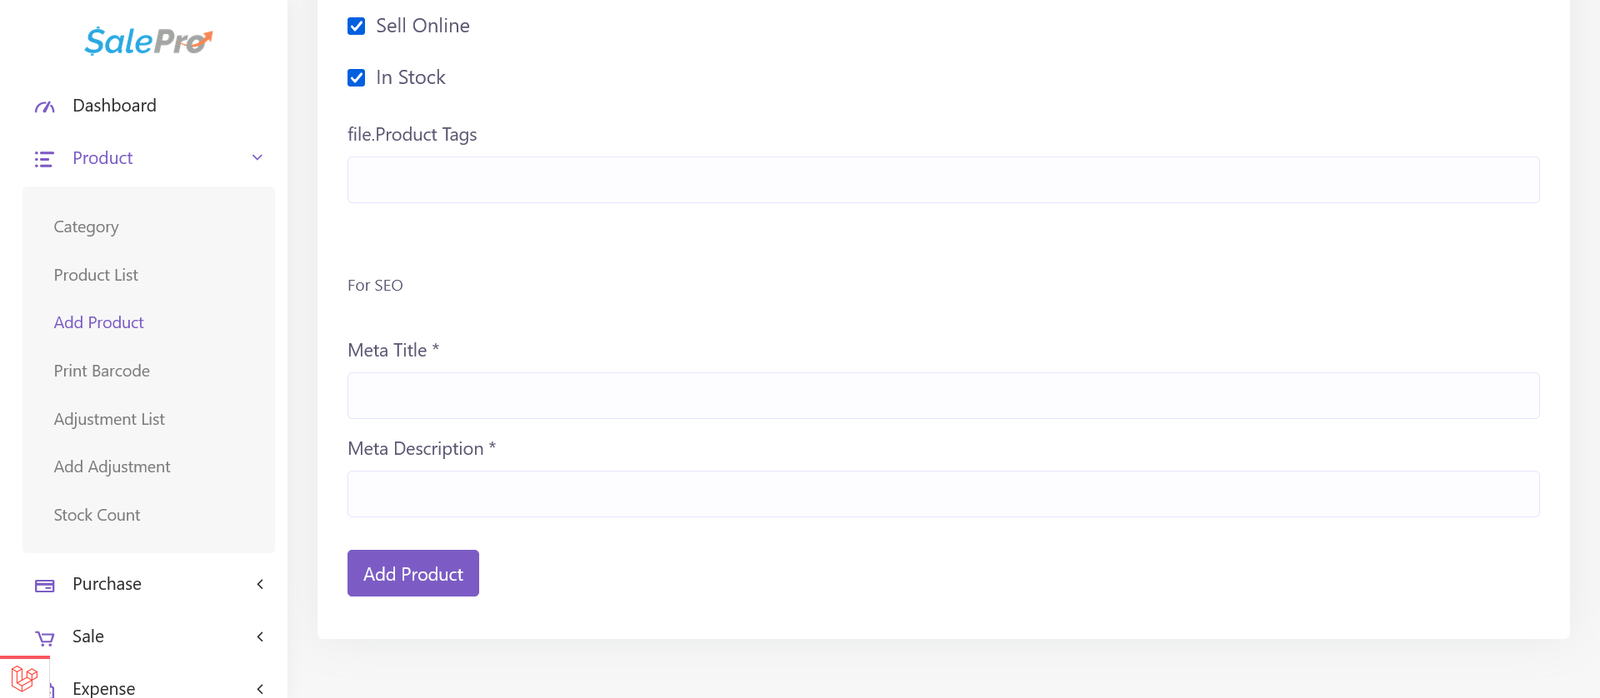
Sell product online
By default ‘Sell Online’ option is checked. If you don’t want to list some of your products on your eCommerce website, uncheck the checkbox while adding/editing those products.
Note: If you have been using SalePro before purchasing the eCommerce add-on, you’ll have to edit the products you want to list on your eCommerce website and check this option for those products.
In Stock
Products listed on your eCommerce website will show ‘Add to cart’ button if the ‘In Stock’ option is checked. Otherwise, it will show ‘out of stock’
Product Tags
While adding/editing a product, please insert relevant tags, keywords as these will assist product search option
Product Meta Title and Meta Description
While adding/editing a product, please insert unique meta title and meta description for that specific product. These information will help search engines to index/list the pages on their search results, thereby improve your sales potential.
Category
Category add/edit options are just like SalePro. Few eCommerce specific input fields are added. These input options are listed right at the bottom of the ‘Add Category’ modal on ‘Category’ page in your admin panel. While adding/editing a category, please insert unique meta title and meta description for that specific category. These information will help serch engines to index/list the pages on their search results, thereby improve your sales potential.
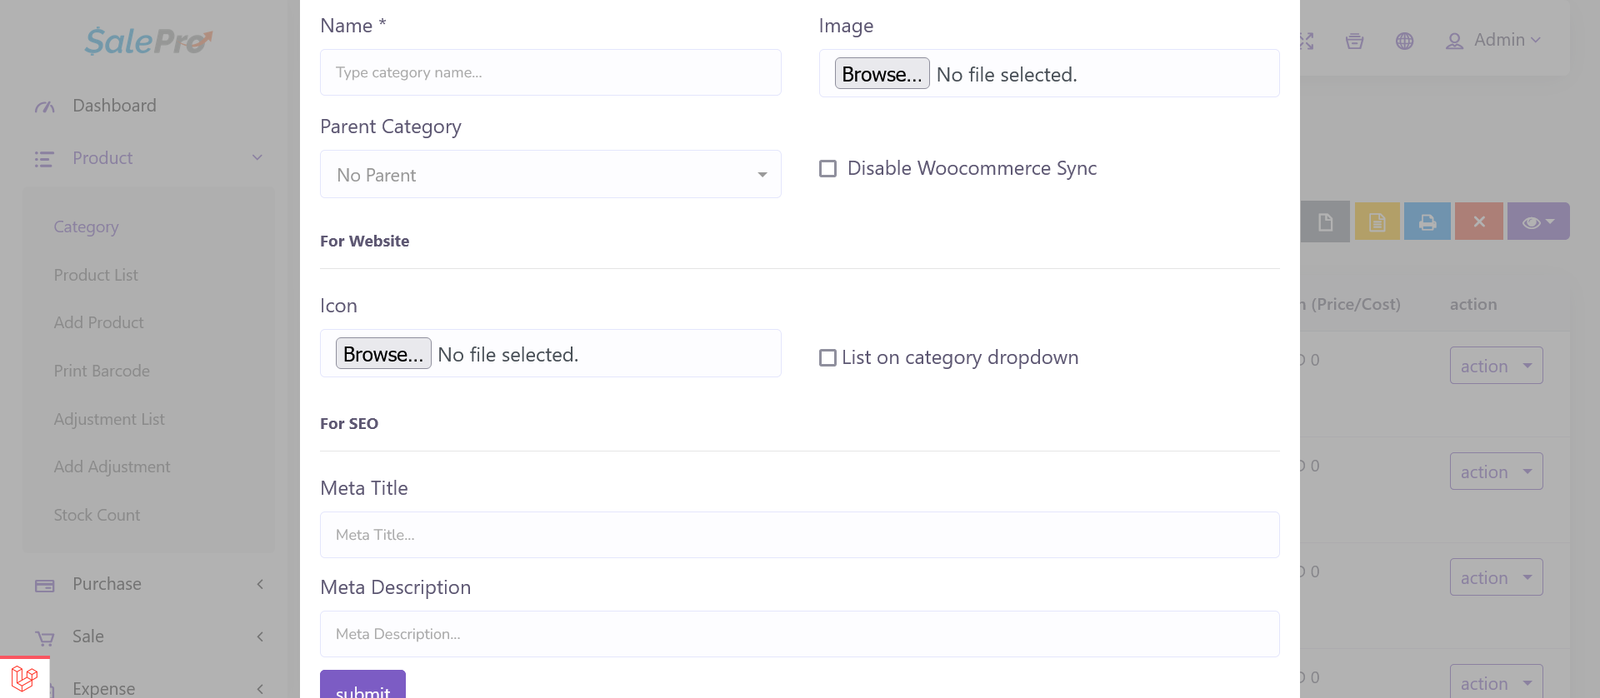
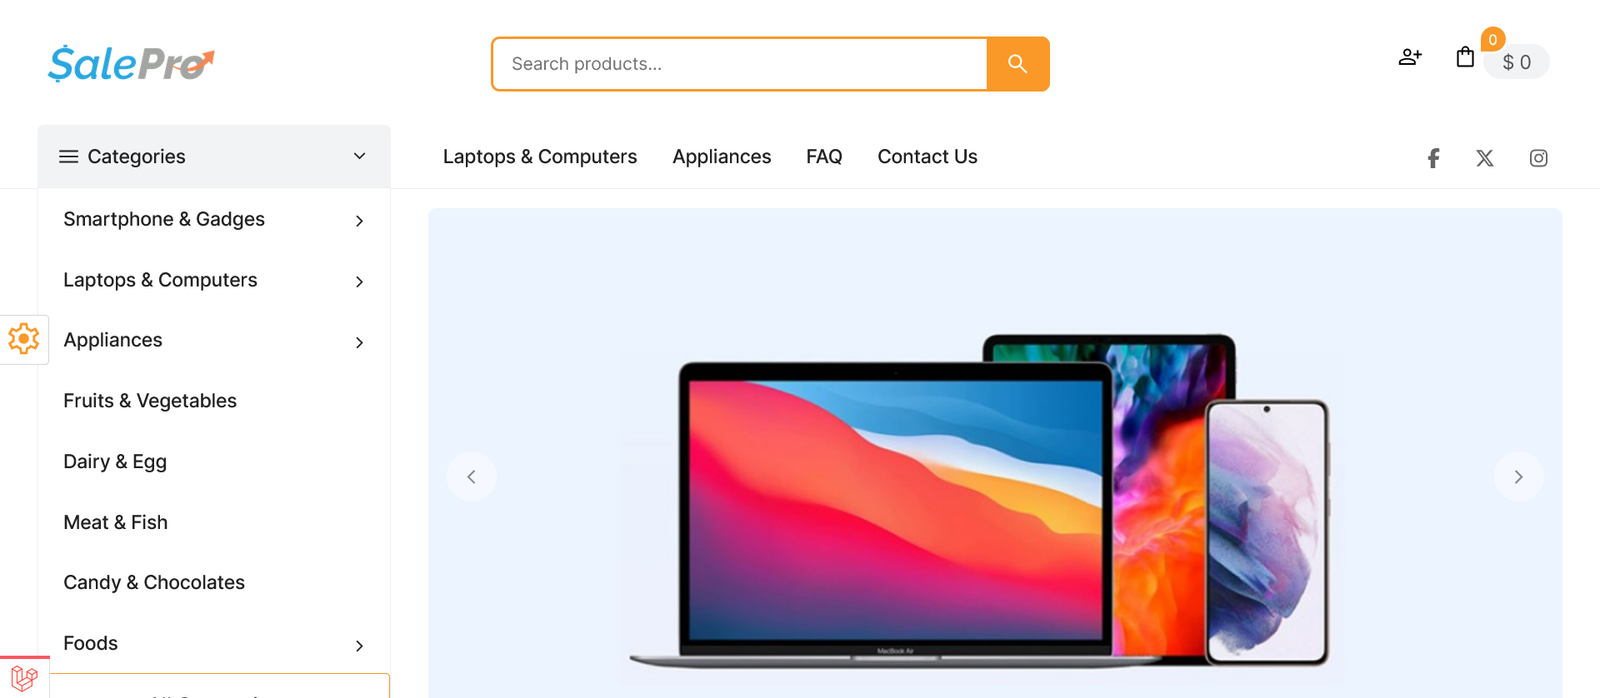
Upload an image under ‘Icon’ label and check ‘List on catgeory dropdown’ checkbox, if you want to show the categroy on the website’s header dropdown (see below image)
Collection
Collections are, as the name suggests, a collection or group of products. If you want to showcase a group of products separately, you can make a collection. When you create a collection, you have a frontend page featuring the products you add to this collection. You can then add this link to your social media posts, email or anywhere to promote those products. for example, you may want to group the products for festive season or winter etc.
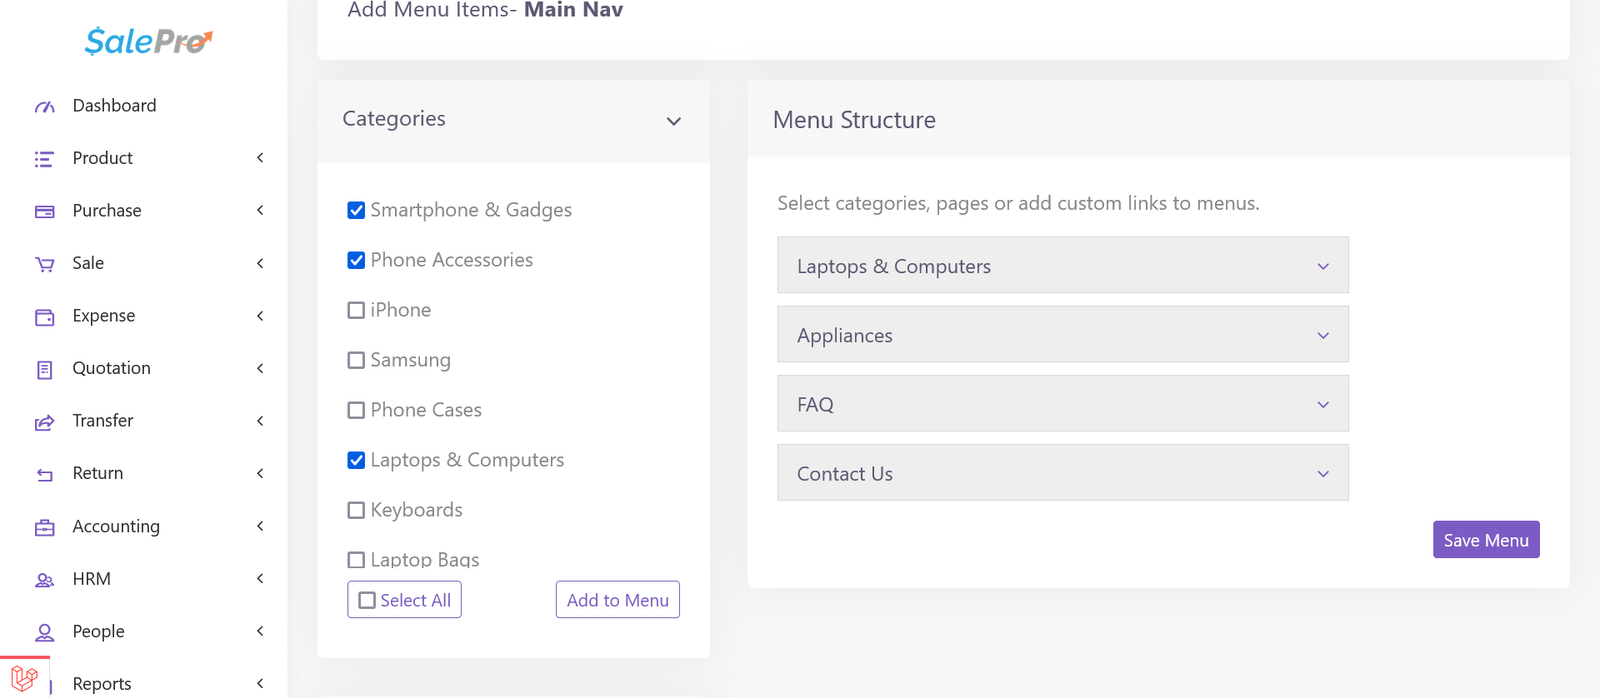
After you create menu, you need to insert menu items. You’ll see an ‘eye icon’ on green button on each row on ‘Menu’ table (see above image). On clicking it, it will take you to menu items/details page. ‘Categories’,’Collections’,’Brands’, ‘Pages’, ‘Custom Links’ on the left pane and a right pane for menu structure/menu tree. Check your desired menu items on each section on the left pane and click ‘Add to menu’ button at the bottom of assciated section to add the items to the right pane. When the items are already on the right pane, you can drag nad drop them to change their order or create nested menus
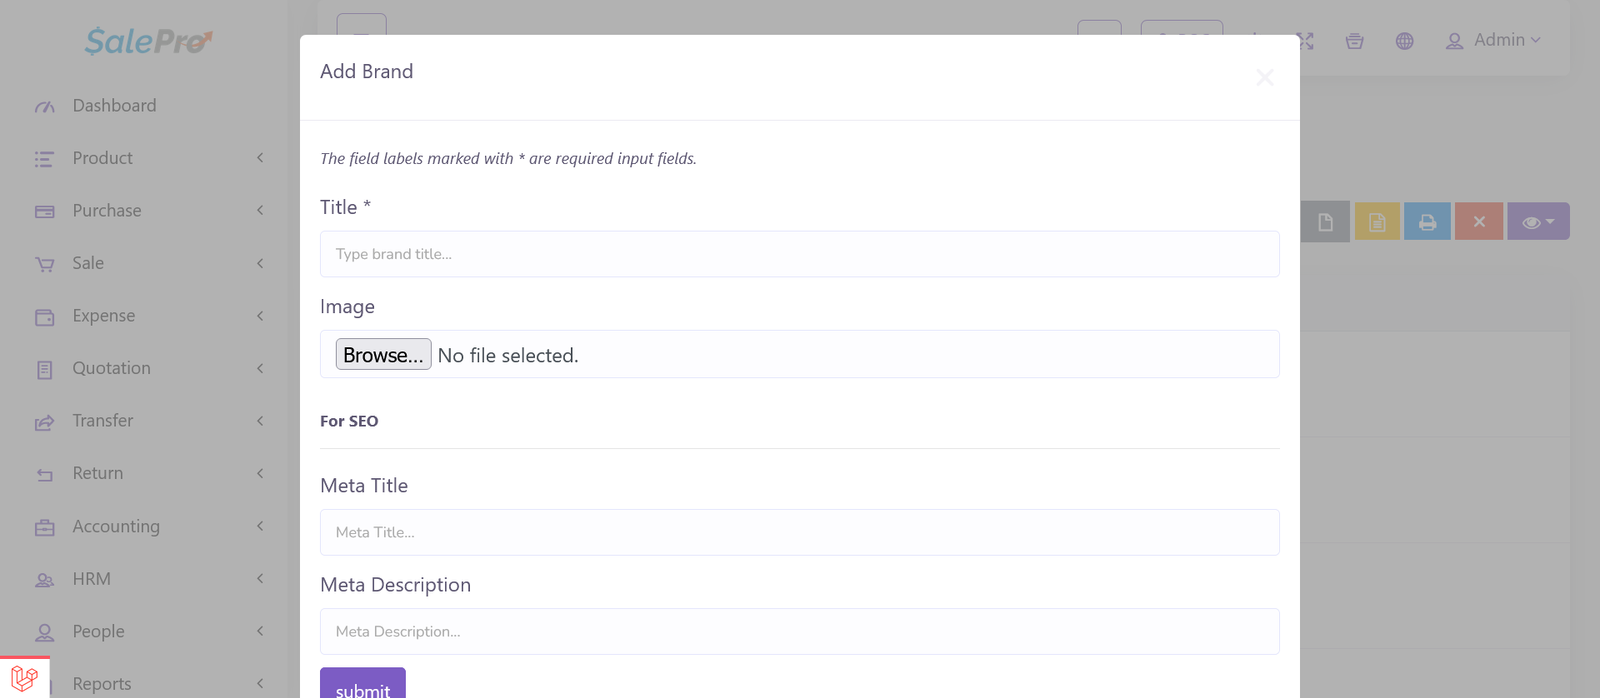
Brand
Brand add/edit options are just like SalePro. Few eCommerce specific input fields are added. These input options are listed right at the bottom of the ‘Add Brand’ modal on ‘Brand’ page in your admin panel. While adding/editing a brand, please insert unique meta title and meta description for that specific brand. These information will help serch engines to index/list the pages on their search results, thereby improve your sales potential.
If you want to show/list brands on your website, upload brand logos on brand add/edit page.
Slider
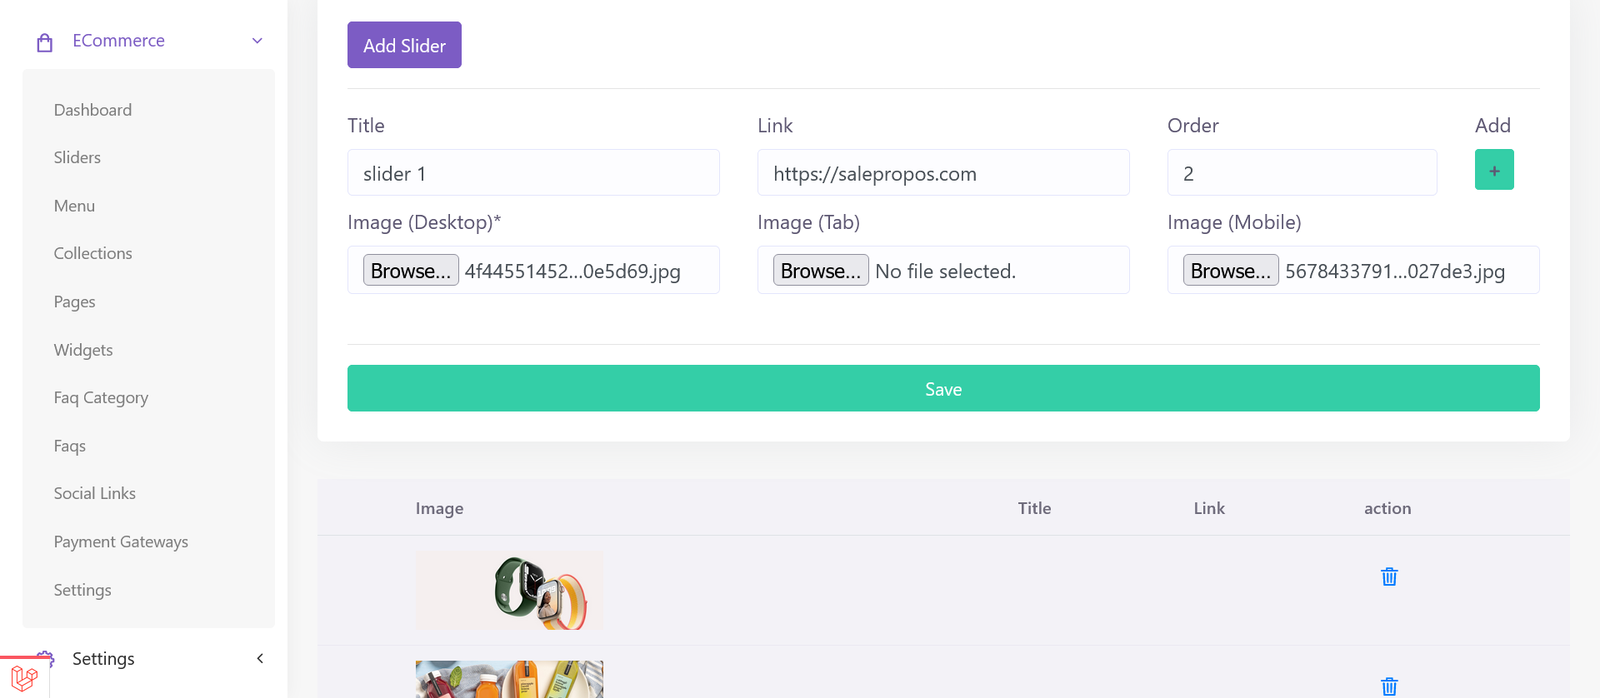
Go to the ‘Sliders’ page from eCommerce dropdown in your admin panel. Click add slider, insert the relevant info and upload images.
You can choose to upload one image for all device size/responsive view points or you can upload three different images trageting specific device sizes, like – large devices (laptops & desktops), tabs & mobiles.
- Large devices – 1090 X 460
- Medium devices – 1090 X 460
- Small devices – 650 X 460
Menu
First create Menu on ‘Menu’ page listed in eCommerce dropdown in your admin panel sidebar. If you want to create a menu for the header section/main navigation of your website, choose ‘Main navigation’ as location from location dropdown. You can create menus for footer widgets here and later choose these menus for footer widget on ‘Widgets’ page.
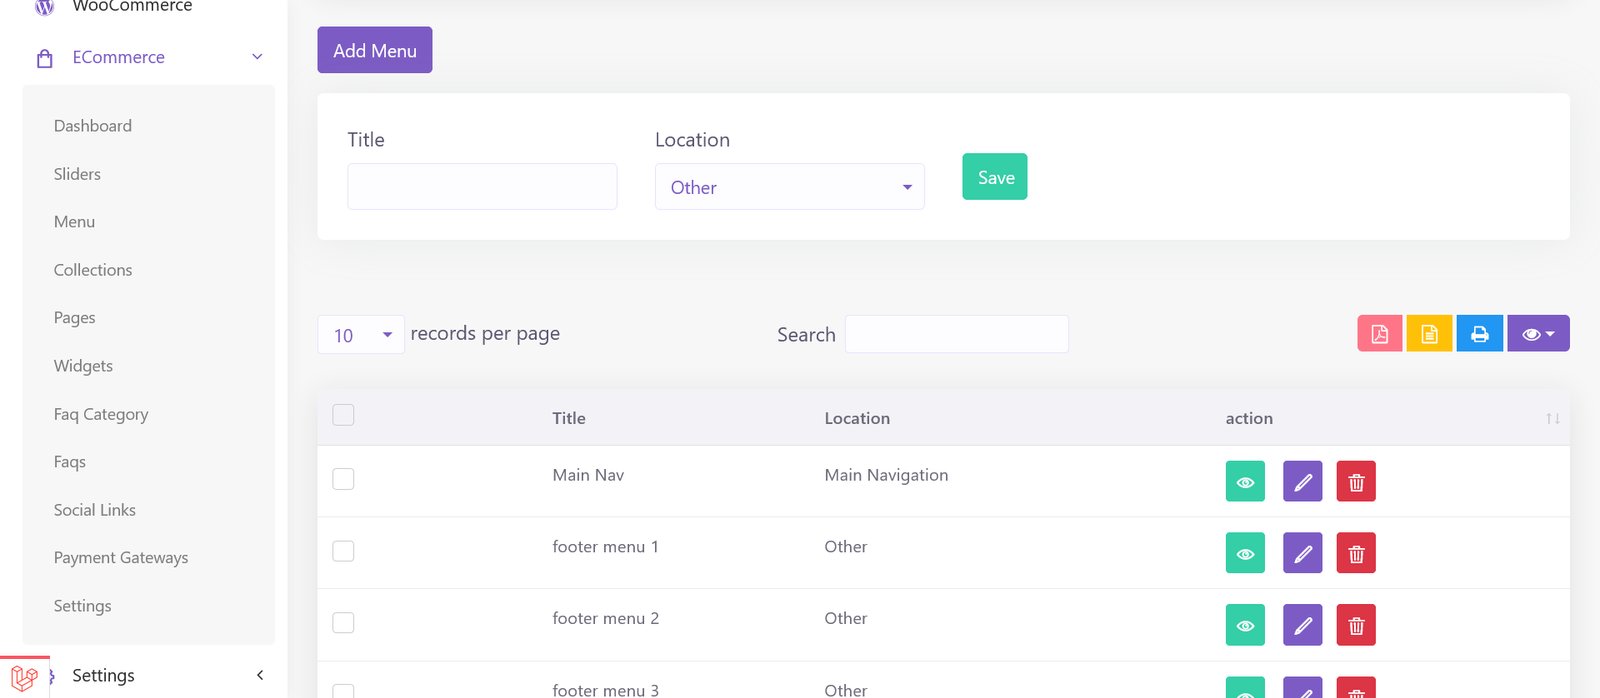
After you create menu, you need to insert menu items. You’ll see an ‘eye icon’ on green button on each row on ‘Menu’ table (see above image). On clicking it, it will take you to menu items/details page. ‘Categories’,’Collections’,’Brands’, ‘Pages’, ‘Custom Links’ on the left pane and a right pane for menu structure/menu tree. Check your desired menu items on each section on the left pane and click ‘Add to menu’ button at the bottom of assciated section to add the items to the right pane. When the items are already on the right pane, you can drag nad drop them to change their order or create nested menus
Pages
You can add as many pages you want from pages section. there are 4 page templates at the moment.
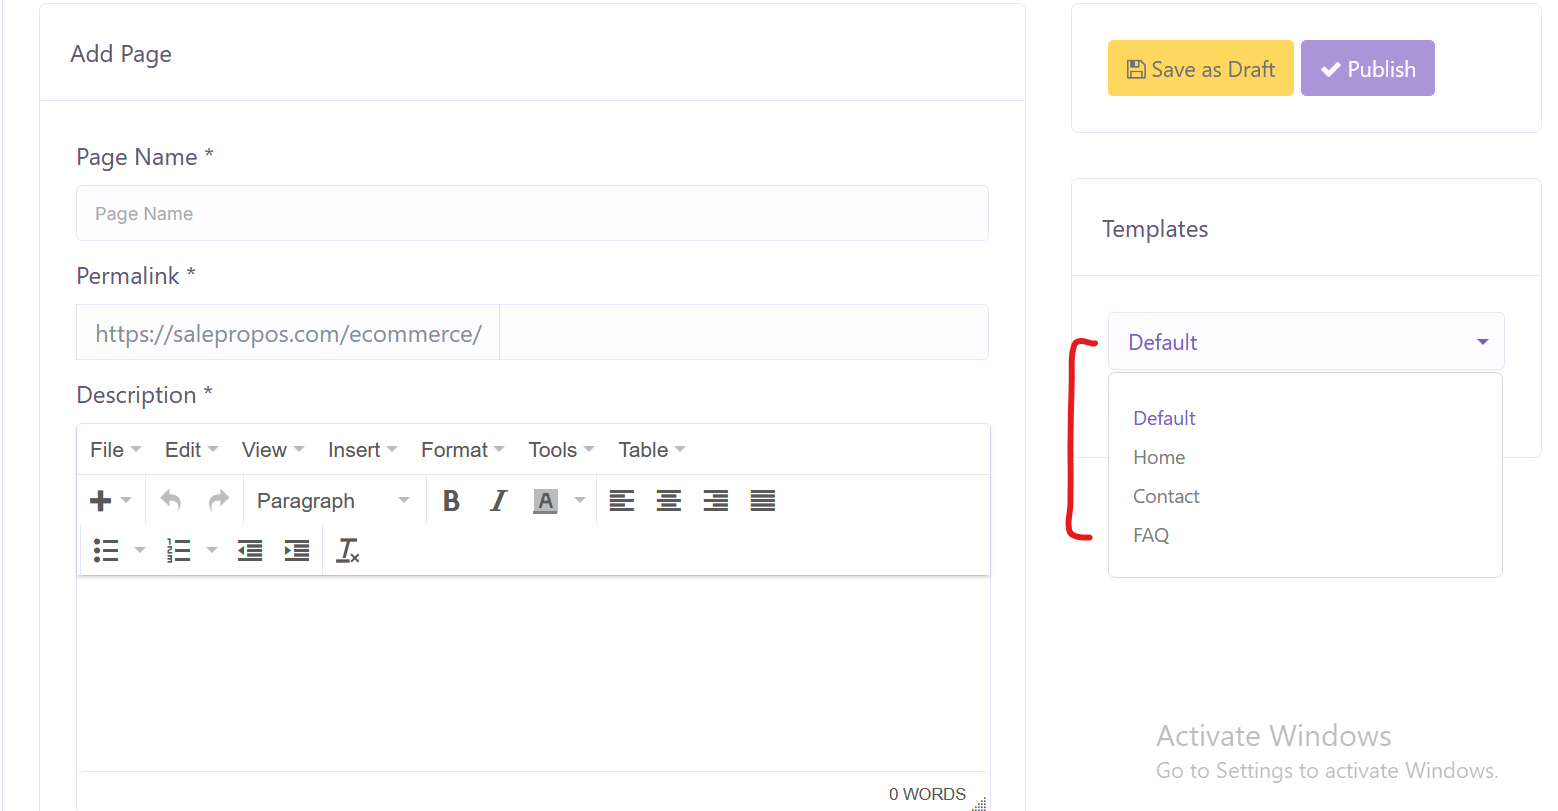
Default
Default template is for informative pages, like – terms & conditions, privacy policy, about page etc.
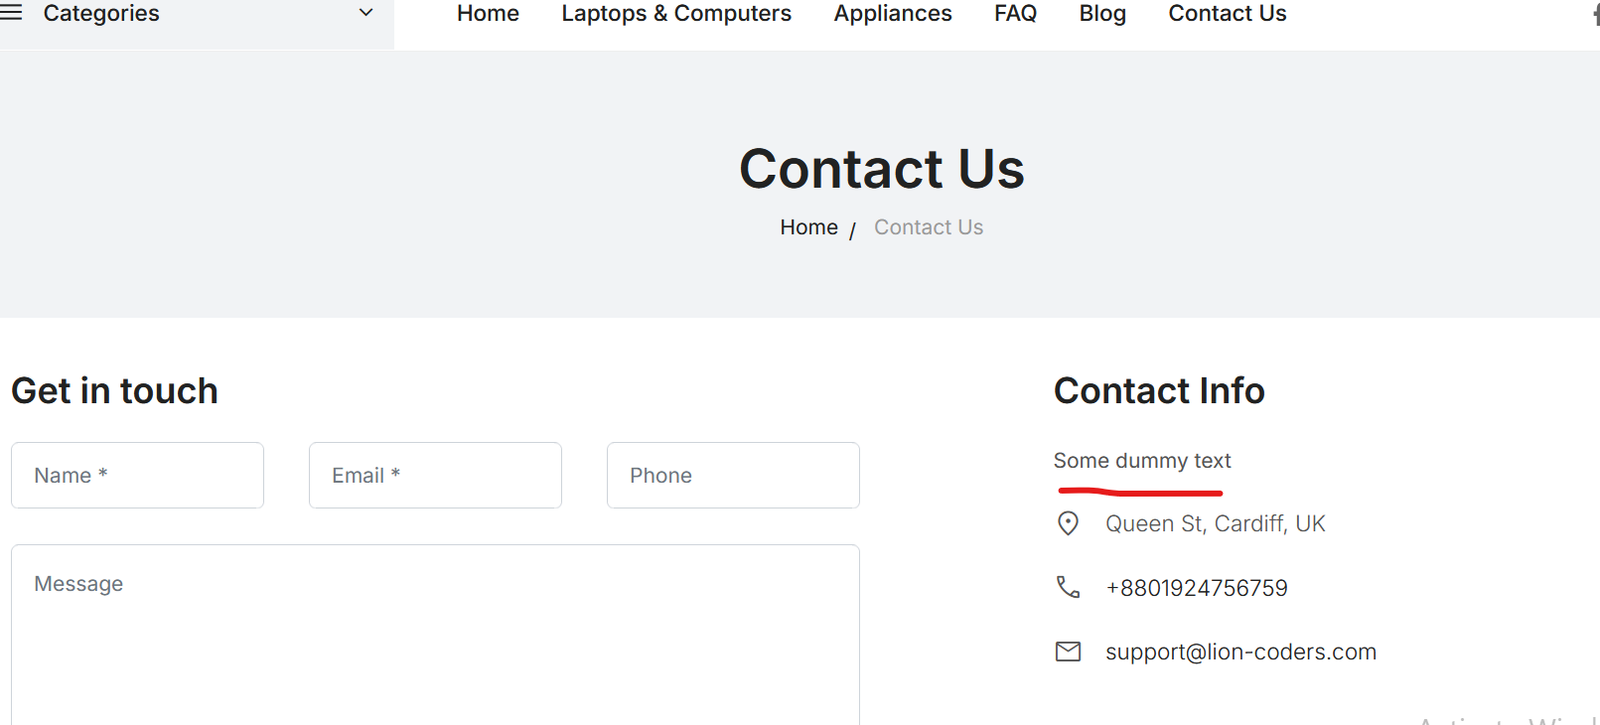
Contact
Contact template is for ‘Contact US’ page. this page has the contact form by default and other contact information like address, email and phone number comes from your inputs at eCommerce settings page. System will try and generate a map dynamically from the store address you provide.
if you want to put some texts on the contact us page, you can type it in the text editor and your text will appear on the contact page right above the contact information
FAQ
FAQ template is for ‘FAQ’ or ‘Frequently Asked Questions’ page. this page has the FAQ you insert on FAQ section.
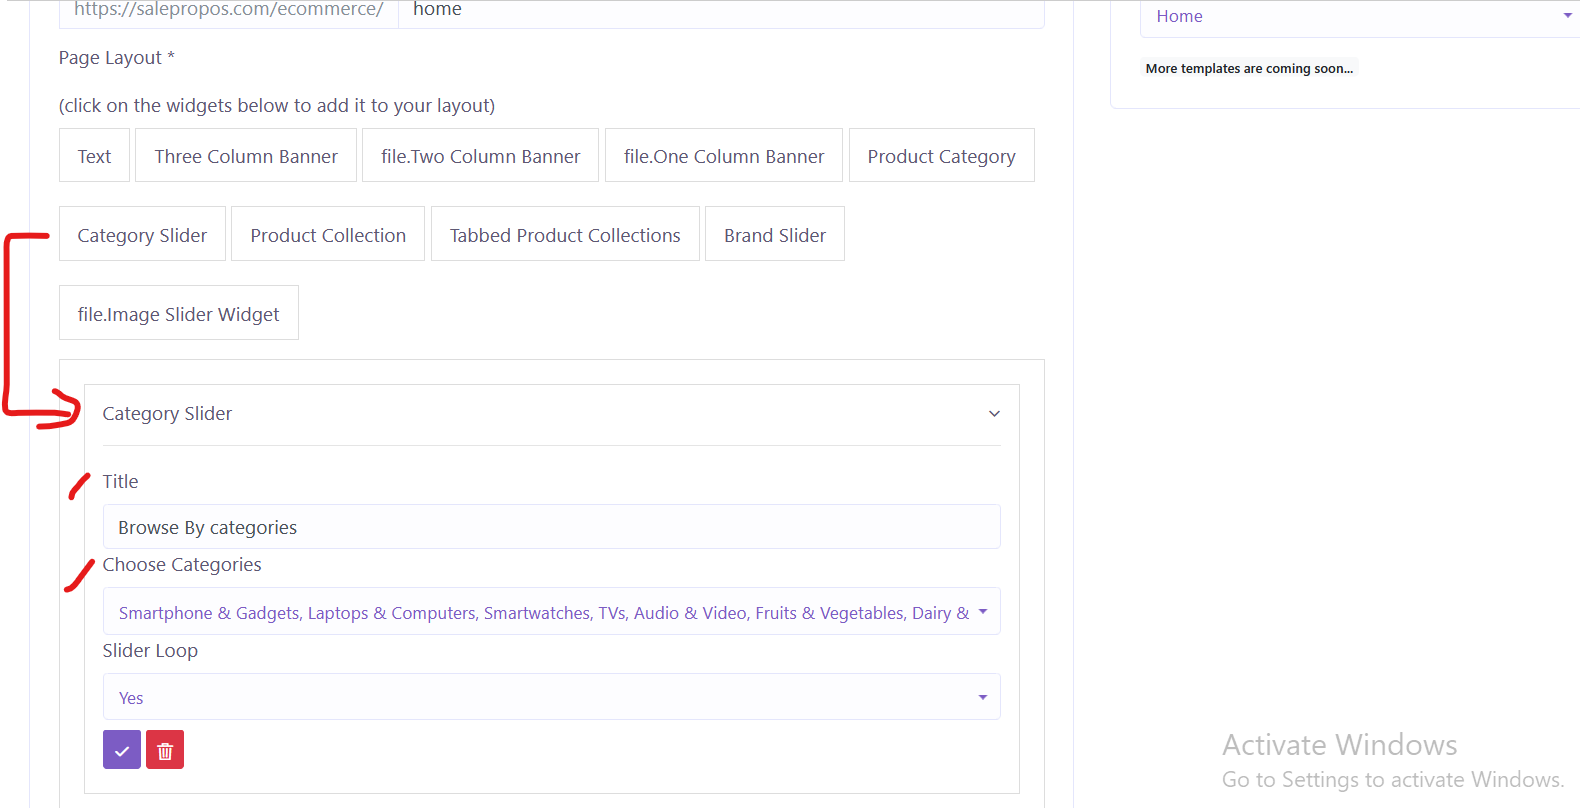
Home
Home template is for the home page. when you select home template, you’ll notice that the text editor get hidden and another layout appears. here, you’ll see some buttons- text, one column banner, product category, category slider, product collection, image slider etc. these are configurable widgets/components that you can add to your home page layout and thereby customize the look and feel of the home page. if you click on these buttons, these get added to the section/container below. after your chosen widgets are added to container, click on each widget to configure it.
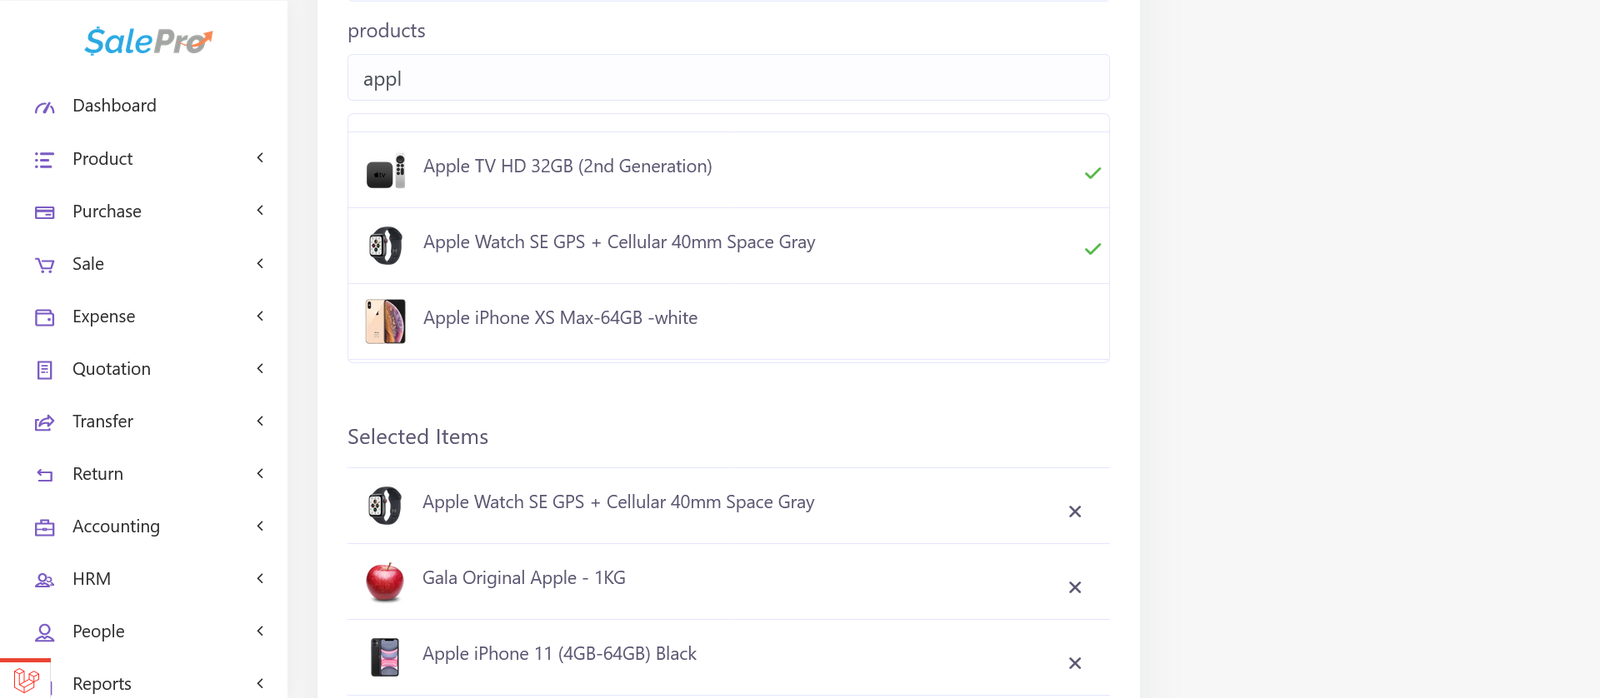
For instance, if you add ‘category slider’ to the container and then click on it, it will expand and show you options to insert a title for this section and choose the categories you want to appear in this slider
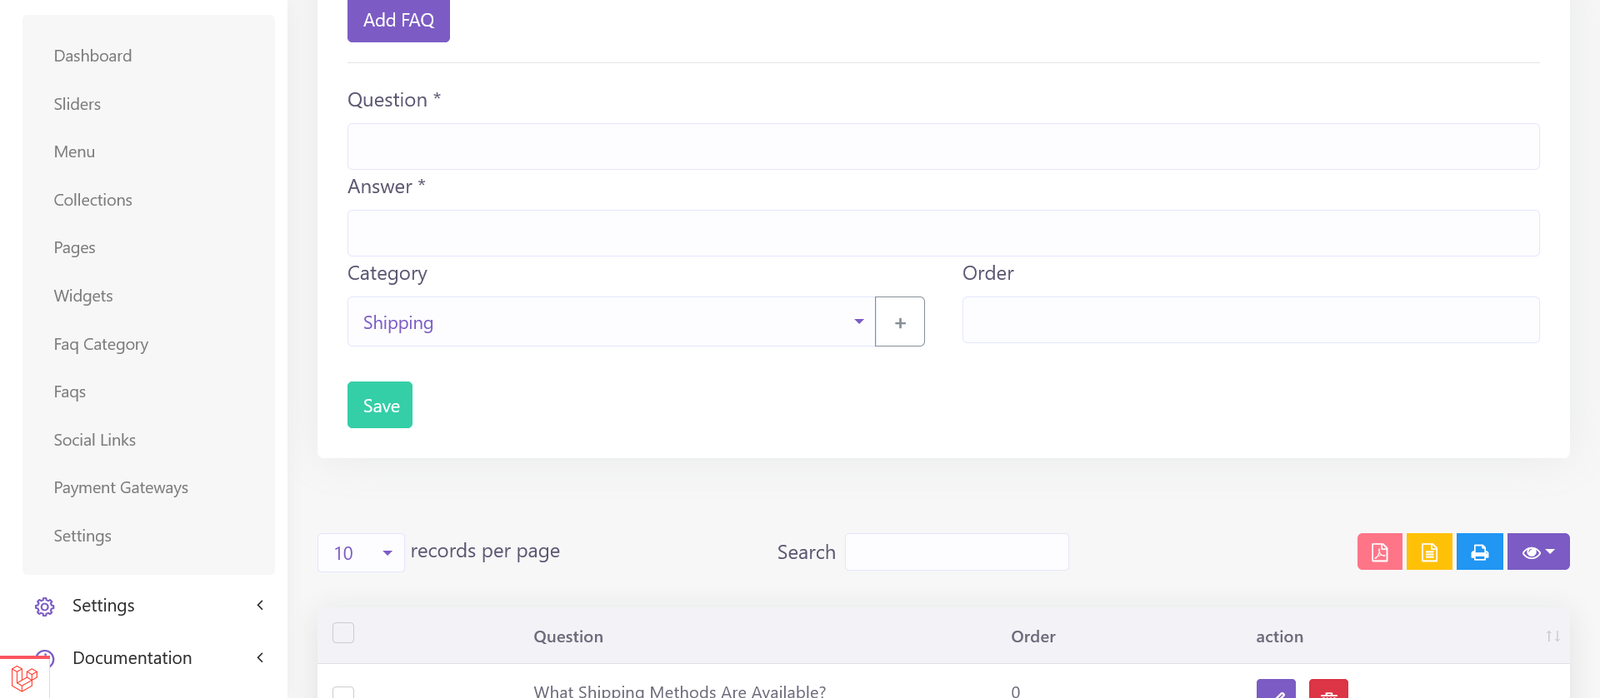
FAQ
First create categories for FAQs on ‘FAQ Categories’ page listed in eCommerce dropdown in your admin panel sidebar. Categories you create will then be available on FAQ page. You can add Frequently asked questions on FAQ page and organise them under different categories.
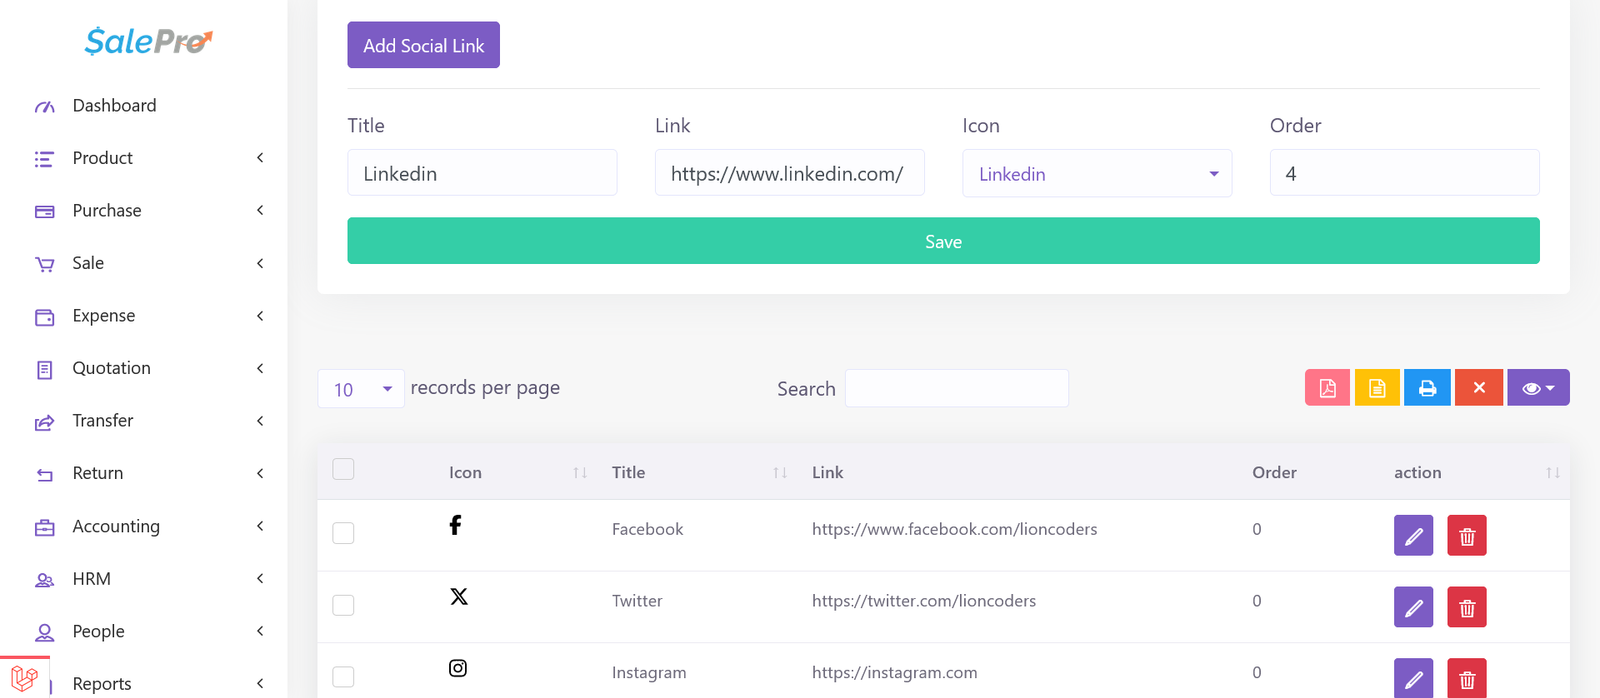
Social Links
You can create links to your social profiles on ‘social Links’ page listed in eCommerce dropdown in your admin panel sidebar.
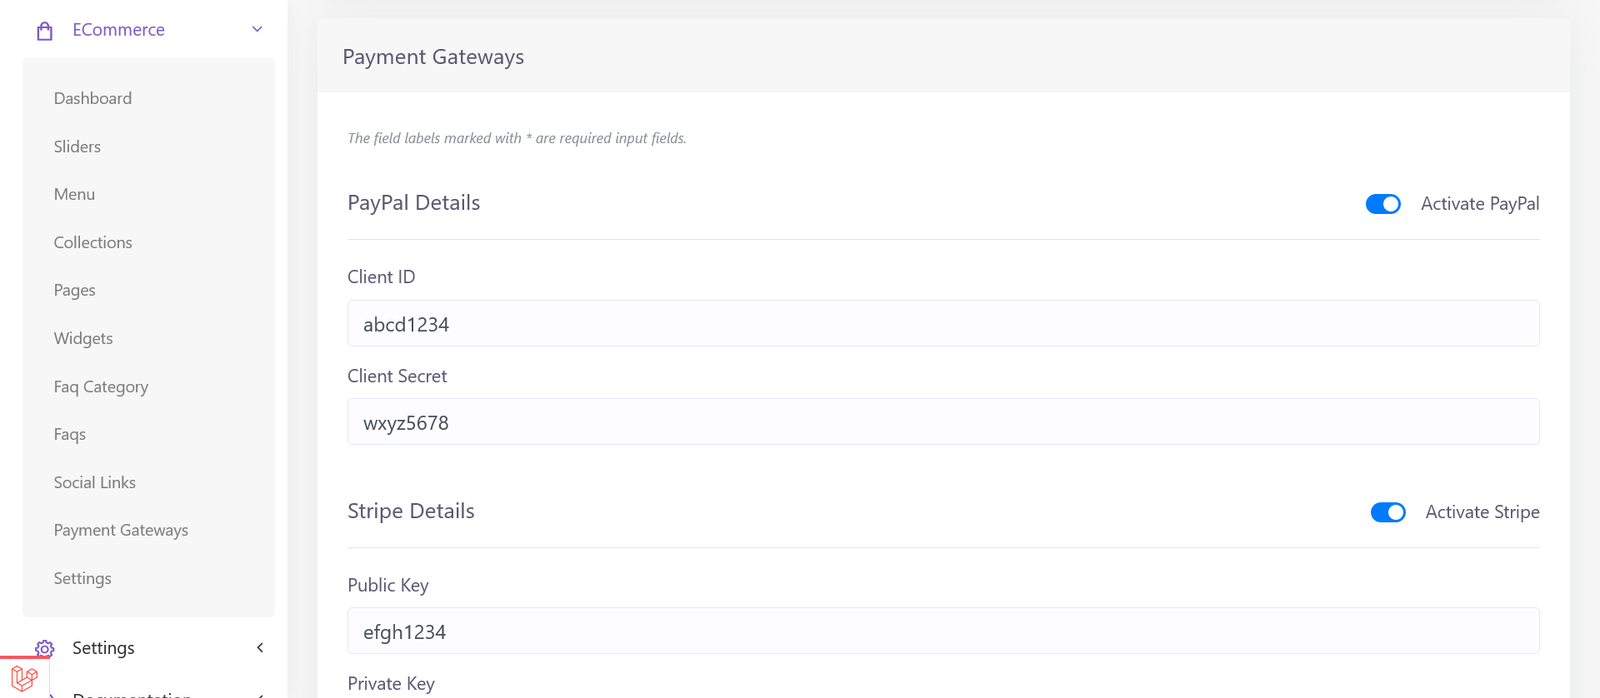
Payment Gateways
You’ll see available payment gateways on ‘Payment Gateways’ page listed in eCommerce dropdown in your admin panel sidebar.
You can activate/deactivate gateways by clicking ‘Activate’ switch on the right side of each gateway title/name. Please replace the dummy infomation for each active gateways with actual details
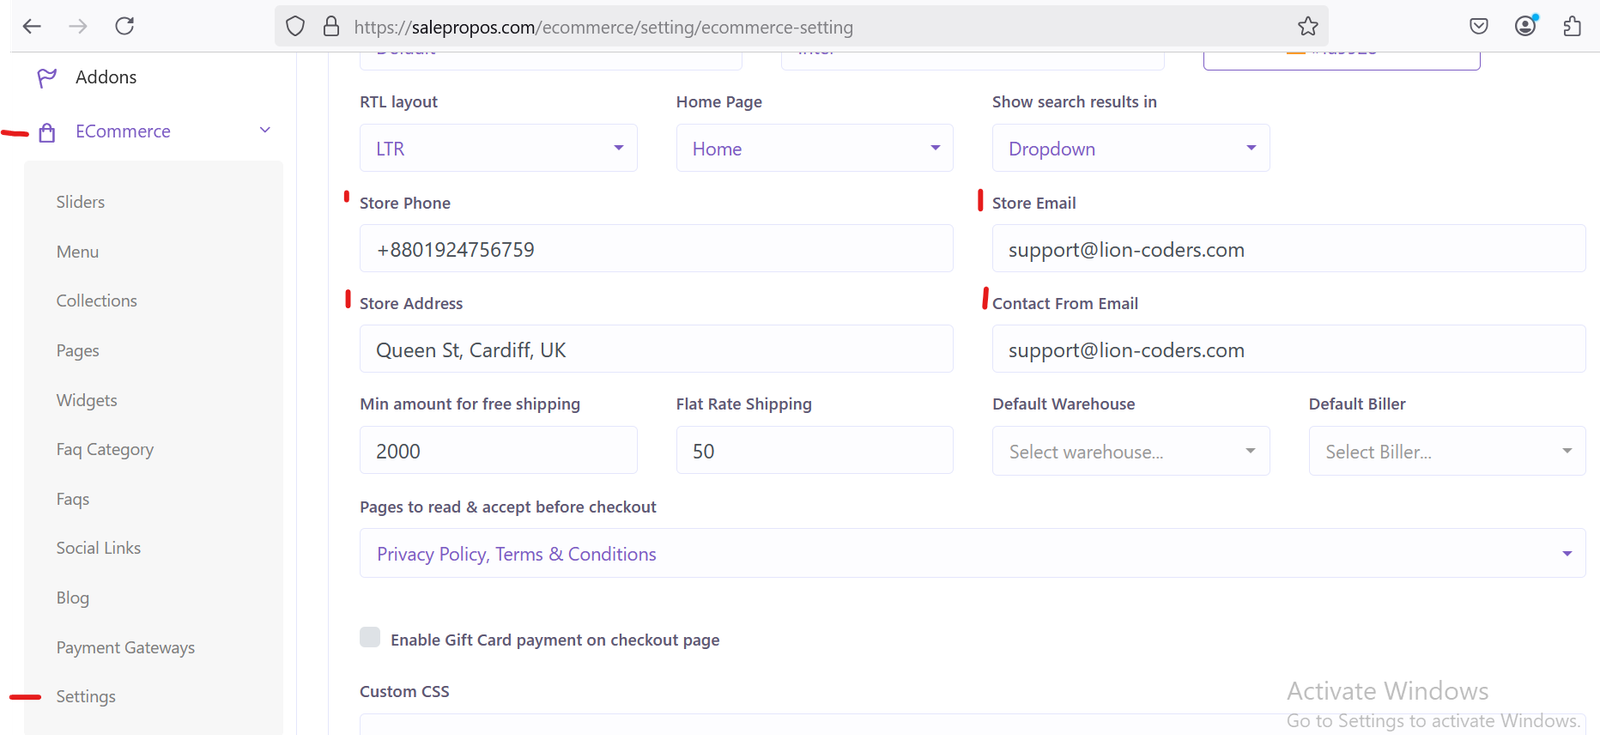
Settings
Here in the settings page you have to define your logo, favicon, site title, font, layout (RTL/LTR), theme color etc.
Additionally, you can define which theme you want. currently there are two themes, one is default; another is fashion.
In pages section, you can define or save multiple pages as ‘home’ page. This feature is offered, so that you can create home pages according to your needs. For instance, you want a temporary home page for a festival. So, you’ll need to choose which page you want to show as your current home page in settings page.
You may also, want to deploy the site as a catalogue website without online ordering. You can select that option in settings page too.
You should define your store contact details here as well. The address you put will be automatically synchronized with Googgle map and it will be shown on the contact page.
You have to also define your ‘Minimum amount for free shipping’ (if any), ‘Flat rate shipping charge’, default warehouse (from which to ship from), default biller (as in SalePro) on settings page.
If you have privace and T&C pages and you want them to be read before someone checks out, you can choose them on settings page.
Support
We are happy to provide support for any issues within our software. We also provide customization. So if you have any features in mind or suggestions, please feel free to contact us at Support. Please note that we don’t provide support though any other means (example- WhatsApp, comments etc.). So, please refrain from commenting your queries on CodeCanyon or knocking us elsewhere.
Also, in case of any errors/bugs/issues on your installation, please contact us with your hosting details (url, username, password), software admin access (url, username, password) and purchase code.
My support has expired
If your support period has expired, please renew support on CodeCanyon before contacting us for support.
Thank you and best wishes from LionCoders.