One System to Manage your Documents Validity
LDMS Keeps track of your documents and makes sure you get notified about their expiry through email in order to renew them on time. Ensure the validity of important documents such as passports, visas, ID’s and so on. Now that you won’t be missing out on any important expiry dates, you also won’t be paying any fines, extra charges for delay, basically no more consequences that come from missed expiry dates!
SERVER REQUIREMENT
All our products are designed on most popular PHP framework Laravel. You need to have minimum requirement for running all our application. Please make sure that you have completed these requirements.
- Preferred Server – Apache/Nginx
- PHP Version >= 8.1
- OpenSSL PHP Extension
- PDO PHP Extension
- PHP Fileinfo Extension
- Mbstring PHP Extension
- Tokenizer PHP Extension
- Zip Archive PHP Extension
- Mod Rewrite Enabled
Please note if you try to install the application on any other server say LiteSpeed or IIS, you may get undesirable result. We do not recommend you to use other server than Apache or Nginx. Also we do not provide support for installation in server other than Apache.
HOW TO SETUP
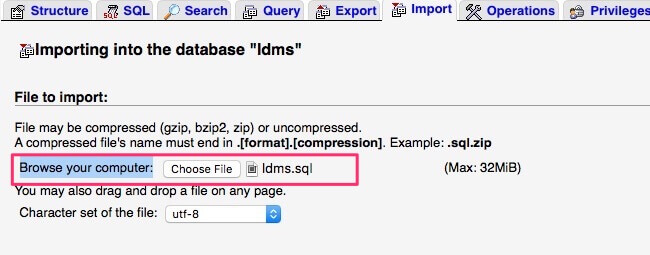
IMPORT DATABASE
- Unzip the downloaded folder and you will find ‘database’ folder into it. Open this folder.
- Create a database on your phpmyadmin and import ‘ldms.sql’ into the database.
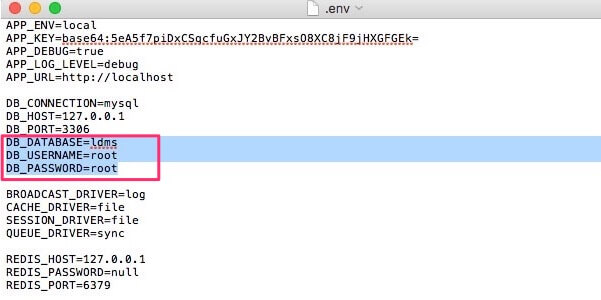
CONNECT DATABASE
- Open ‘ldms’ folder. Find ‘.env’ hidden file. Open with text editor.
- Change DB_DATABASE, DB_USERNAME, DB_PASSWORD with your database name, username and password.
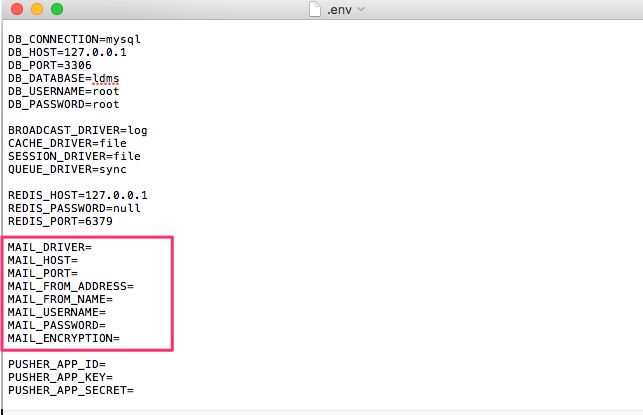
SYSTEM EMAIL SETUP
- Open ‘ldms’ folder. Find ‘.env’ hidden file. Open with text editor.
- Change MAIL_DRIVER, MAIL_HOST, MAIL_PORT. MAIL_FROM_ADDRESS, MAIL_FROM_NAME, MAIL_USERNAME, MAIL_PASSWORD, MAIL_ENCRYPTION with your information.
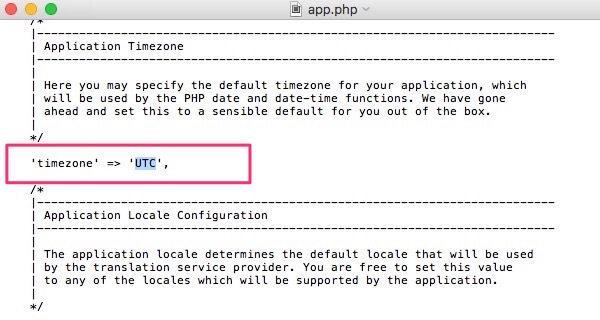
TIMEZONE SETUP
- Find ldms>config>app.php and open with text editor.
- Find ‘timezone’ and set your desired time zone.
- You can check your time zone from here. For Example: ‘America/New_York’
UPLOAD TO SERVER
Now upload the contents of ‘ldms’ folder to your server. Hit the url on your browser and Login.
Default usename/email: demo@lion-coders.com
Default password: demo
You can change it after login.
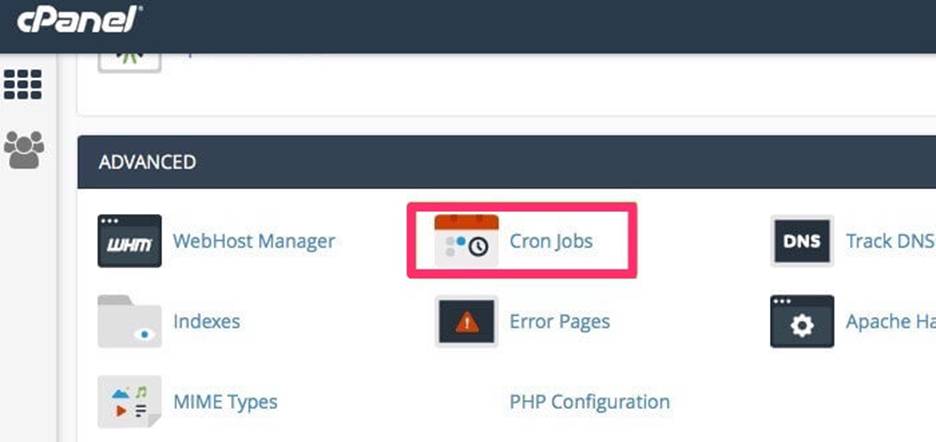
CRON JOB SETUP
Login your hosting cpanel account. Find ‘cronjobs’ menu.
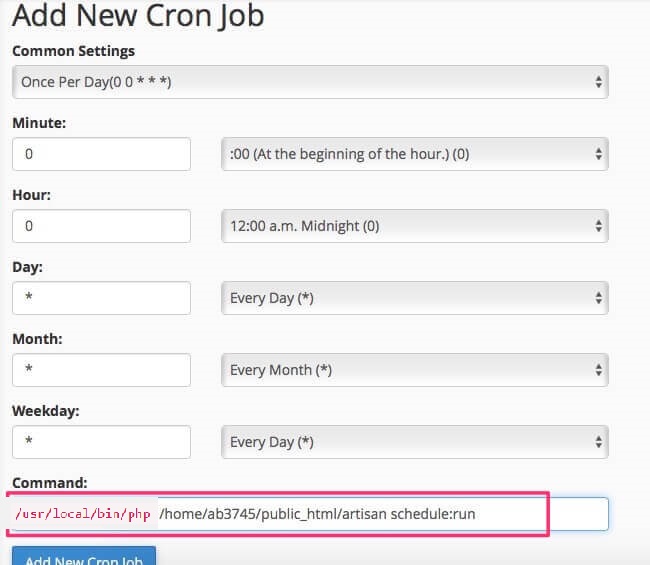
Add New Cron Job that is exeuced once per day
Common Settings: Once Per Day
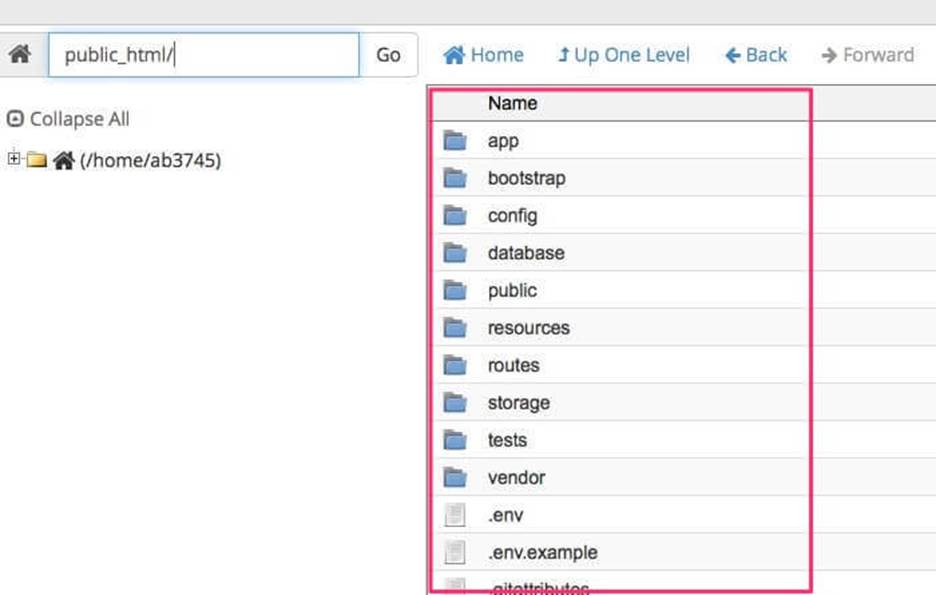
if this app in your ‘public_html’ folder, then cron
Command: /usr/local/bin/php /Path_to_your_project_folder/artisan schedule:run
HOW TO USE
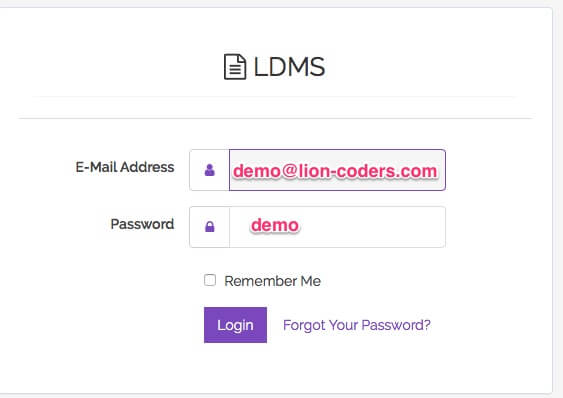
Login:
Default usename/email: demo@lion-coders.com
Default password: demo
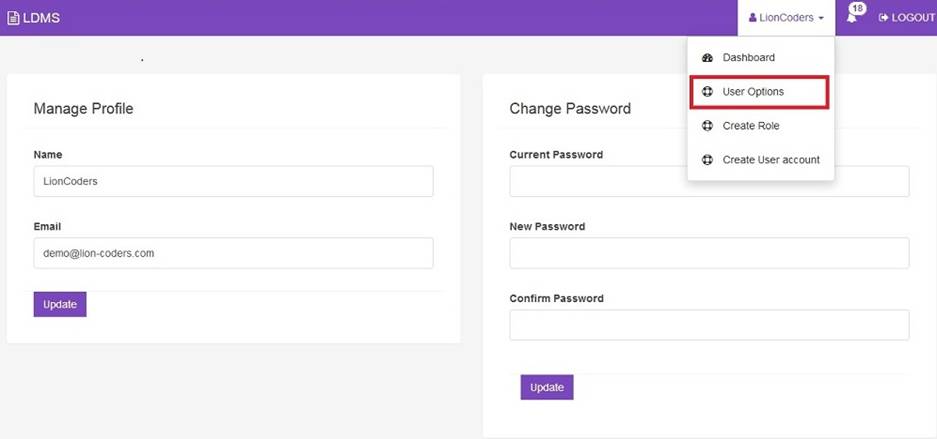
Manage profile and change password:
Go to ‘User Options’.
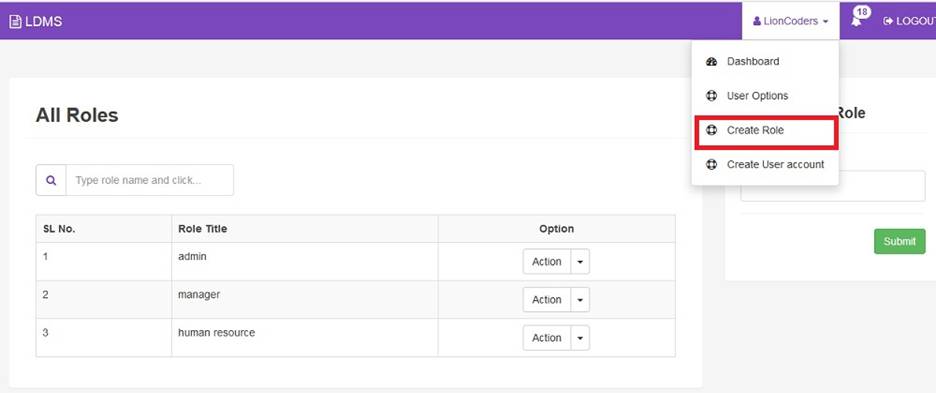
Create Role:
To create a role for user you have to write role title in input box
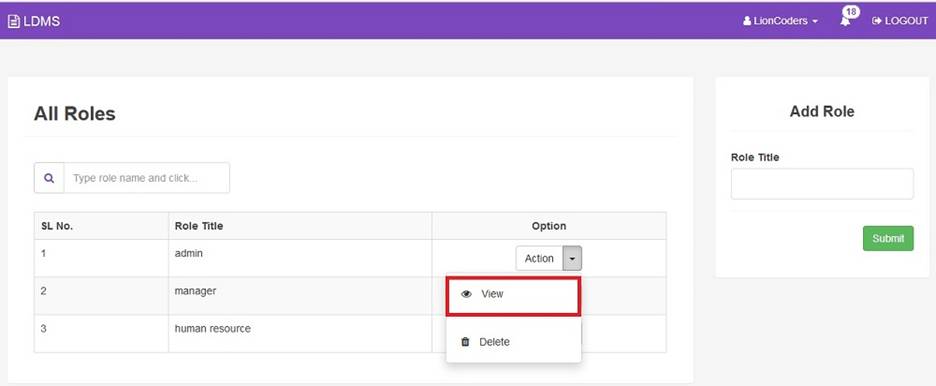
Edit Role:
To edit role you have to click on the view button which will redirect you to edit page
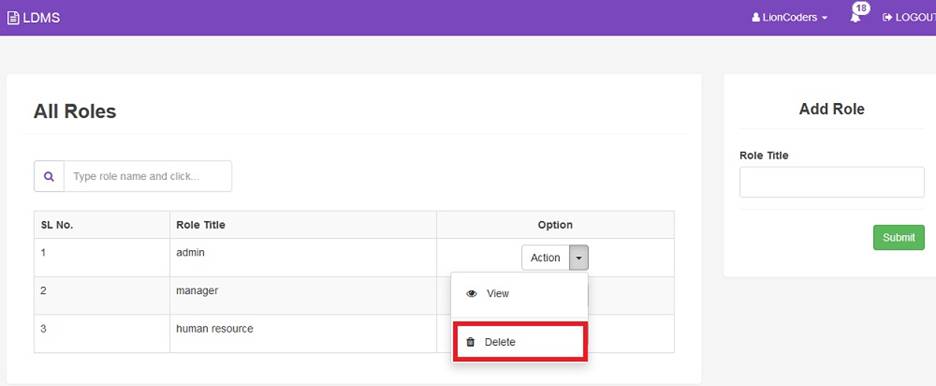
Delete Role:
To delete role you just have to click on the delete button
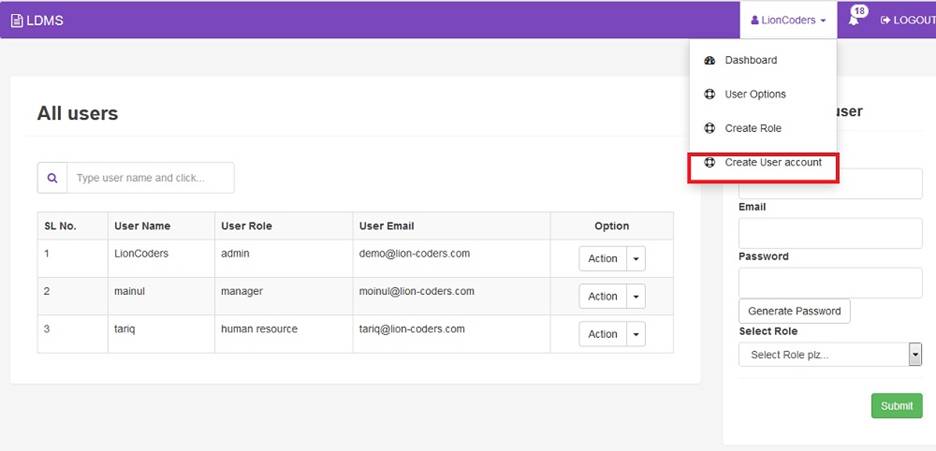
Create User Account:
To create user account you have to put user name, email and password in the input field. You also have to select a role for user. To generate a random password for your user you have to click the “Generate Password” button. When you click the submit button generated password will be sent to user’s mail
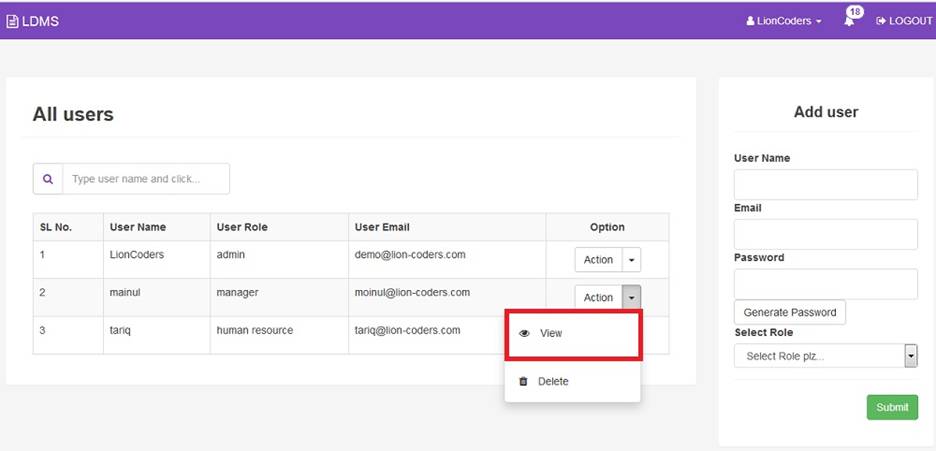
Edit User Account:
To edit user account you have to click on the view button which will redirect you to edit page
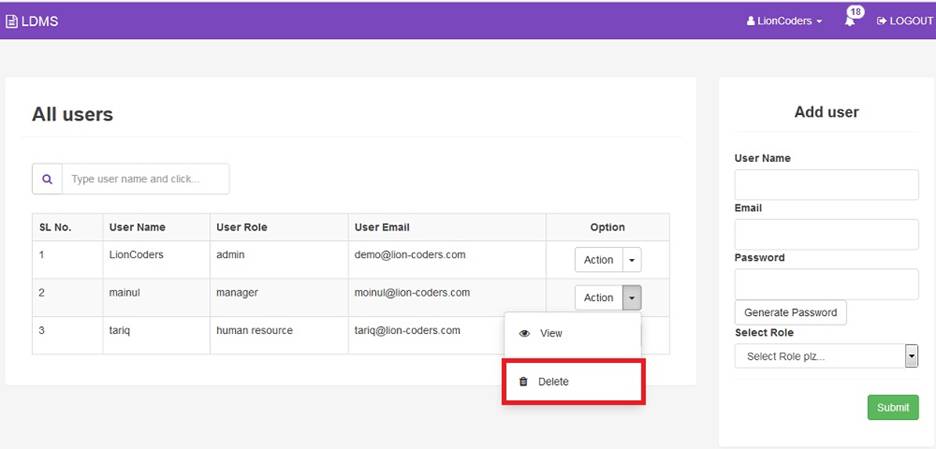
Delete User:
To delete a user you just have to click on the delete button
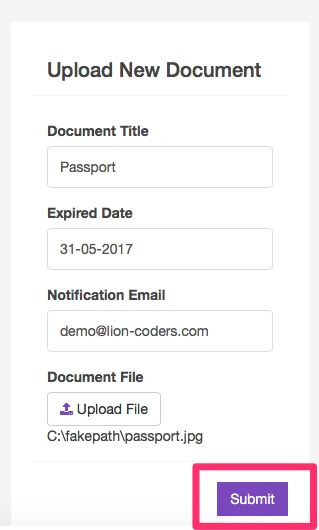
Upload New Document:
Set your Document Title, Expired Date, Notification Email (Expiry notifictation send to this email) and upload your document, Click ‘Submit’
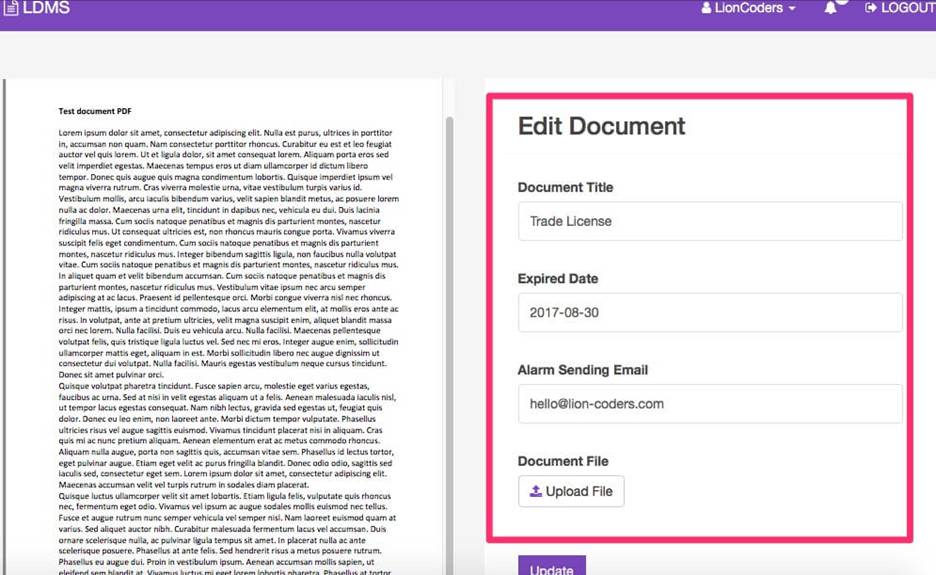
View Document and Edit Options:
Click the ‘View’
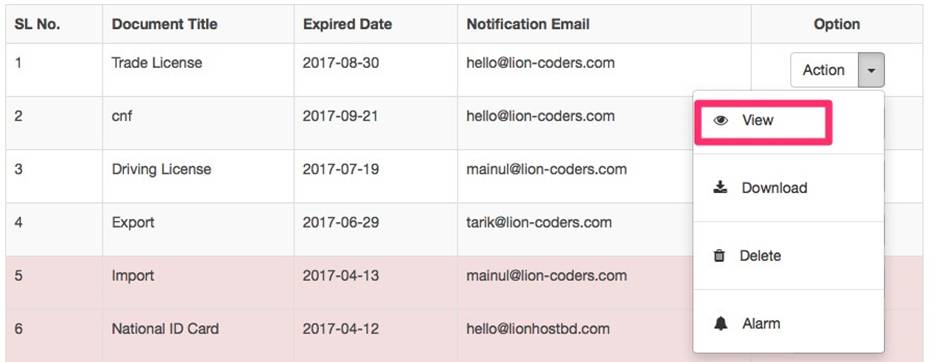
You can change the options of the document
Download and Delete:
You can download and delete the file by clicking the buttons.

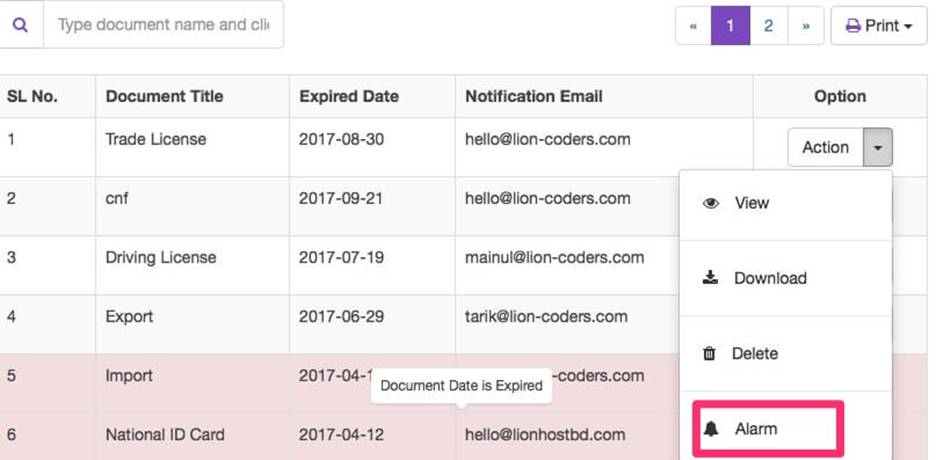
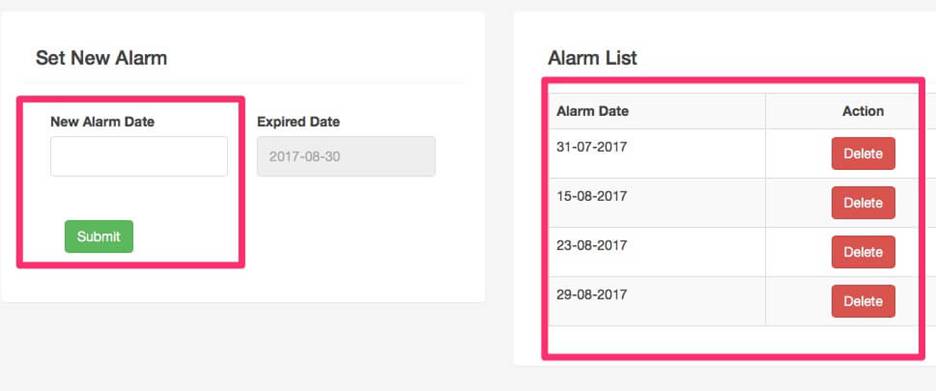
Notification Alarm Setup:
Click the ‘Alarm’
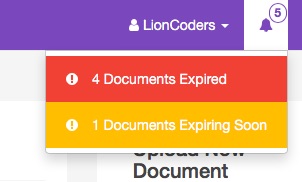
After uploading a document, 4 alarms will be set automatically.
1. 30 days before the expiry date
2. 15 days before the expiry date
3. 7 days before the expiry date
4. 1 day before the expiry date
You can also set your custom alarm, delete the alarm.
Expired and Close to Expiry Document Check:
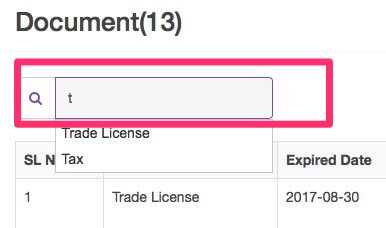
Search Document:
You can type in search box, it will suggest matching document name.
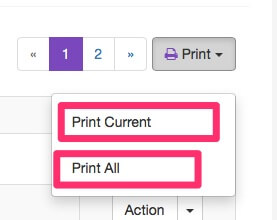
Print:
You can print current page document list clicking ‘Print Current’ button
and print all document list clicking ‘Print All’ button
VIDEO TUTORIAL