Installation
VPS/Dedicated Installation
Cpanel Installation
Go to your cPanel and upload your SaaS app in public_html.
NB: Remember SaaS run on public_html. Not in any sub-directory or sub-domain.
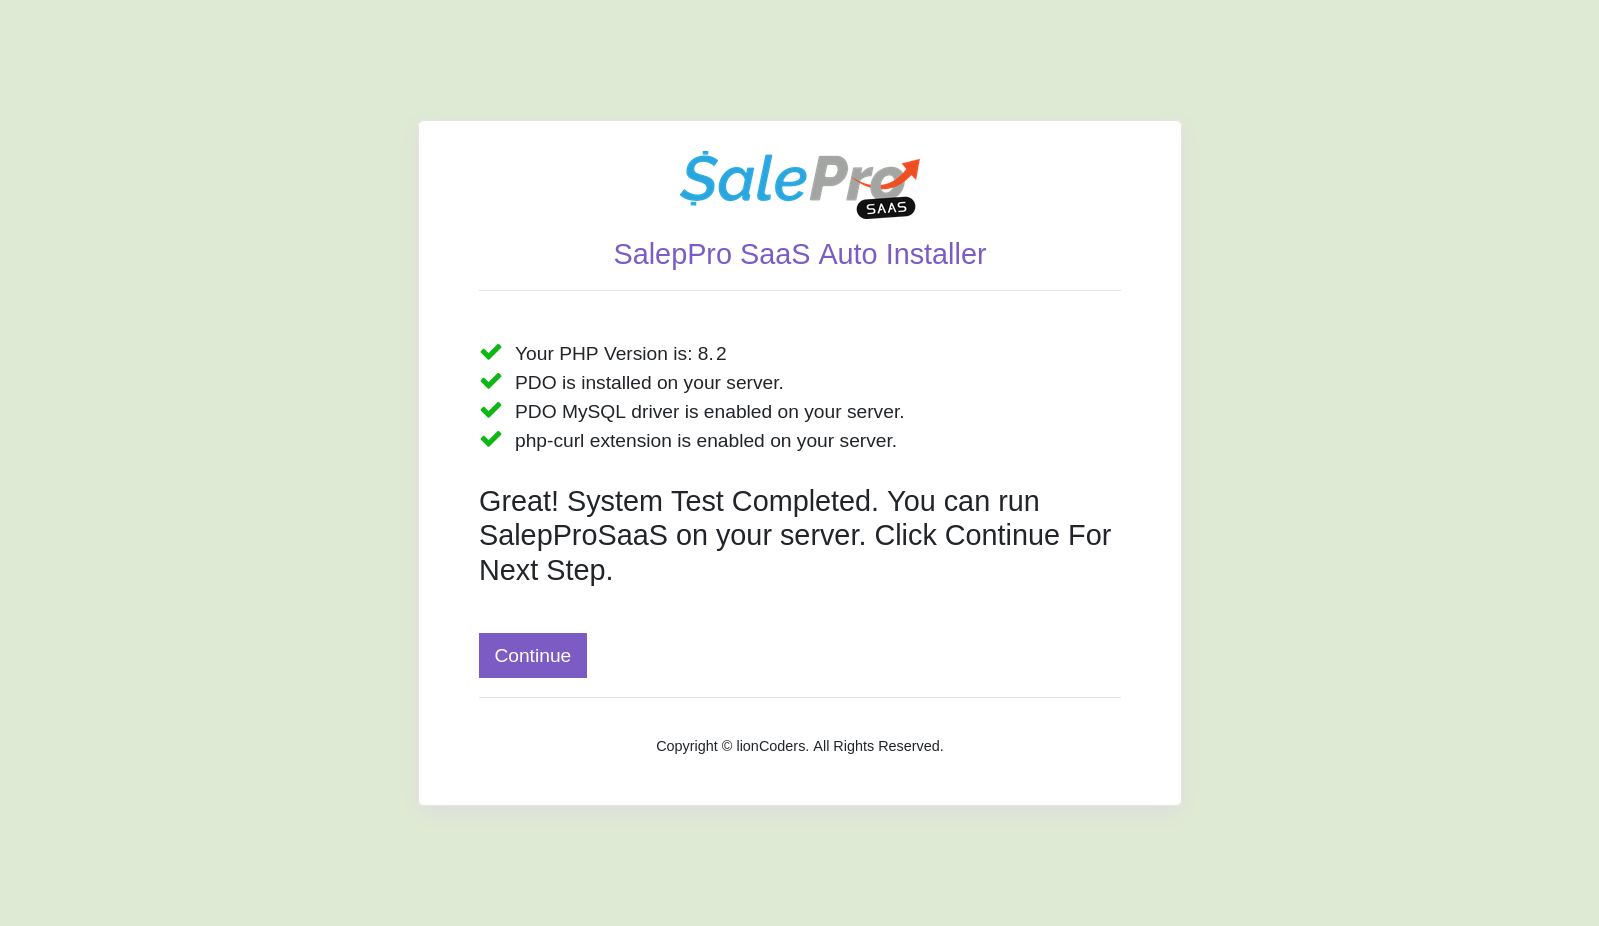
- Goto your root domain (www.your_domain.com) and then you will get a Install page of step-1. Then click next.

- This is step-2.
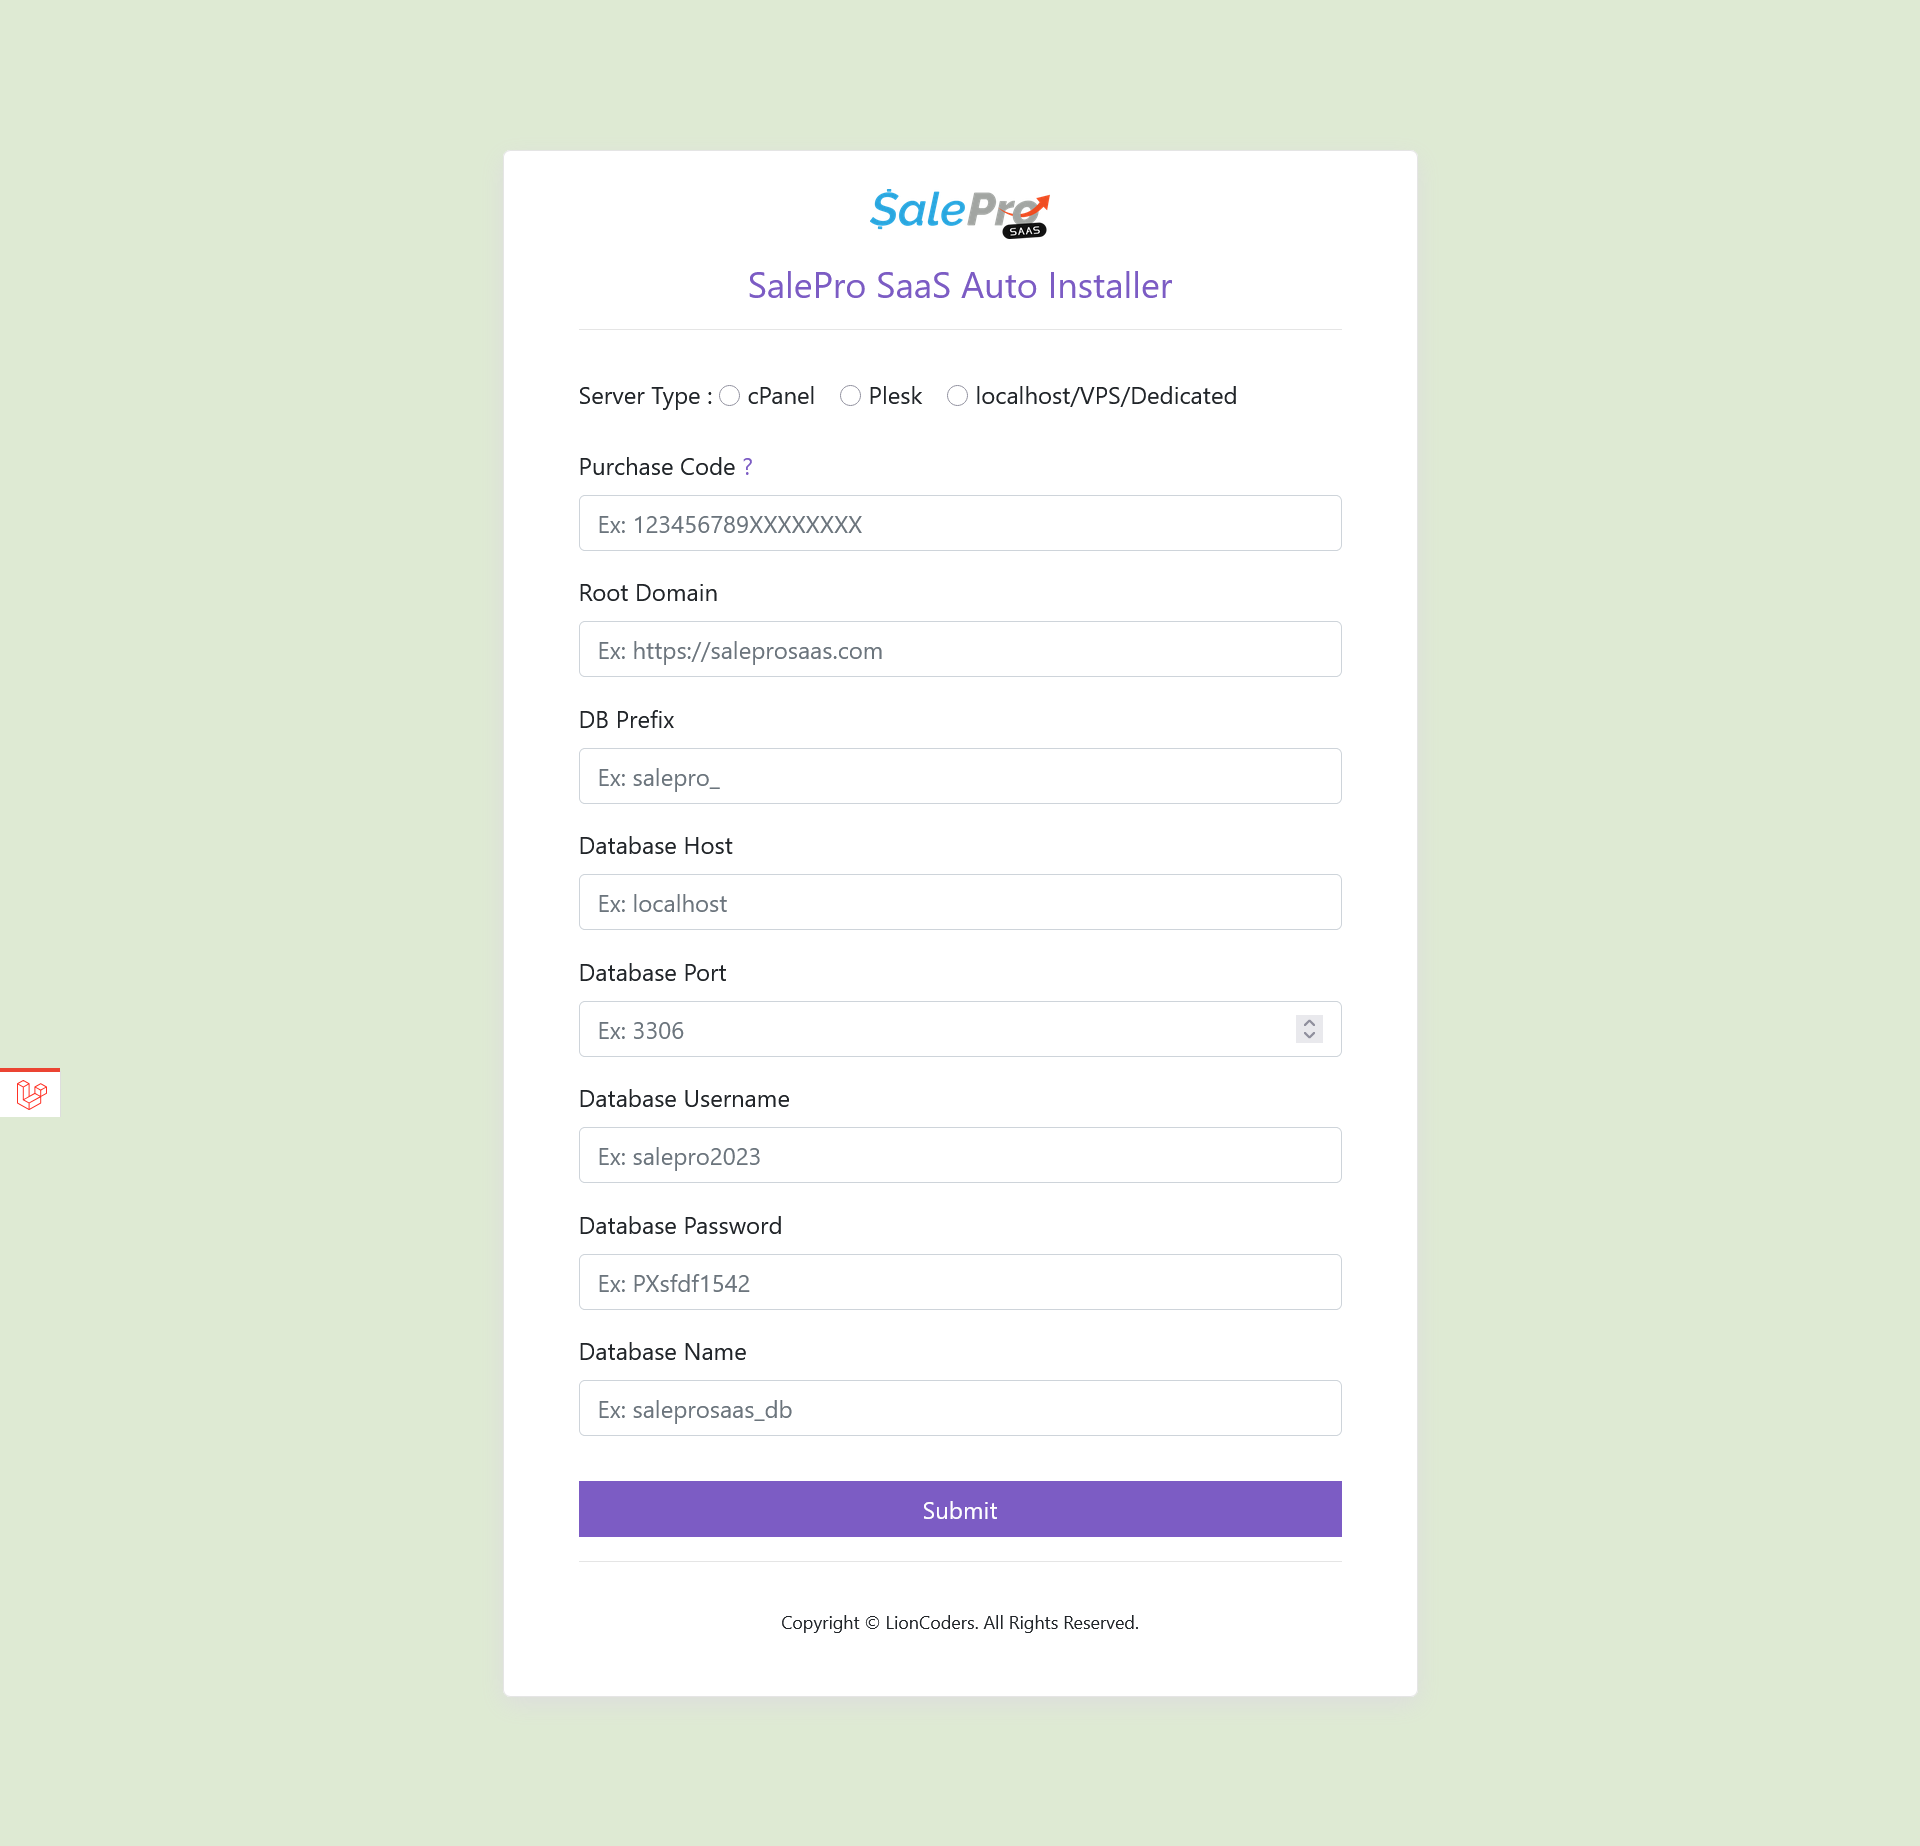
- This is step-3. Here you have to fillup all form to move your saas application. You have to wait few times to go next step.
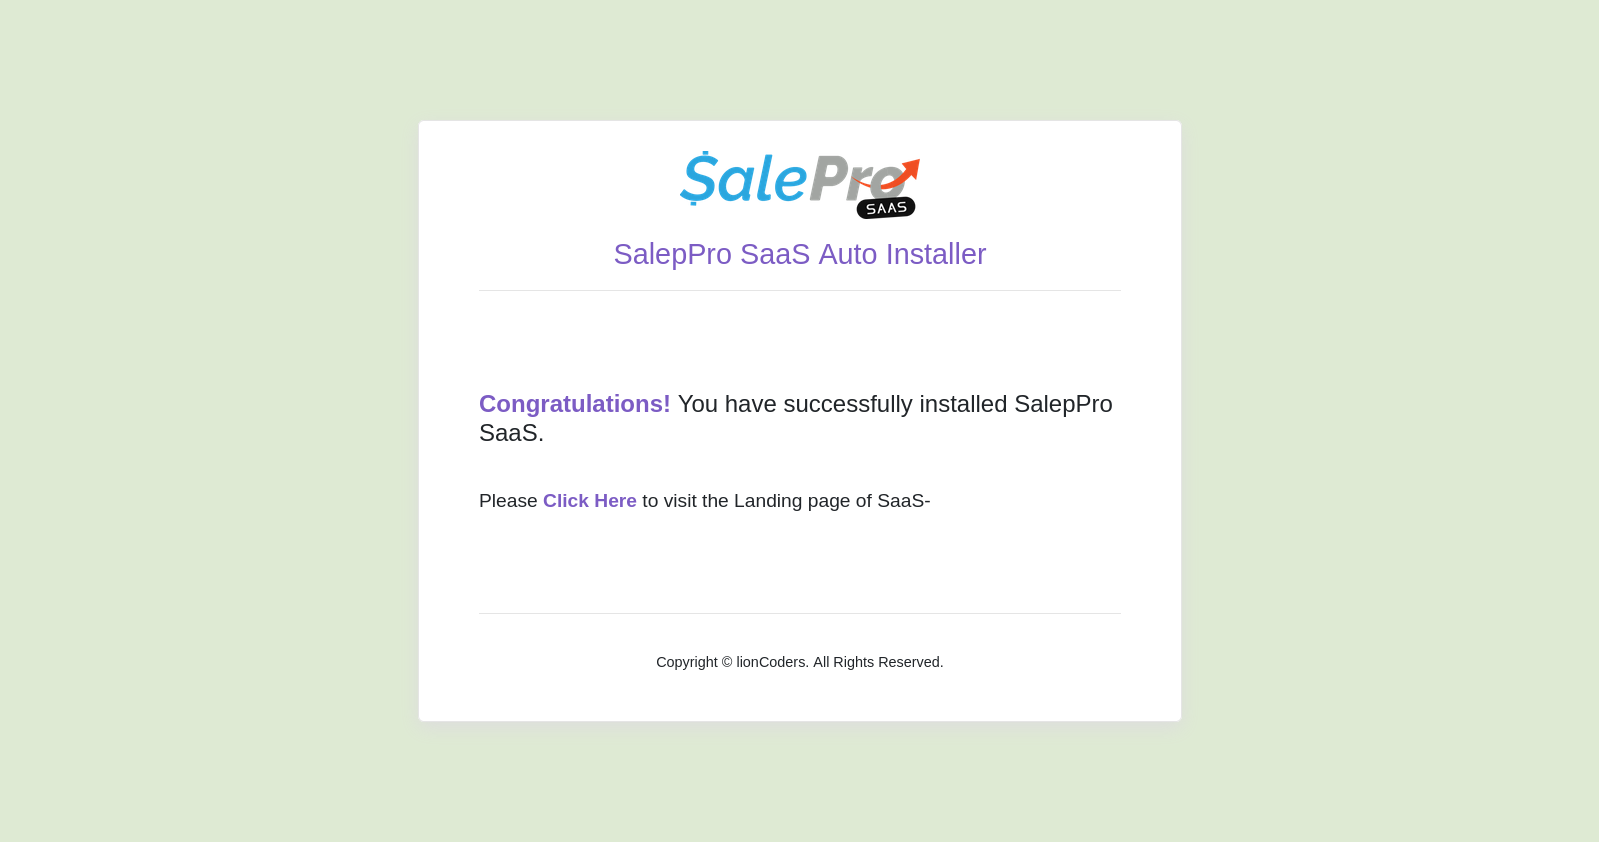
- This is final step. After doing all perfectly then you will get this success page. Then you have click on “Click Here” text. to go landing page of SaaS.
Please make sure your configure your web hosting’s settings, so that it shows hidden files and folders. This is to ensure that if you copy/move the contents from the unzipped folder to any other location, you copy all the files including ‘.htaccess’, ‘.env’ files which are necessary for the proper functioning of the software. Now you can access the folder where you have SalePro Saas from your browser.
cPanel API & Sub Domain Setup
(i) API Setup
- Search or goto Manage API Tokens
- Click on the Create button

(ii) Wildcard Sub Domain
For using the app, you need to create a Wild Card Sub Domain. Follow the instruction –
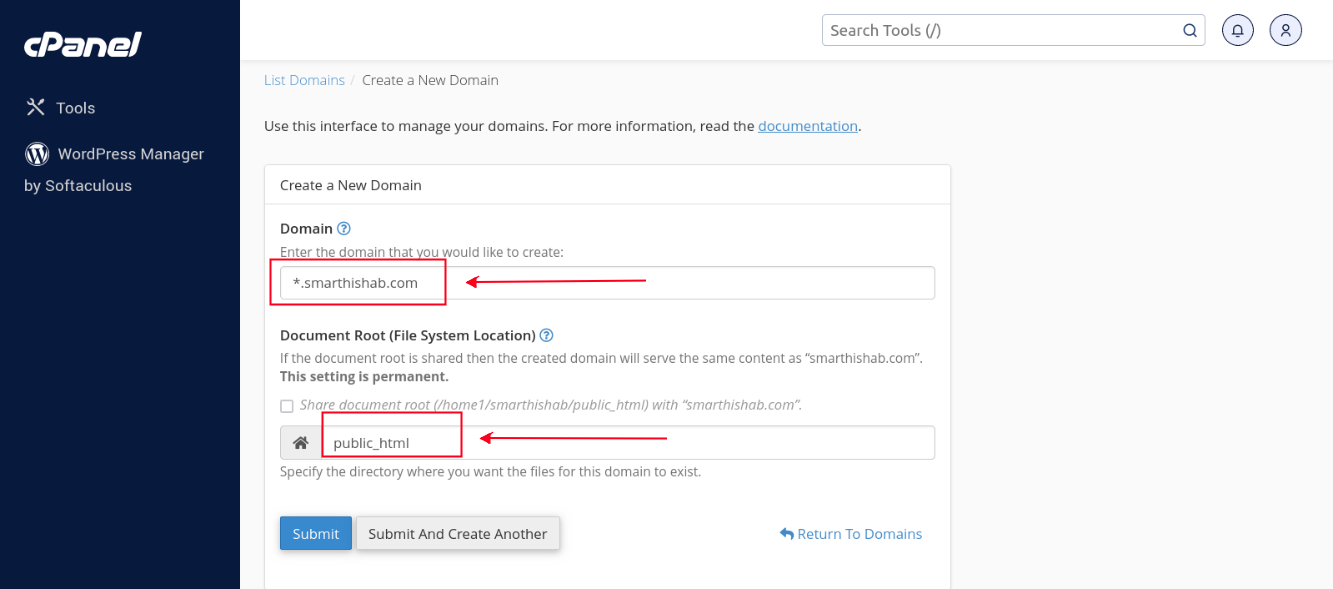
- Search and go to Domains. And create a new domain by clicking on Create A New Domain button.
- You have to set a domain name and according to this format : *.your-domain-name.com
- And also set “Document Root” name and you have to write public_html
- After completing to do this, then click on Submit button
Plesk Installation
Existing SalePro as a Tenant
If you want to use your SalePro as a tenant then you have to follow some criteria. But remember, you have to re-assign your roles-permissions for the employees.
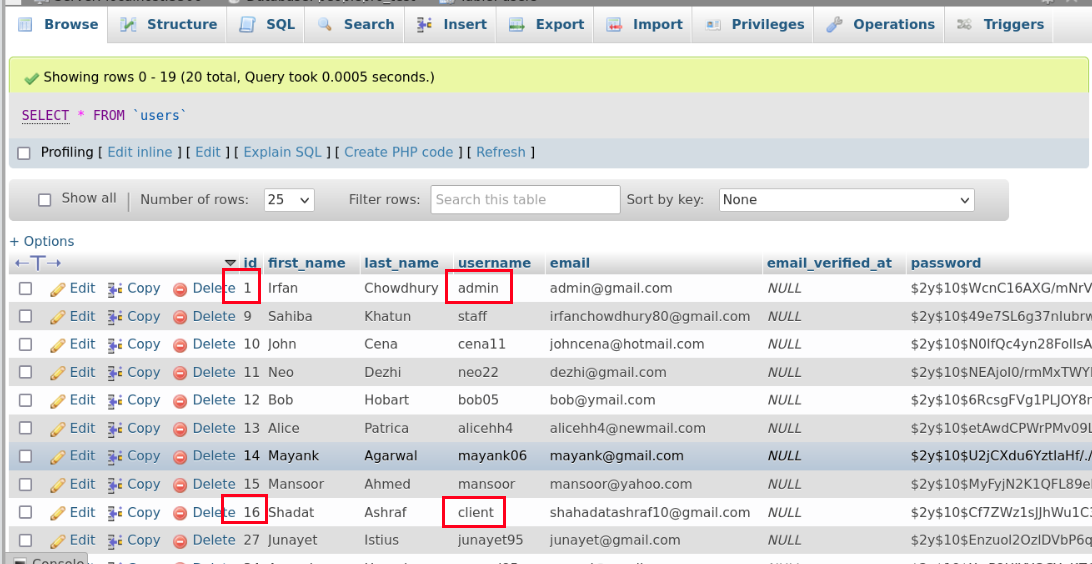
(i) First of all, goto your SalePro database.
(ii) Goto users table and check if there username admin & client exists or not. If exists then remove these rows.
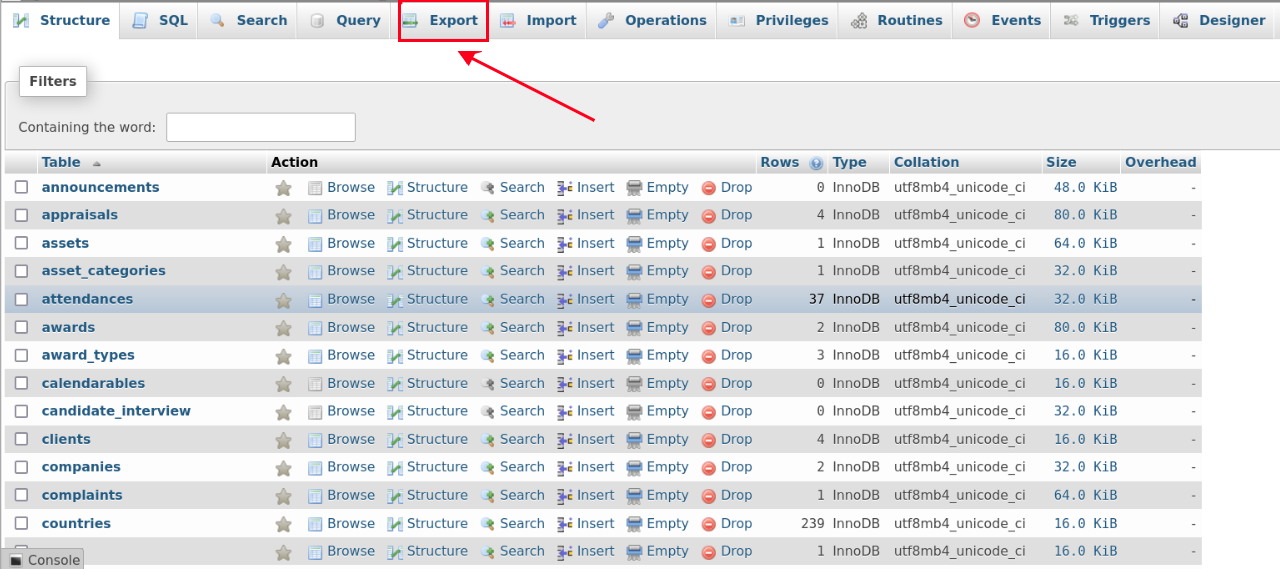
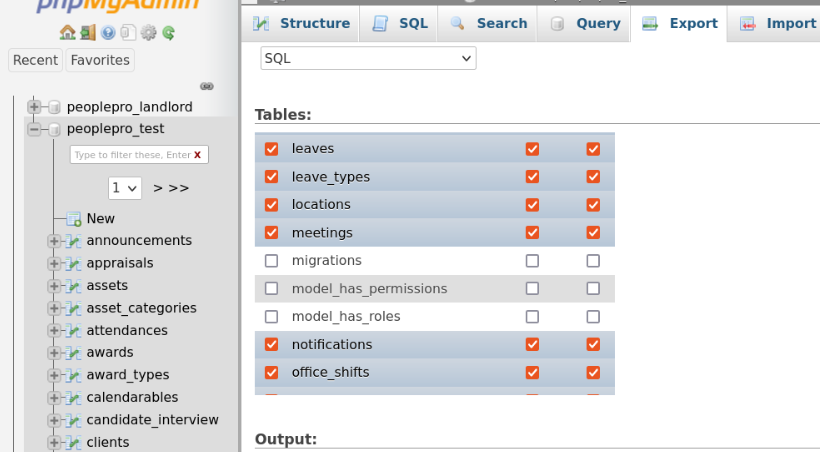
(iii) Then back to the SalePro database and click on Export
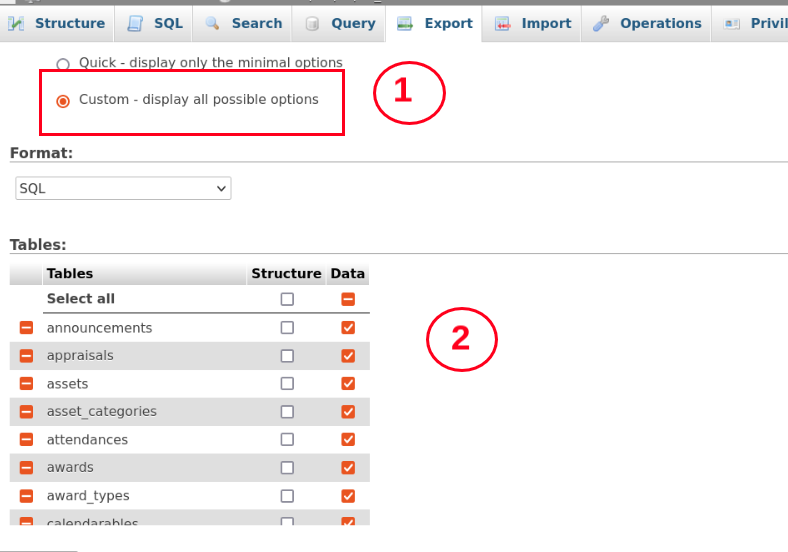
(iv) Click Custom radio button.
(v) Uncheck Structure column only.
(vi) Wait, you have to uncheck some tables also. Please uncheck the table given below.
- general_settings
- migrations
- model_has_permissions
- model_has_roles
- permissions
- roles
- role_has_permissions
(vii) Finally then goto bottom and click Go button for the exporting.
(viii) Goto SaaS, then you have to chose a package where all permission setup. Then you have to create a tenant base on that package. After creating a tenant, then goto it’s database and import the SalePro db which you already exported.
(ix) Run your application now.
Common Errors
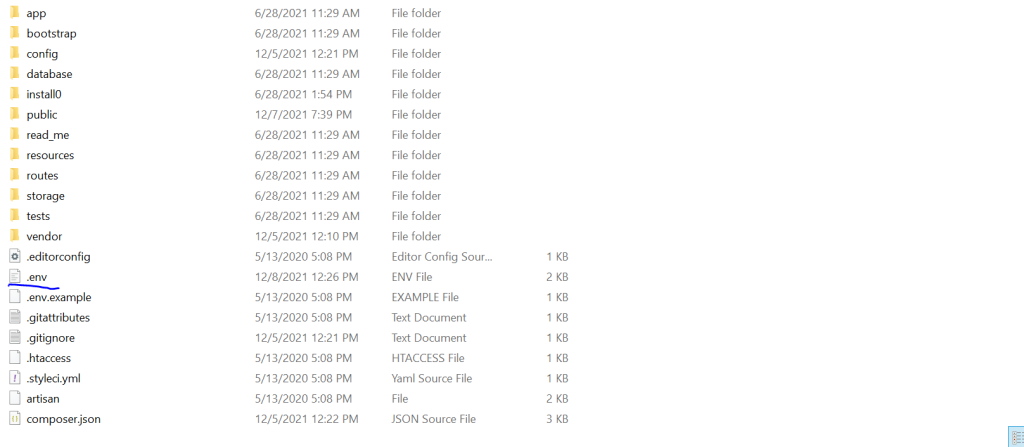
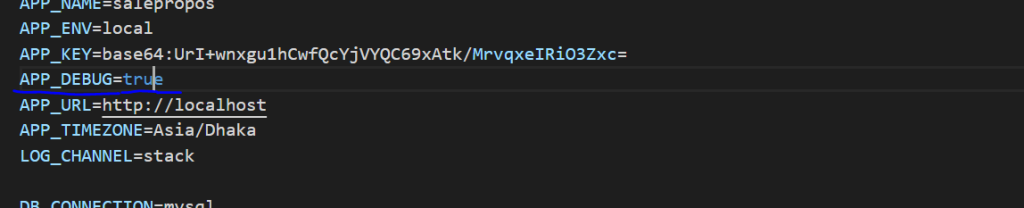
If you face any error after installing, please open your ‘.env’ file and change the value of ‘APP_DEBUG’ to true. You’ll find ‘.env’ file in the app root folder And then go to the page again where you were getting the error. You should see description of actual error now. Please take a screenshot and send it over along with your cpanel access details, so that we can look into it.
Log In
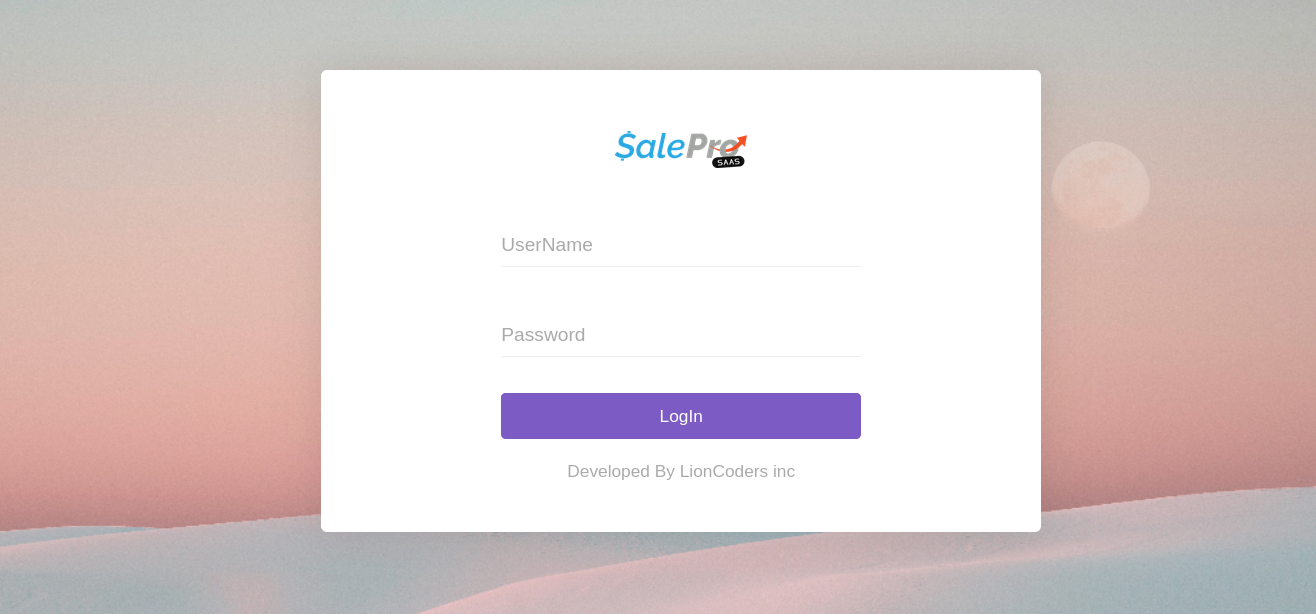
After installation go to the project/root url.Then you will be prompt to super-admin login. The login credentials provided below are for initial usage only – do not forget to update your password after first successful login.
- Login URL :: https://your_domain_url/superadmin-login
- Username :: superadmin
- Password :: superadmin
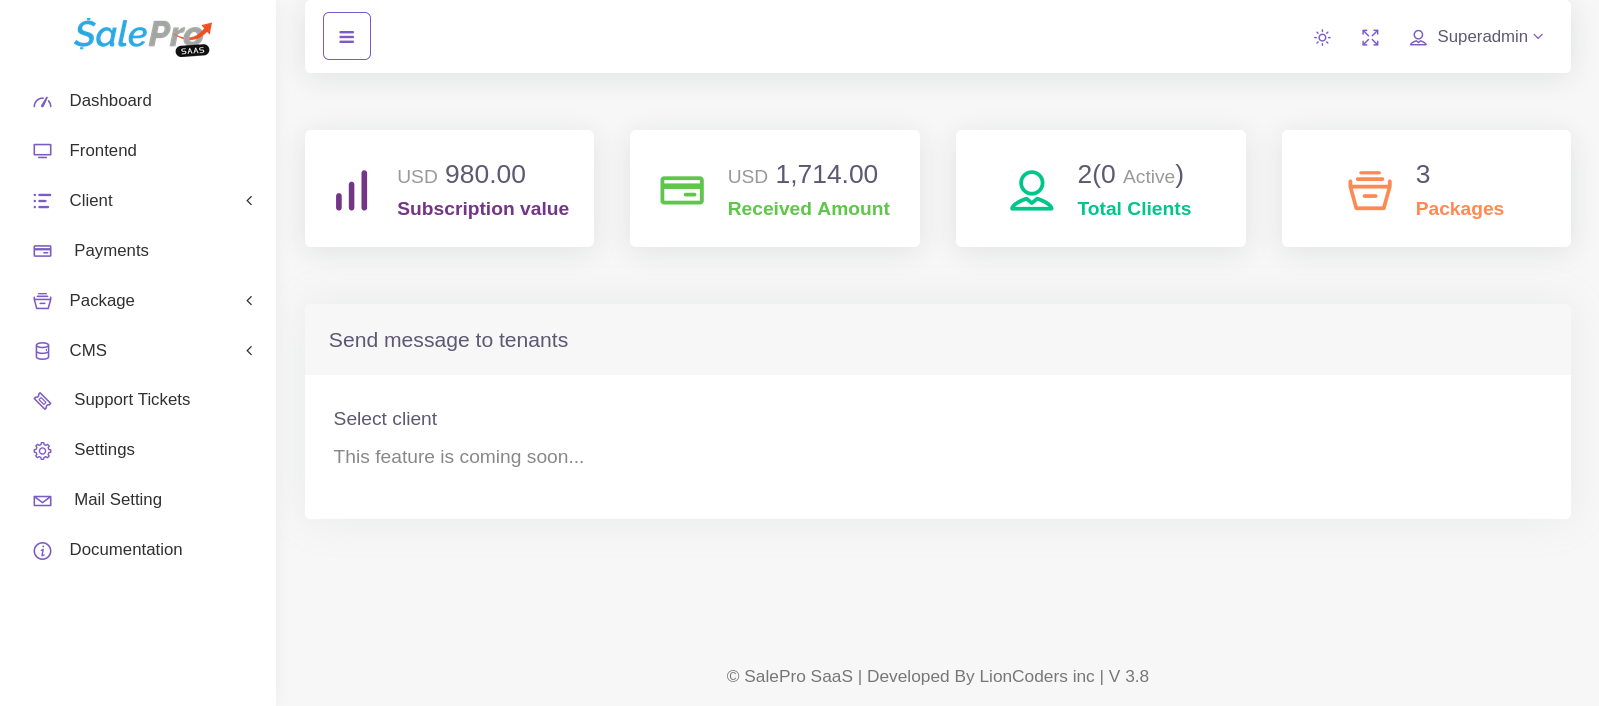
Admin DASHBOARD
The system offers an informative,interactive and user friendly admin dashboard. The dashboard shows summarized information about the organization in a nutshell.
- Oversee the Comprehensive Operations of the Organization.
- Visible Subscription Value
- Total Received amount
- Total Packages
Datatable Options
DataTables is a table enhancing plug-in that offers sorting, paging and filtering abilities . In this software, datatable is used as a toll for showing data.
Here are some of the features and usage for datatable
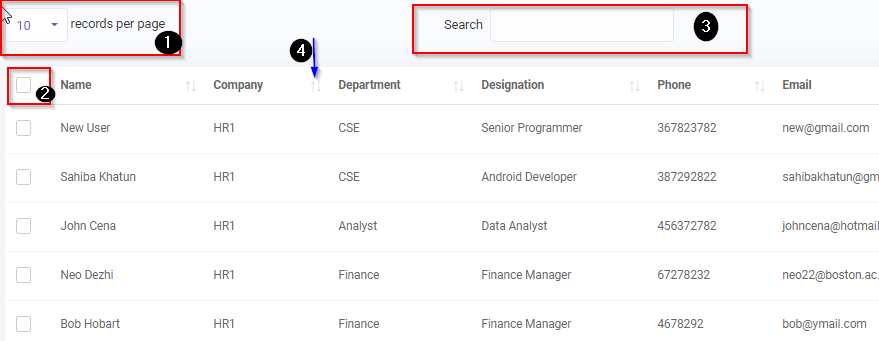
- you can select how many records to be shown in a single page (10,25 or all).Default is 10
- Selector: You can select all the records/rows and perform action like print to pdf/csv/print or delete multiple rows
- Search: Search the records/rows using keywords
- Sorting: Sort columns
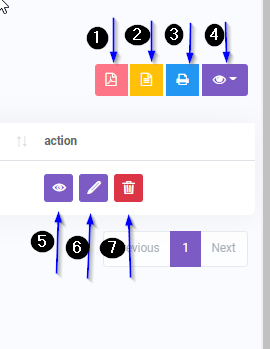
- You can export the records to a pdf using this button
- You can export the records to a csv using this button
- You can print the records using this button
- You can hide/show specific columns using this button
- View details of a specific record
- Edit/Update a specific record
- Delete a specific record
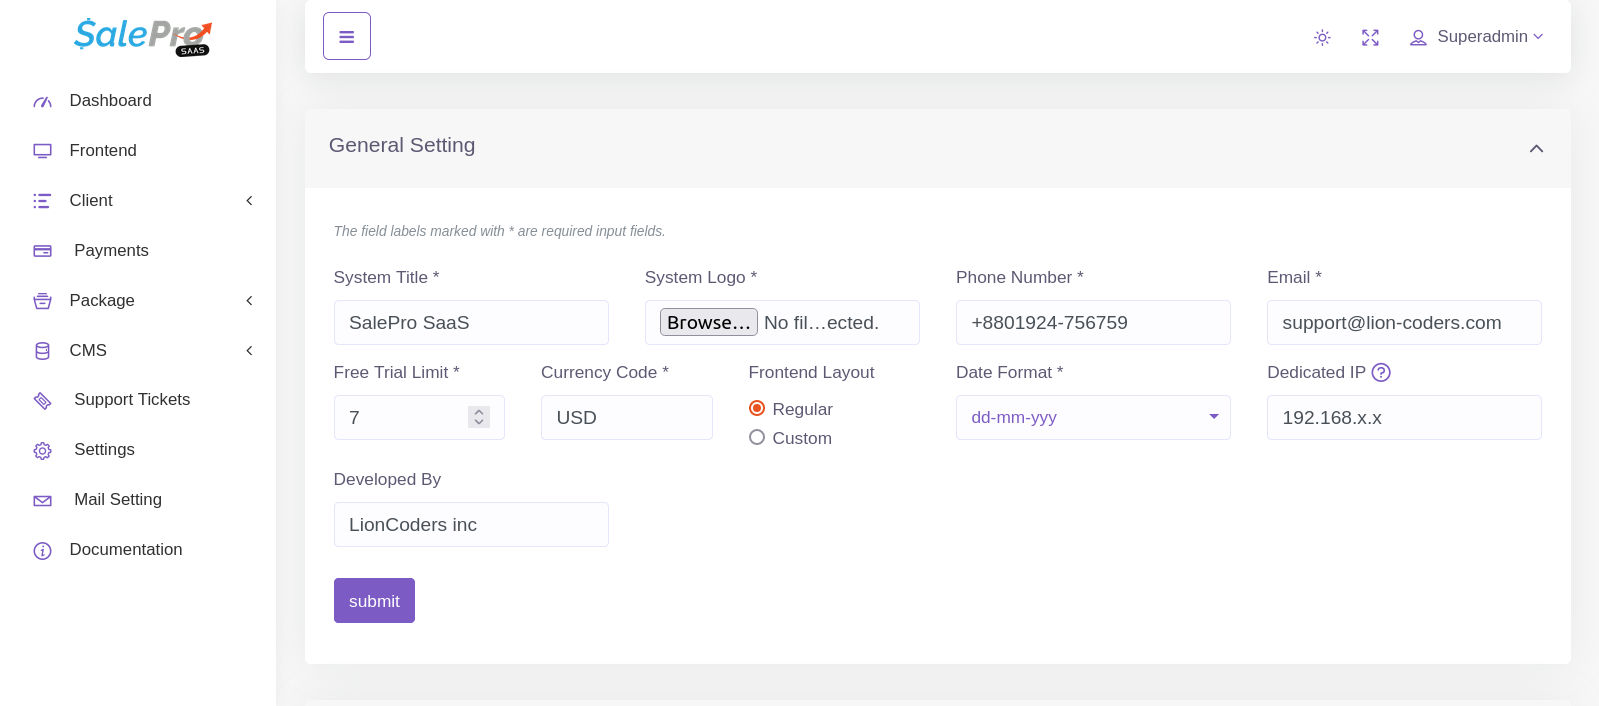
Settings
In Settings, you will find General Setting, Payment Setting, SEO Setting, Analytics Setting.
You can set App site title, site logo, currency, currency Format, timezone , date format and default Bank that will be used throughout the app.The changes will reflect immediately.
You can set the credentials of various payment gateway in Payment Settings Section.
Support Ticket System
The Support Ticket System in SalePro SaaS allows tenants (clients) to communicate directly with the Super Admin for any kind of issue, question, or request.
Both the tenant and super admin can send and receive messages within each ticket thread.
🔹 Accessing the Support Ticket Section
From your dashboard, go to the sidebar and click on “Support Tickets”.
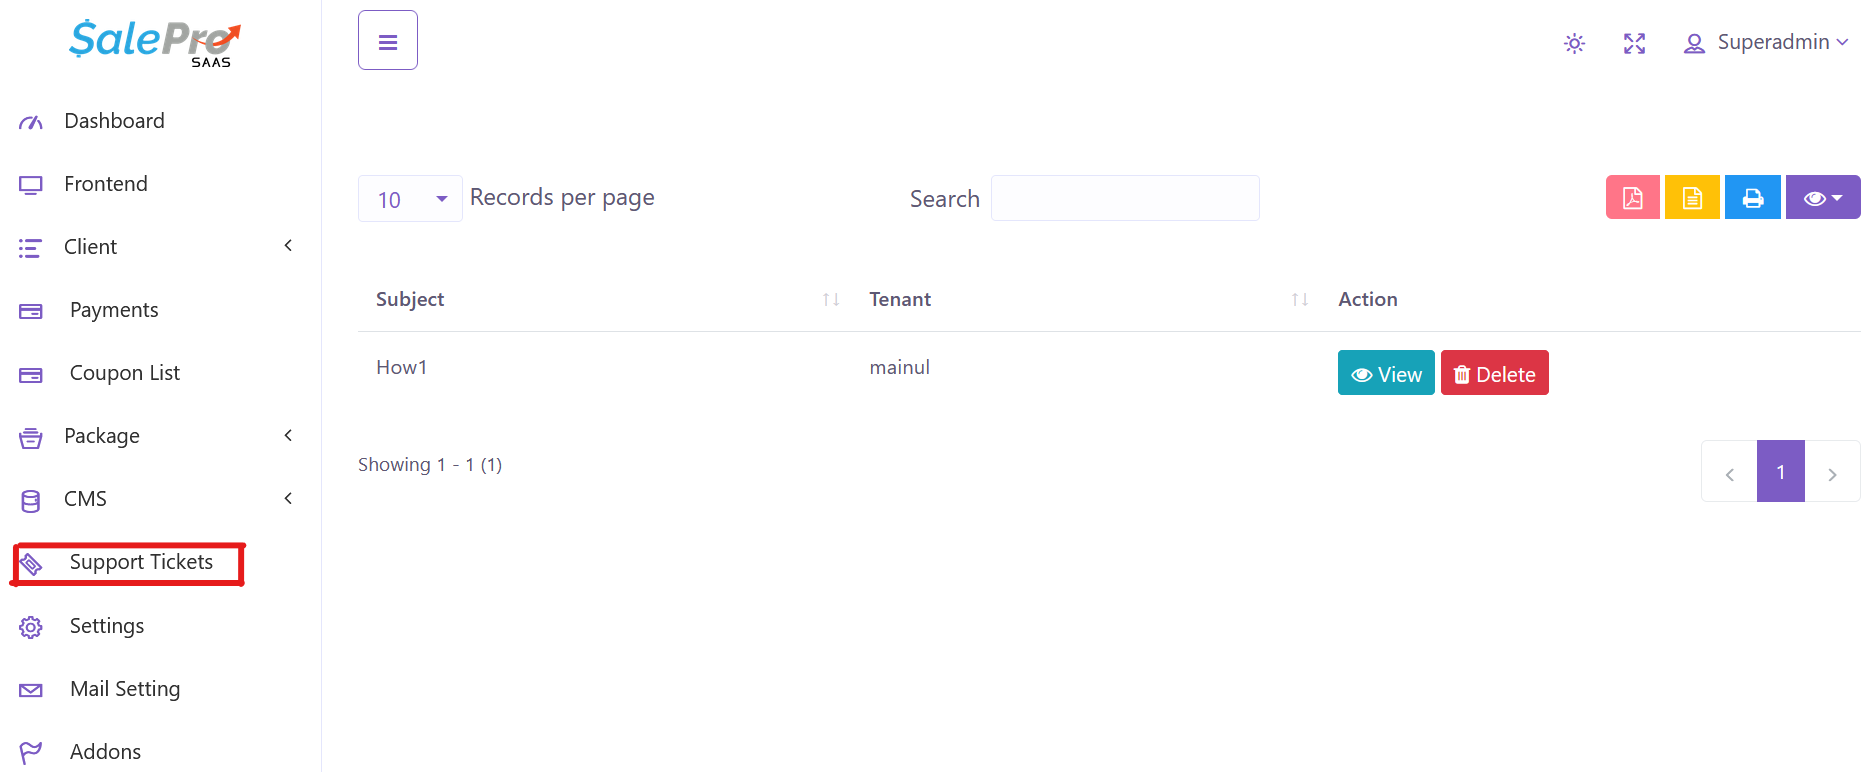
This page displays:
-
All existing support tickets.
-
Ticket subject, tenant name, and action buttons for viewing or deleting tickets.
🔹 Creating a New Ticket (Tenant Side)
Tenants can create new support tickets to contact the super admin.
➤ Steps:
-
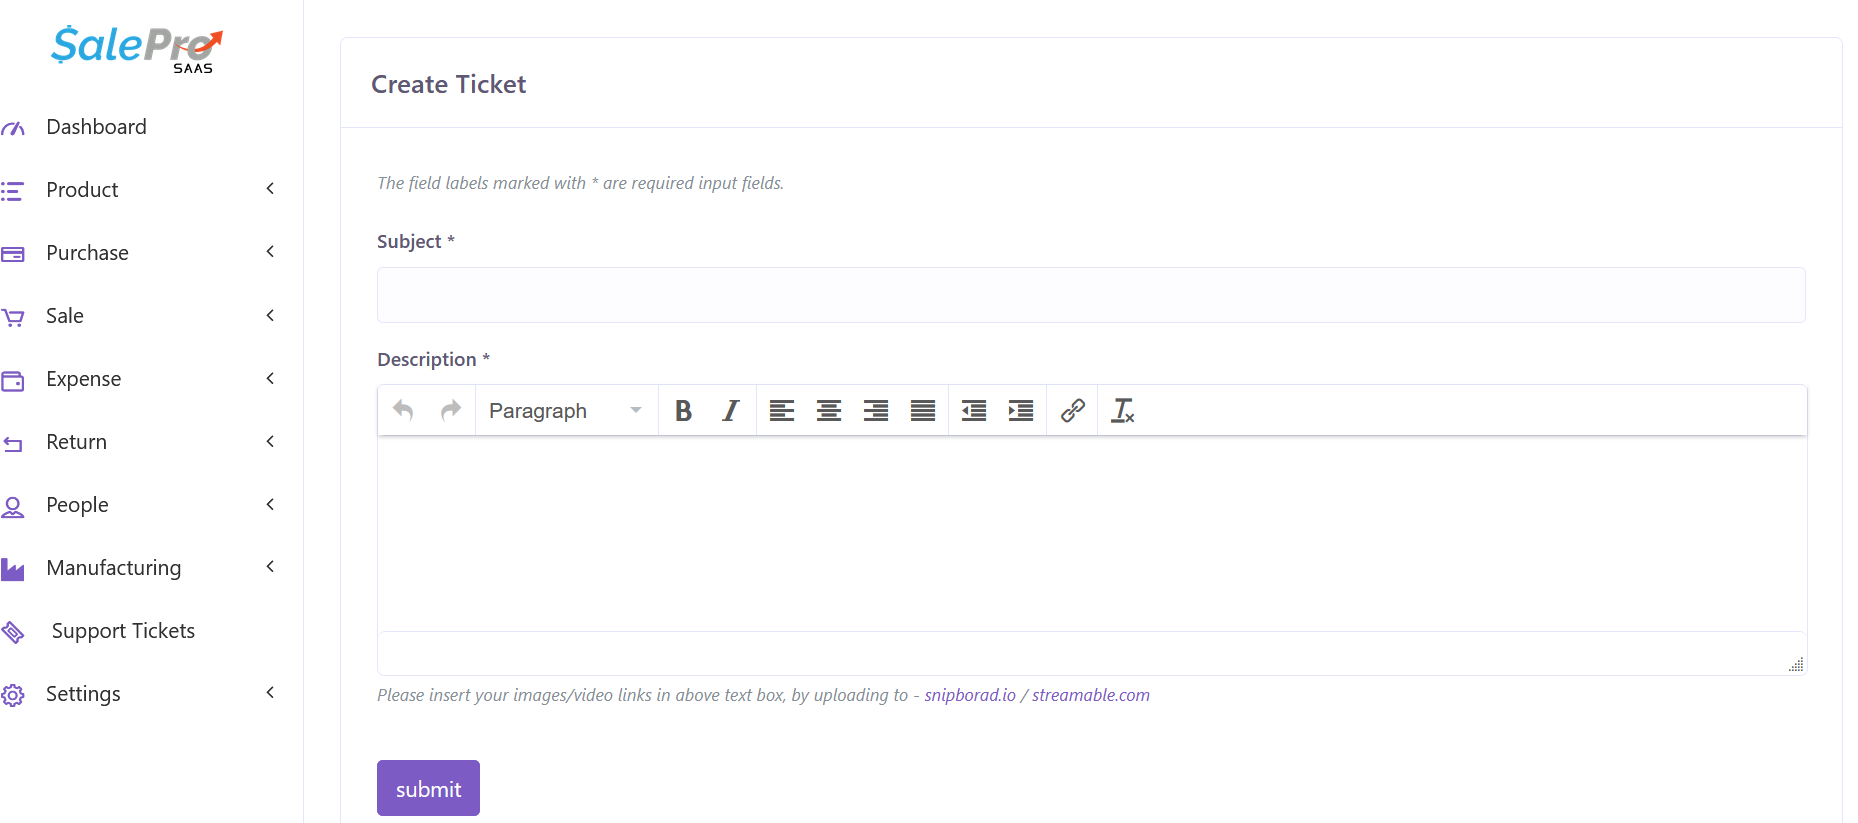
Go to Support Tickets → click Create Ticket.
-
Fill in the required details:
-
Subject: Short title for your issue or question.
-
Description: Detailed explanation of your problem or request.
-
🔹 Viewing and Replying to Tickets
Once a ticket is submitted:
-
The Super Admin will see it on their dashboard.
-
Both Tenant and Super Admin can reply to each other on the ticket.
➤ Steps to reply:
-
Go to Support Tickets.
-
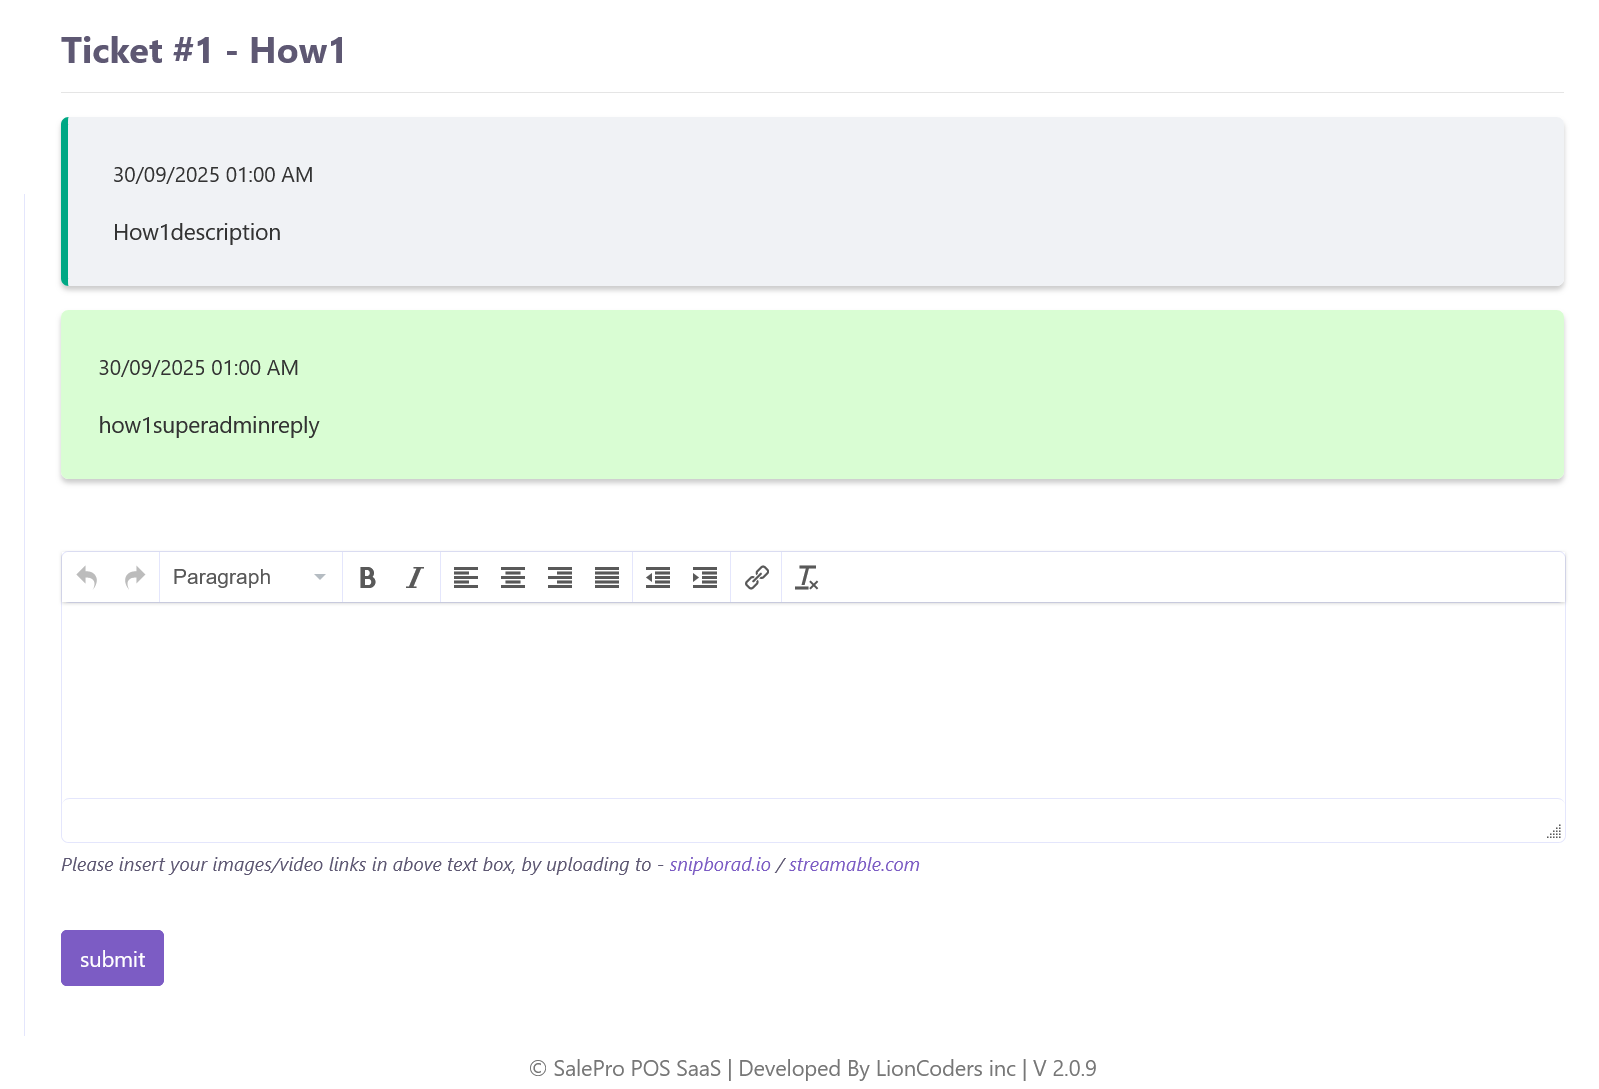
Click View beside your ticket.
-
Scroll down to the reply box, type your message, and click Submit.
All replies are shown in a chat-style layout:
-
Gray boxes – Tenant messages
-
Green boxes – Super Admin replies
⚙️ Optional: Disable Tenant Support Tickets
🛠️ Want to turn off the tenant support system?
Go to Settings and simply check ✅
“Disable Tenant Support Tickets”
🚫 Once enabled, tenants will no longer see the Support Tickets menu option.
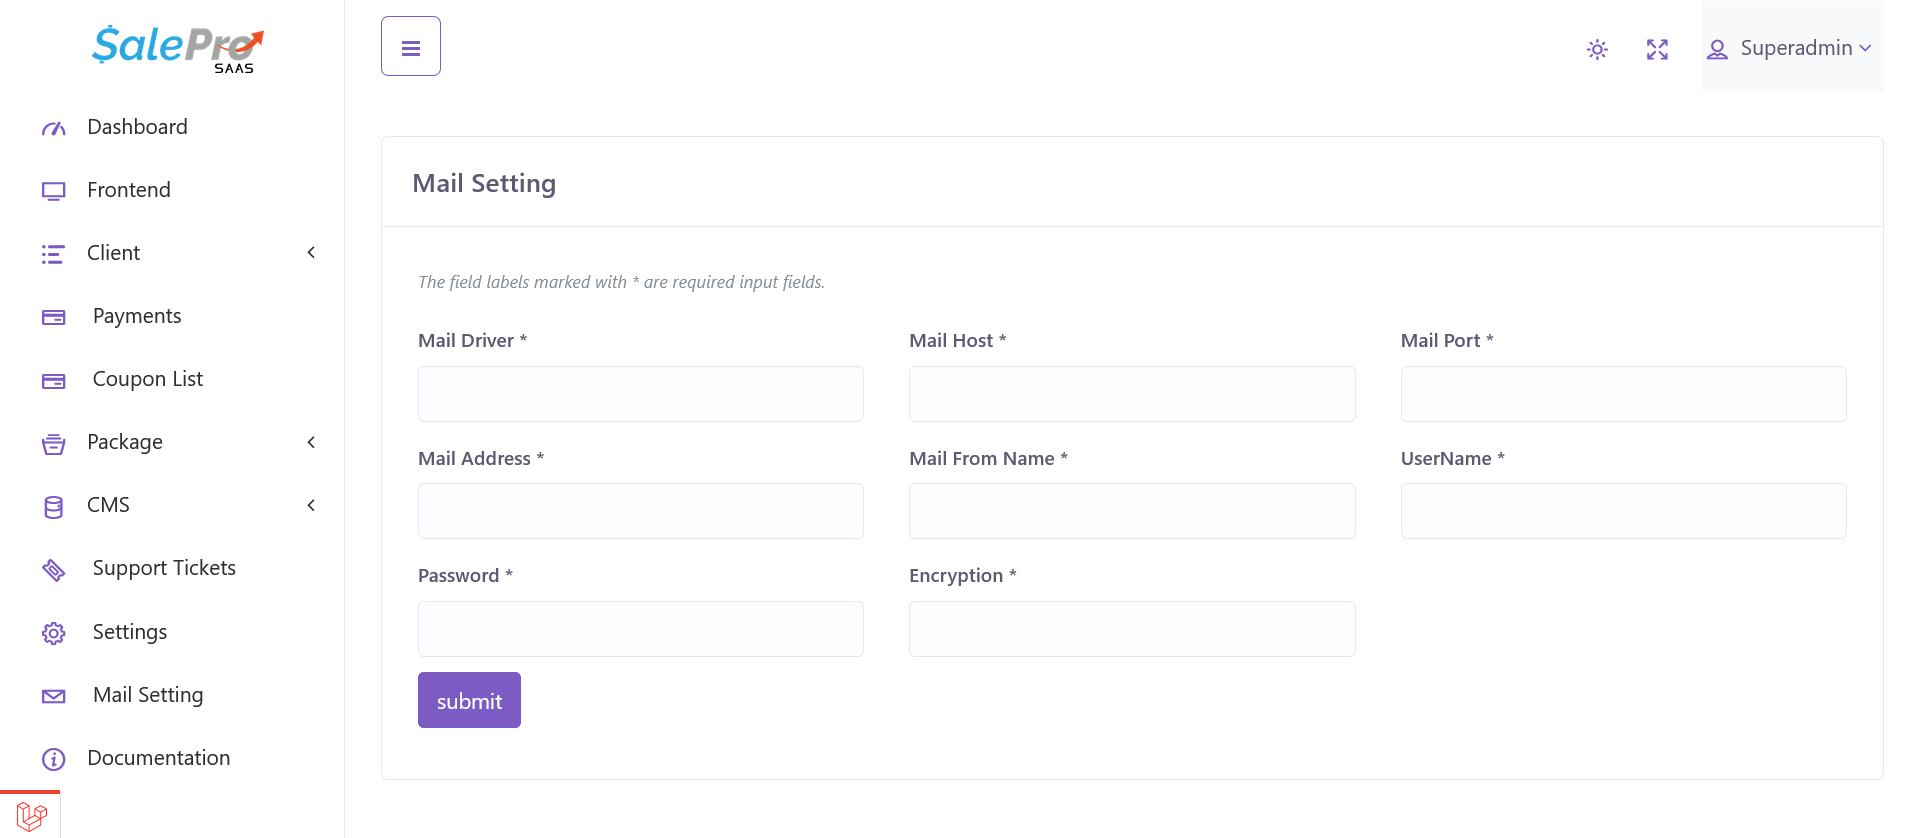
Mail Setting
To add mail functionality you have to setup mail server first. To do this go to Mail Setting. You have to fill up the following information.
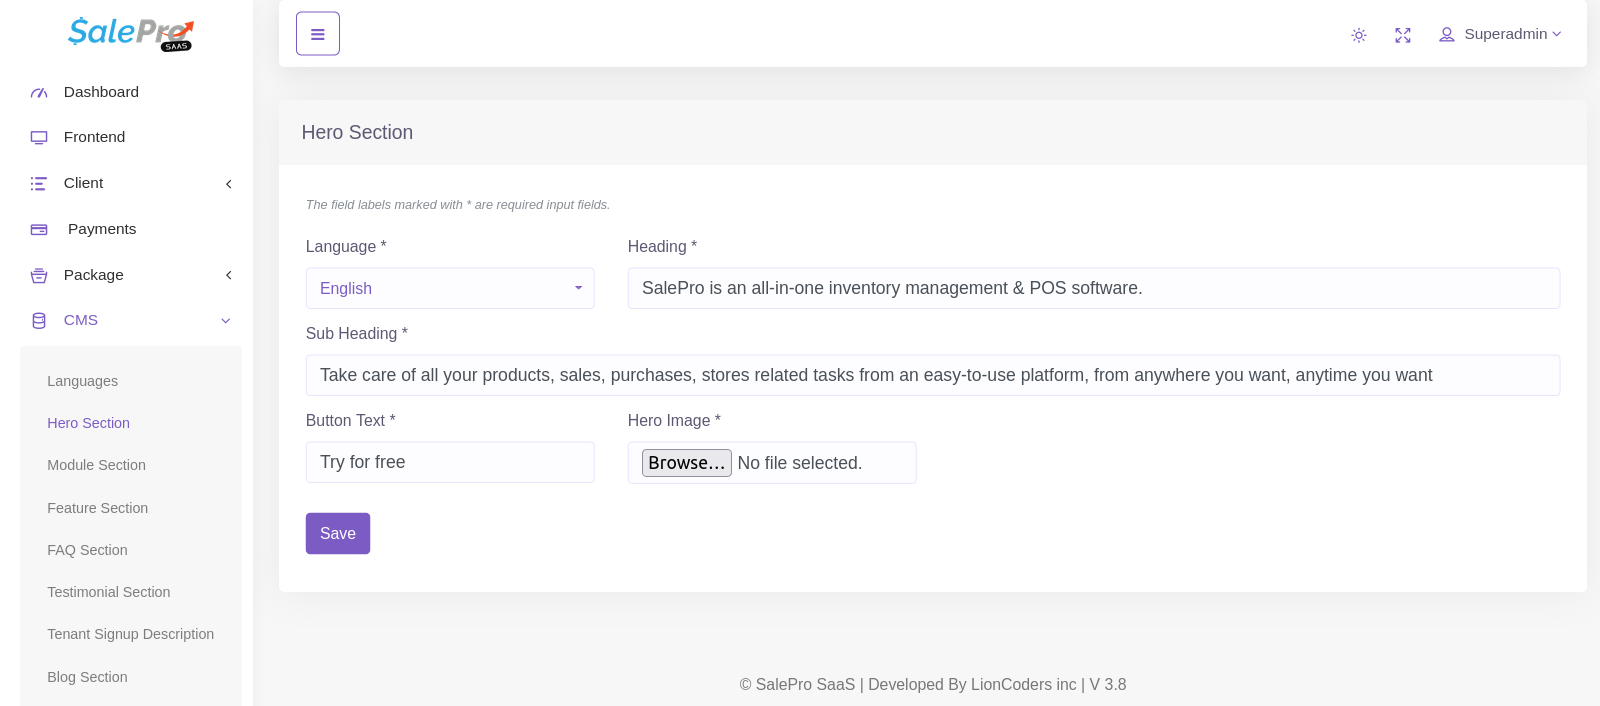
Hero Section
CMS –> Hero Section.
You can add Heading, Button Text, Image, Sub-Heading
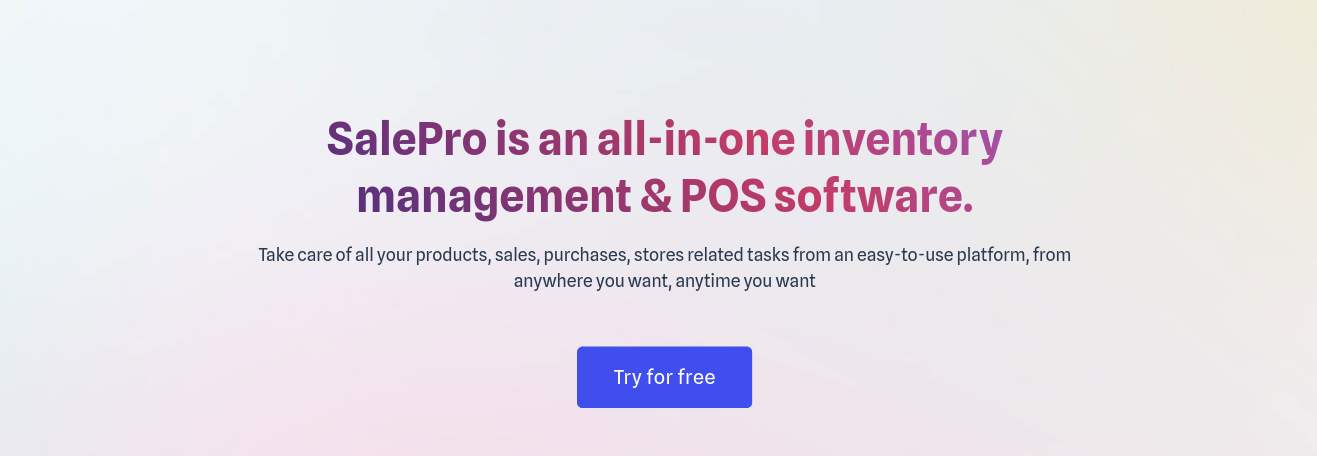
In main Landing page you will see the result
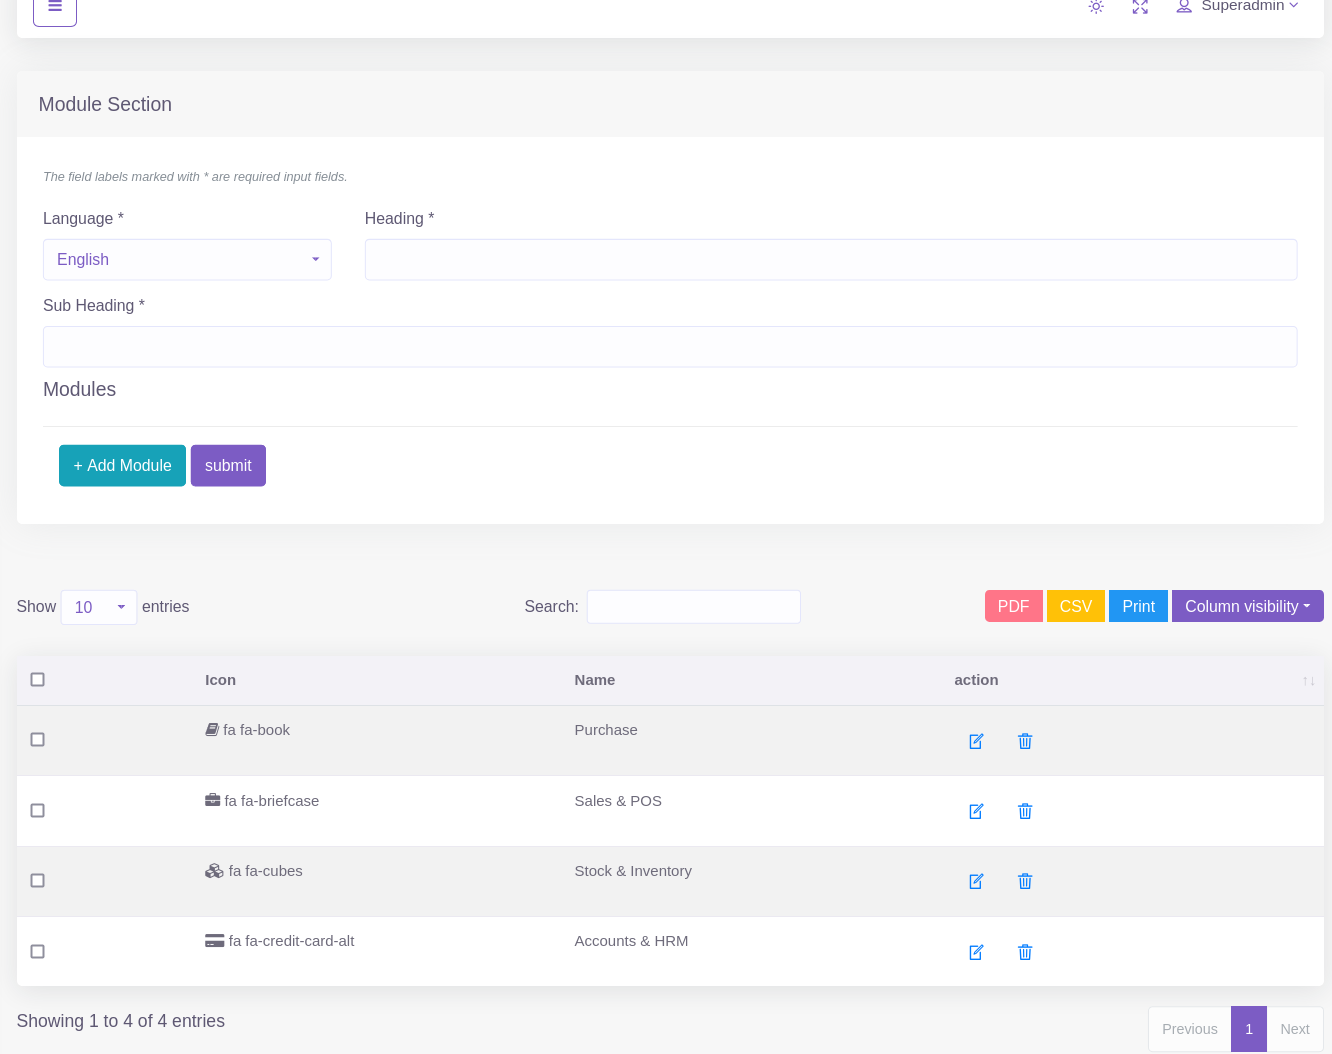
Module Section
CMS –> Module Section.
You can add Heading, Button Text, Image, Sub-Heading
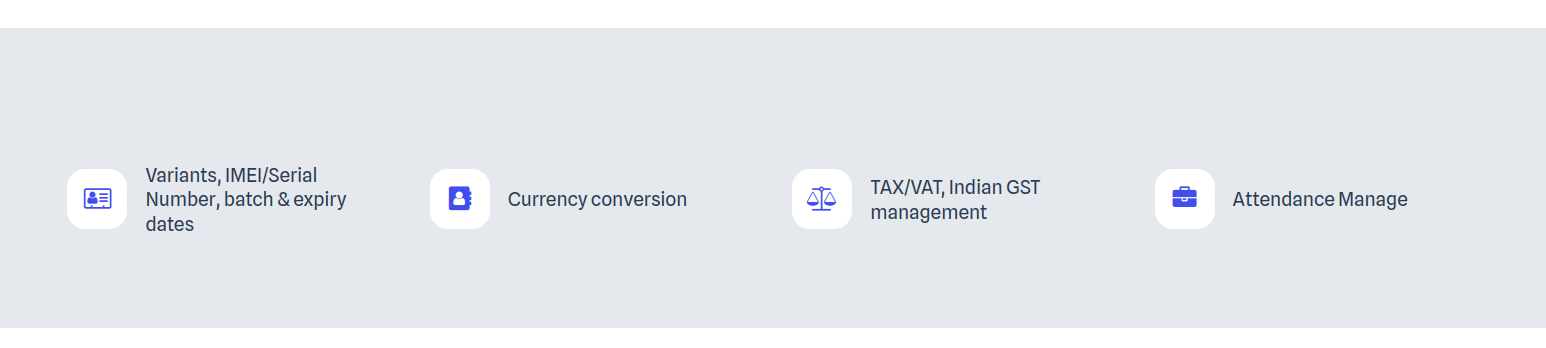
Feature Section
CMS –> Feature Section
You can add Icon, Name
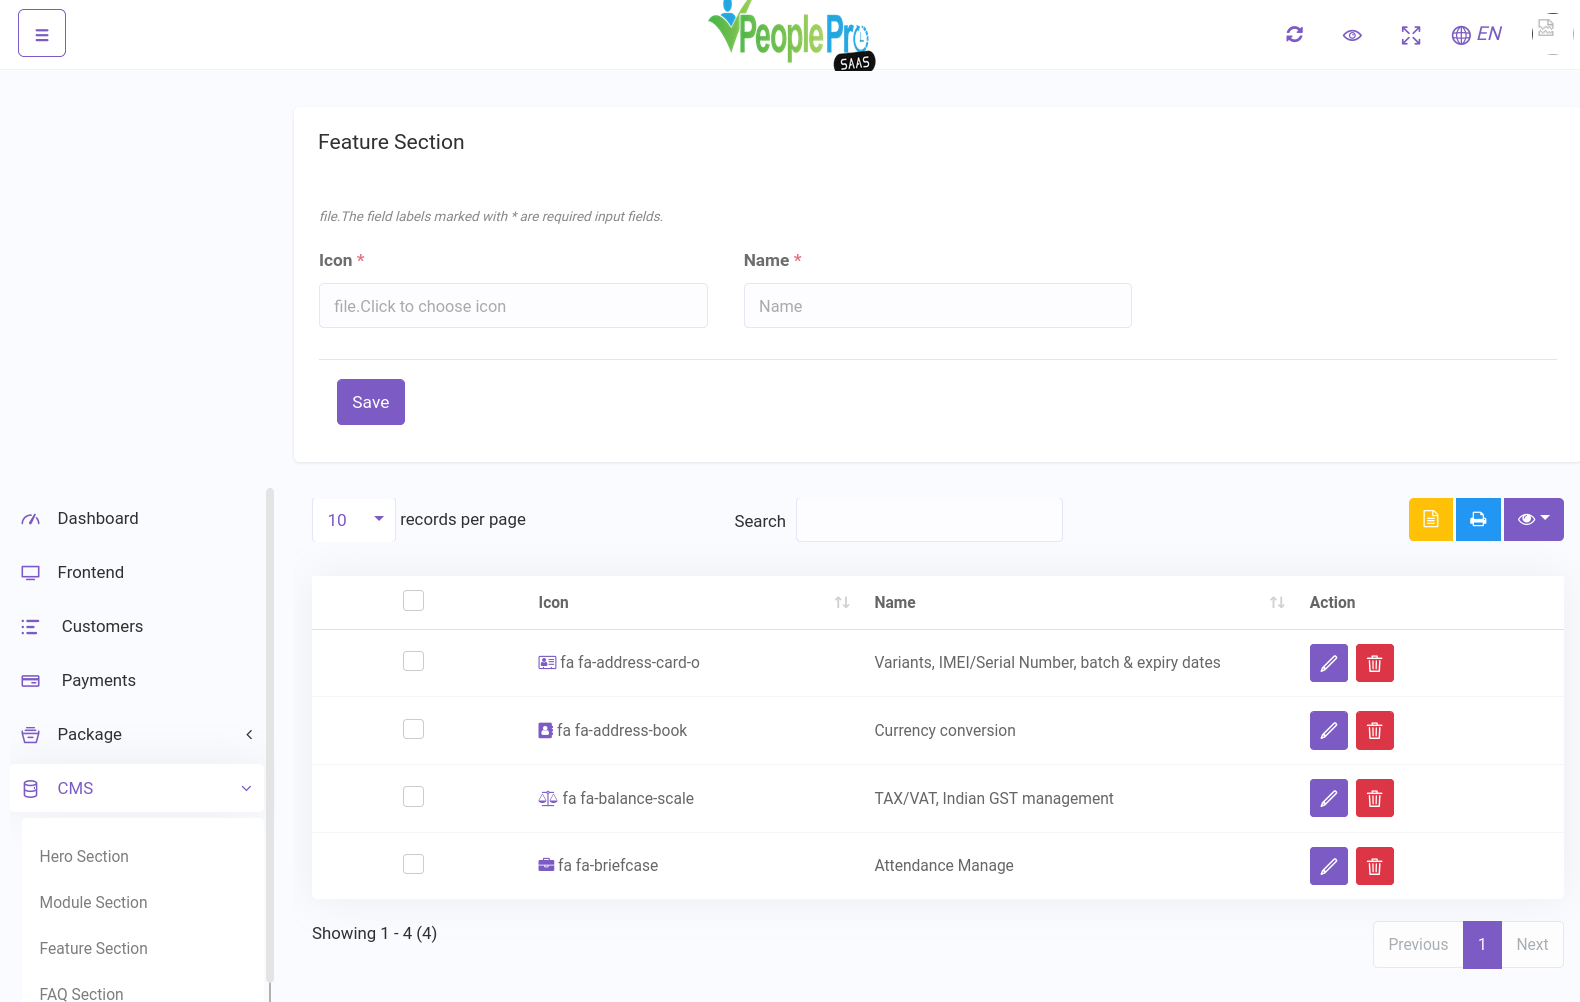
You can edit by selection icon
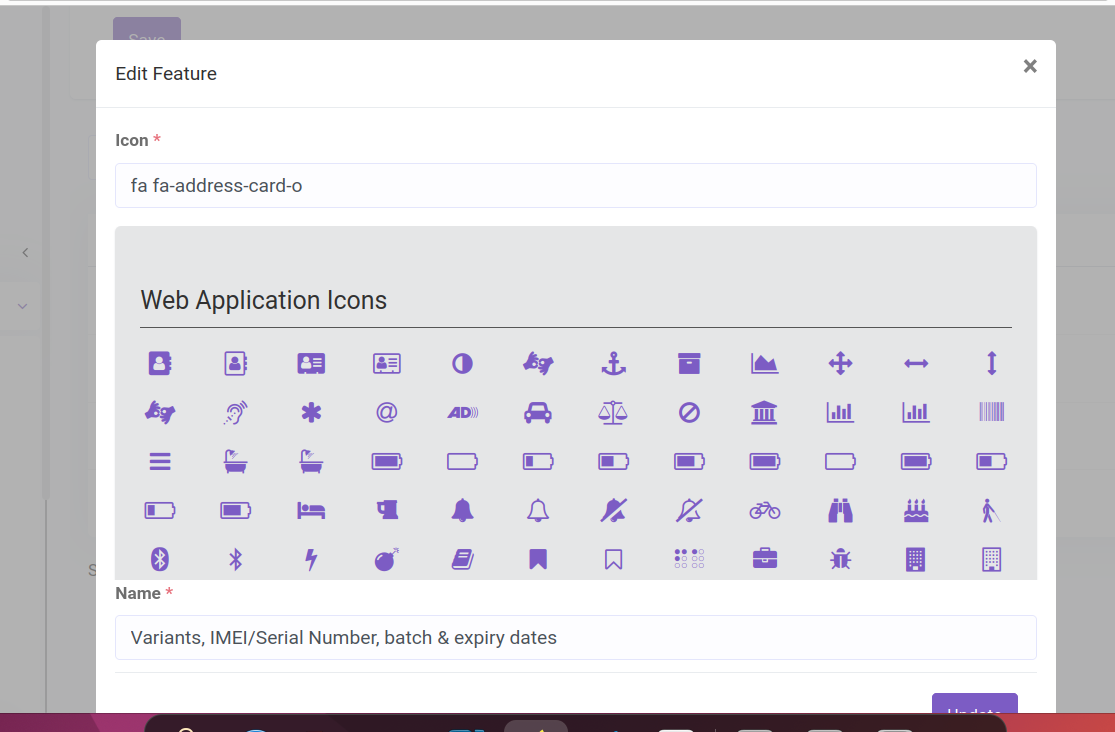
In main Landing page you will see the result
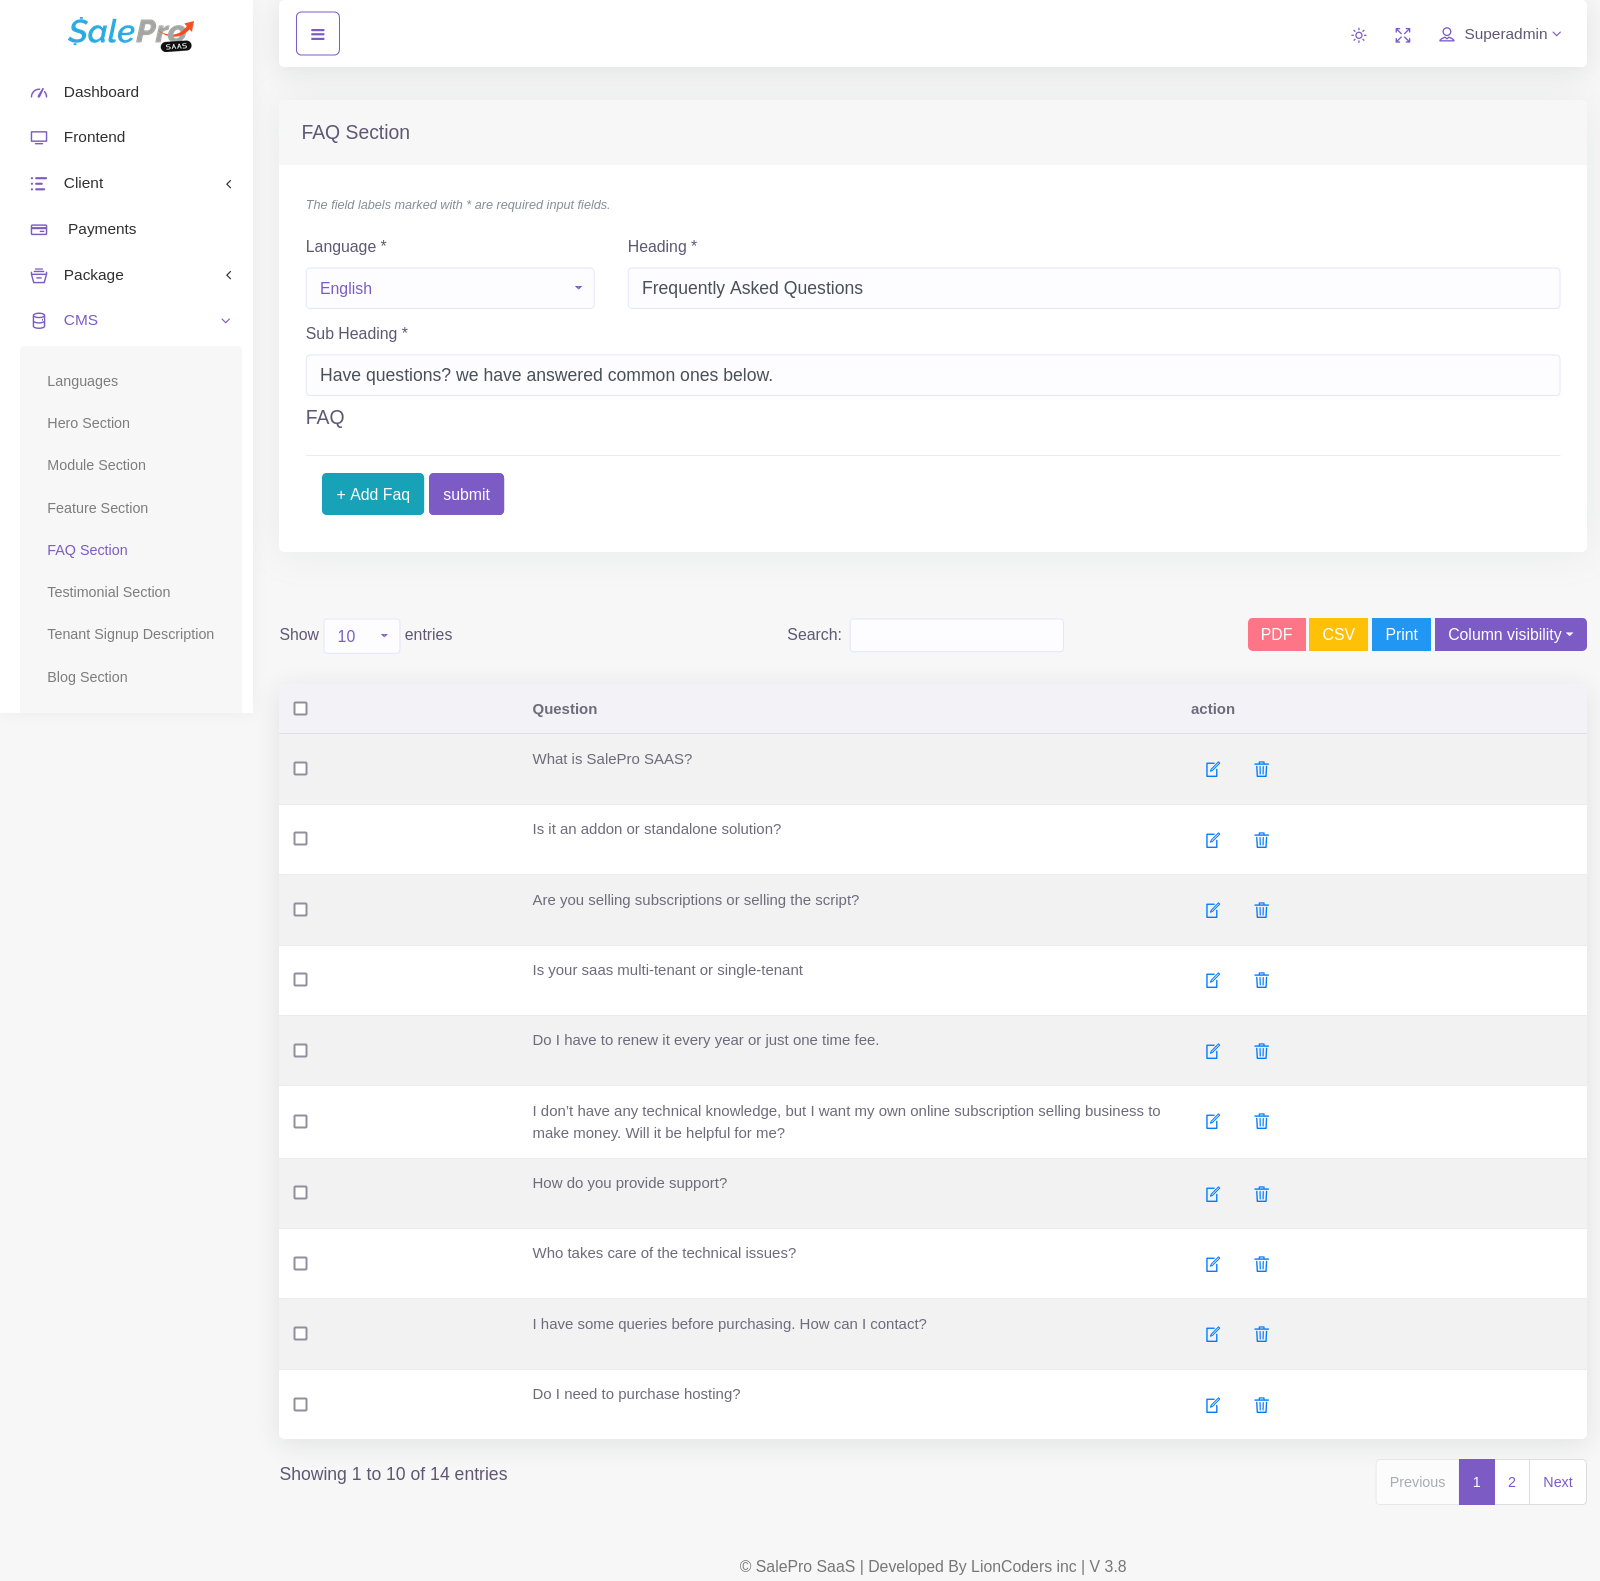
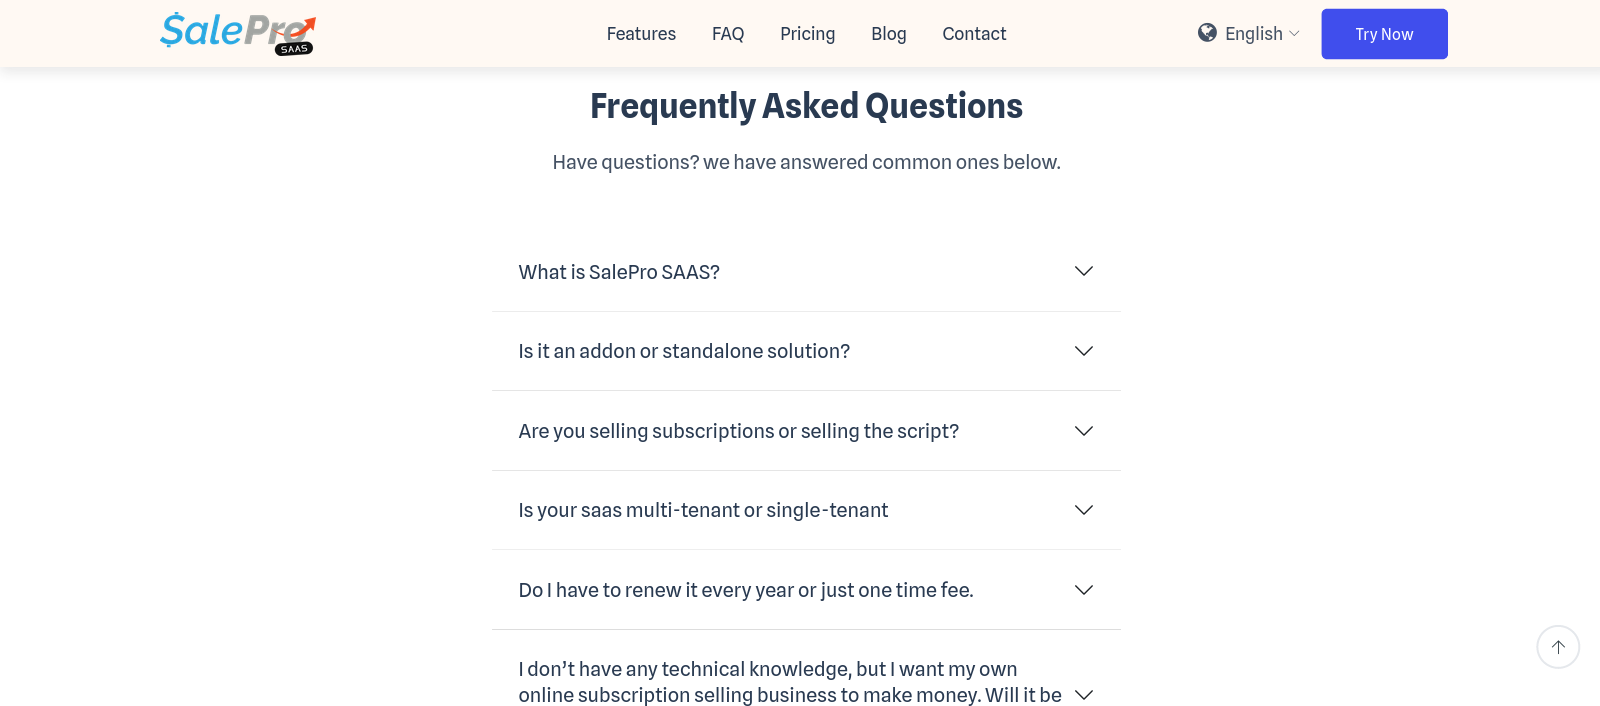
FAQ Section
CMS –> FAQ Section
You can Manage Heading, Sub-Heading, Question, Answer
In main Landing page you will see the result
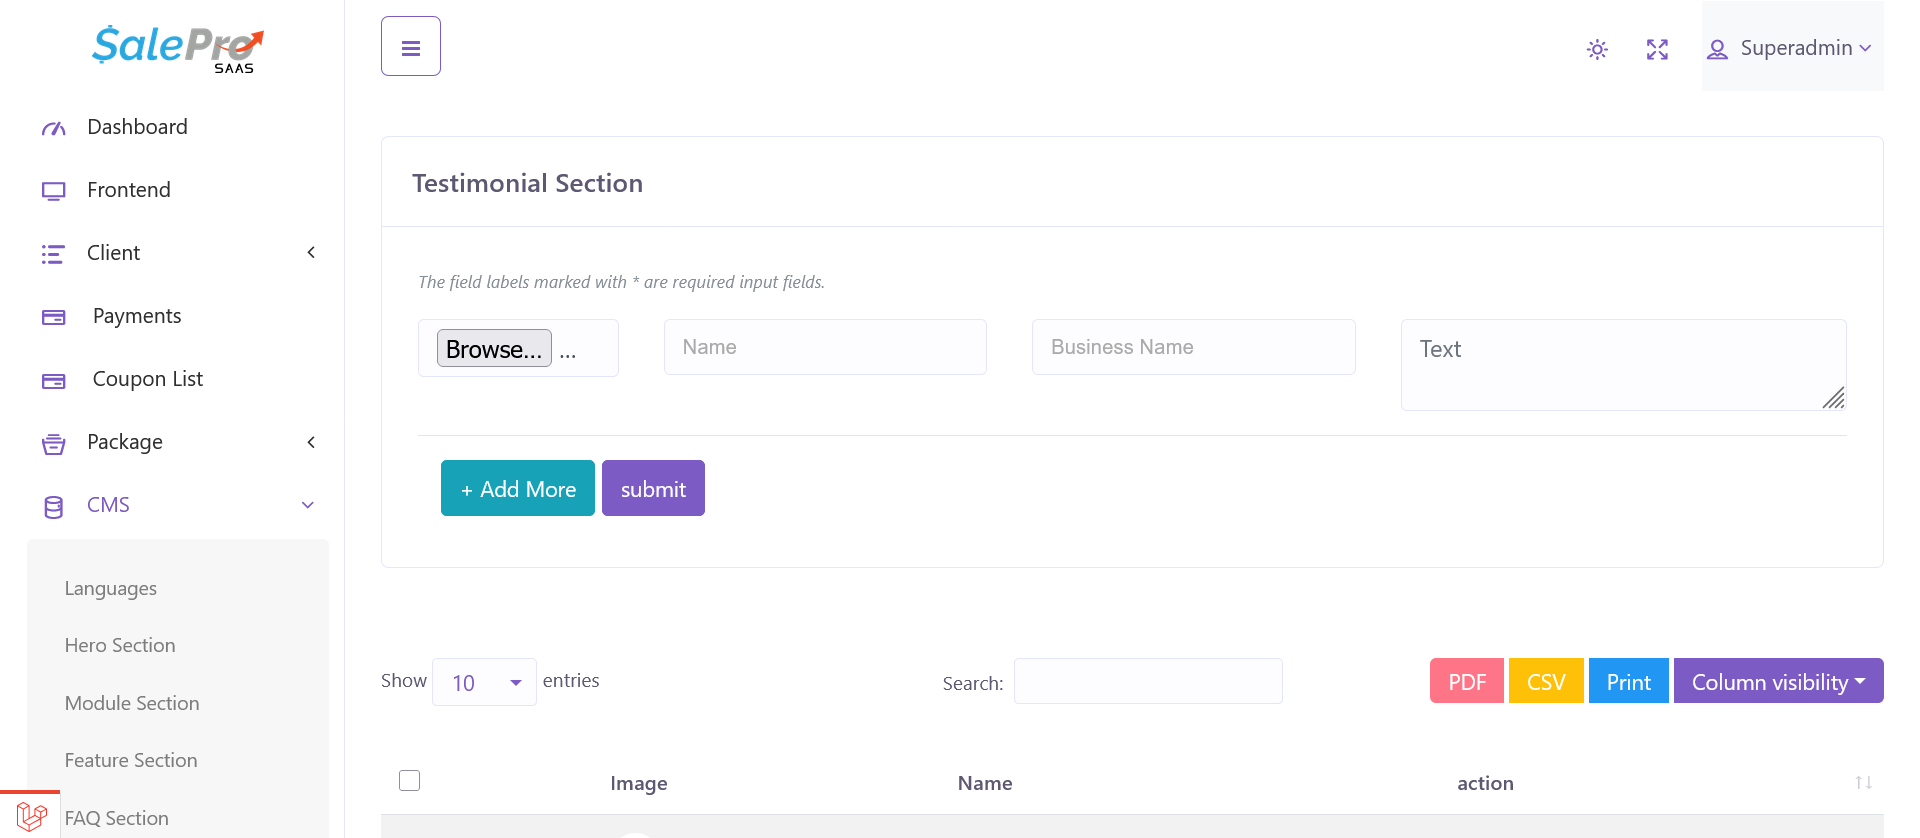
Testimonial Section
CMS –> Testimonial Section
You can add Name, Business Name, Image, Description
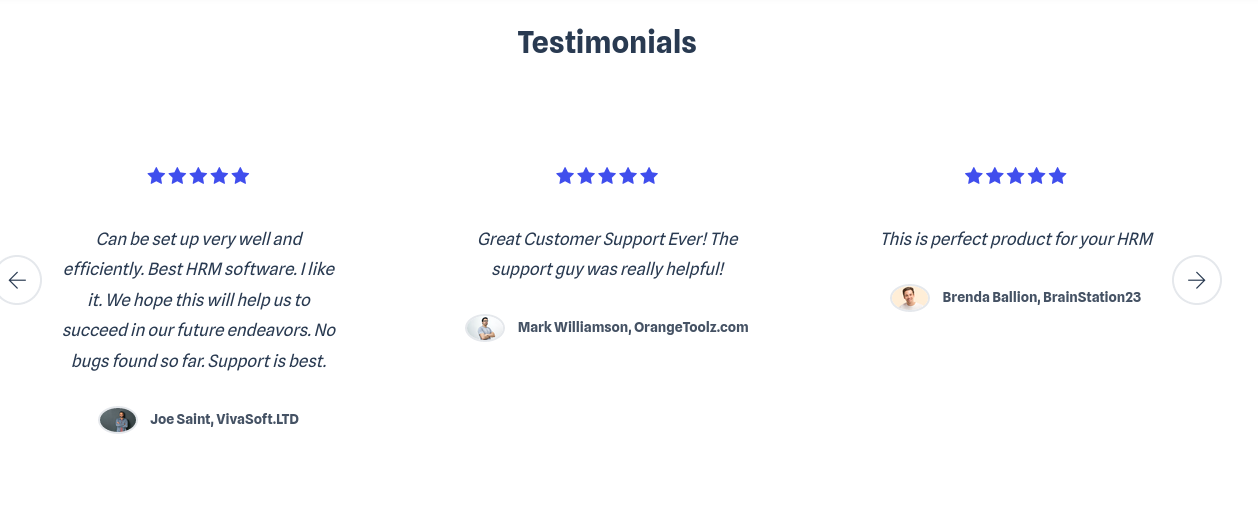
In main Landing page you will see the result
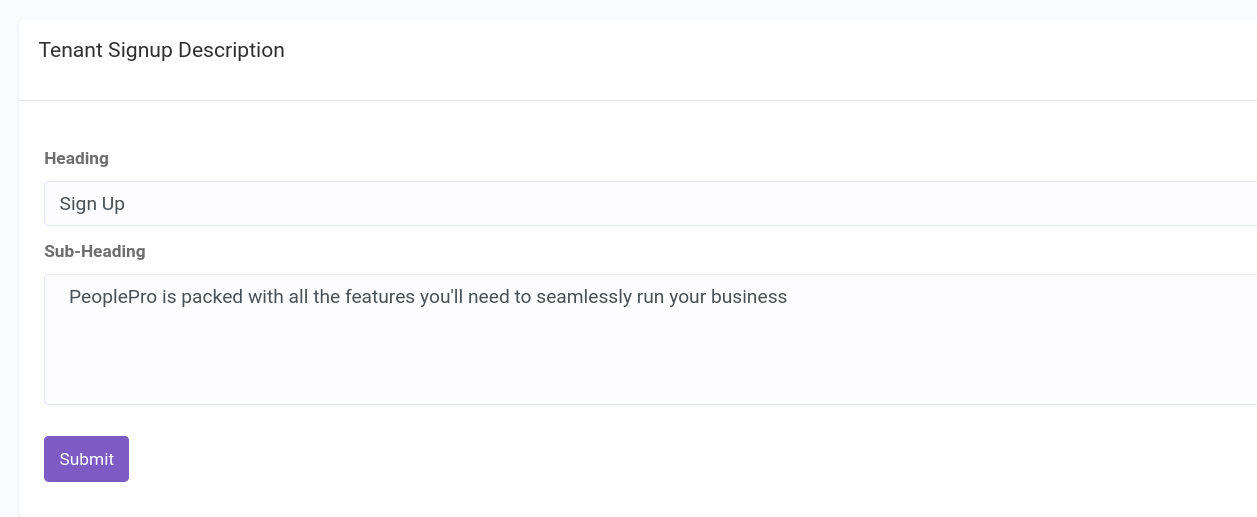
Tenant Signup Description
CMS –> Tenant Signup Description
You can Manage Heading, Sub-Heading
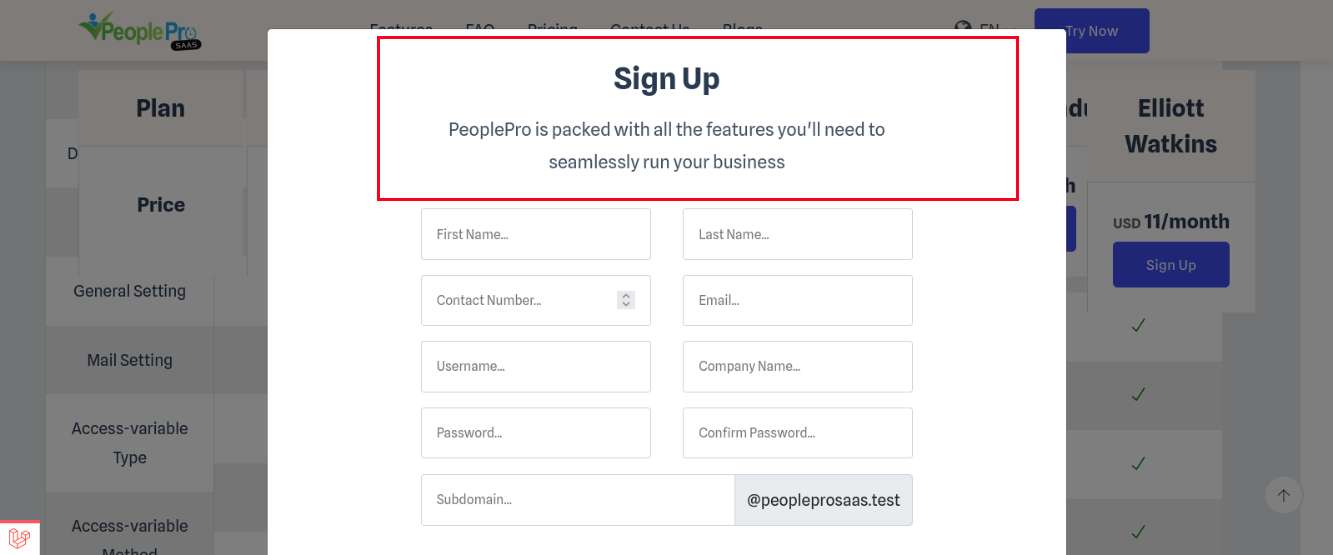
In main Landing page you will see the result
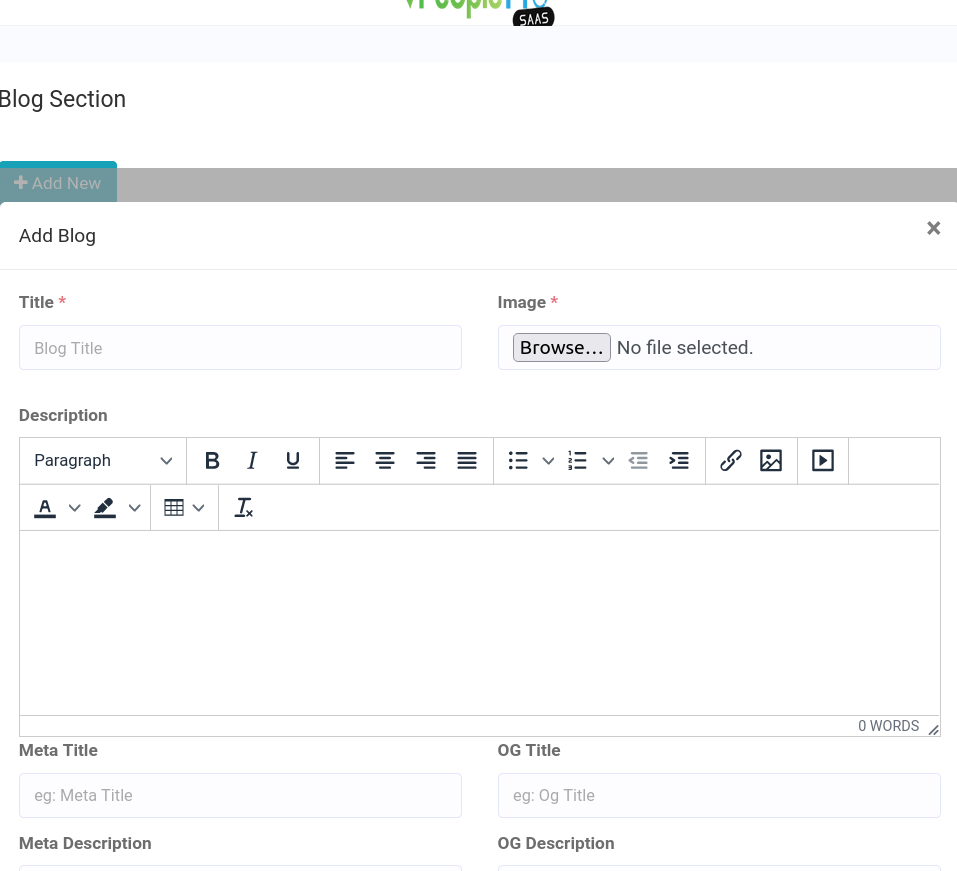
Blog Section
CMS –> Blog Section
You can Manage Title, Description, Image, Meta Title, OG Title, Meta Title, OG Description

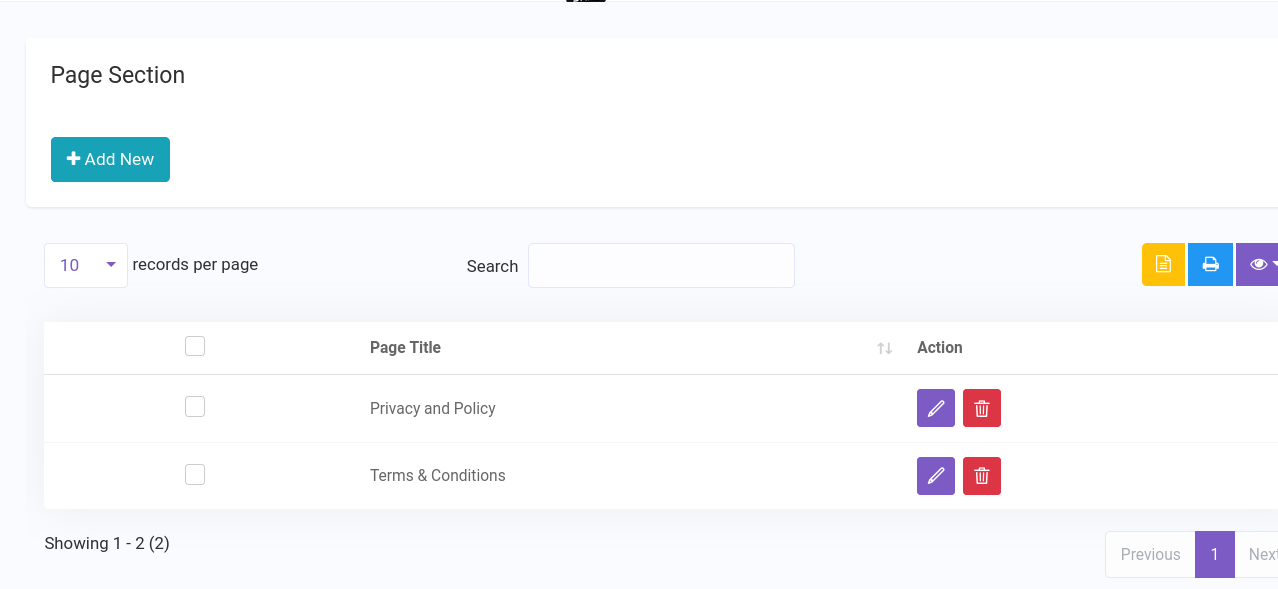
Page Section
CMS –> Page Section
You can Manage Title, Description, Meta Title, Meta Description
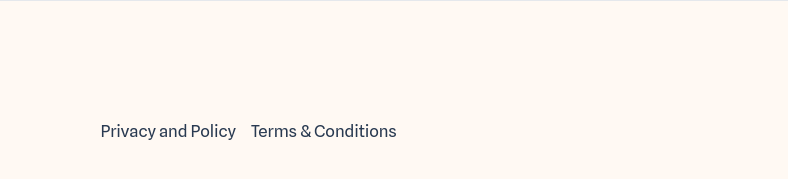
In main Landing page you will see the result
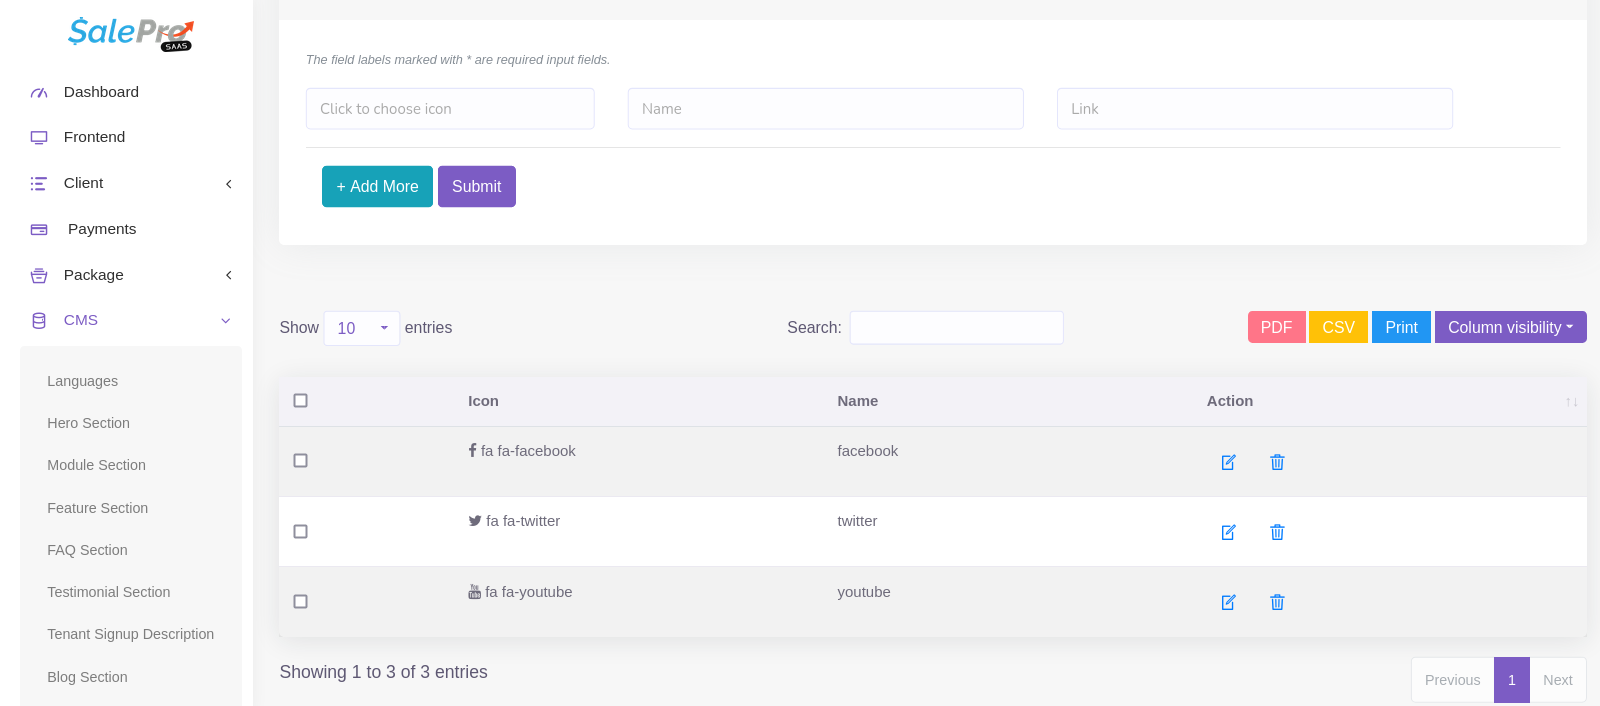
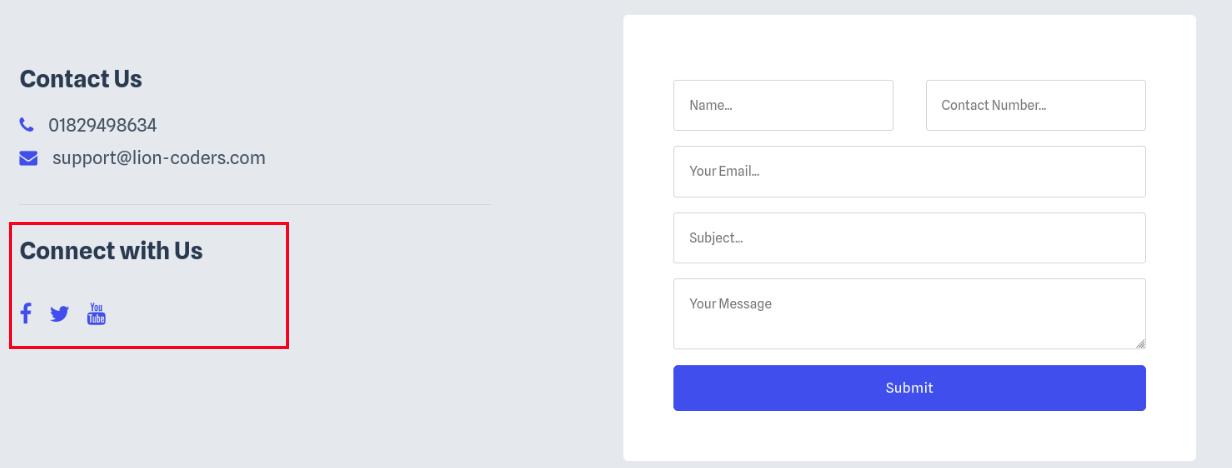
Social Section
CMS –> Social Section
You can Manage Icon, Name, Link
In main Landing page you will see the result
Package
Package –> Package List
You can Manage Package for the SAAS
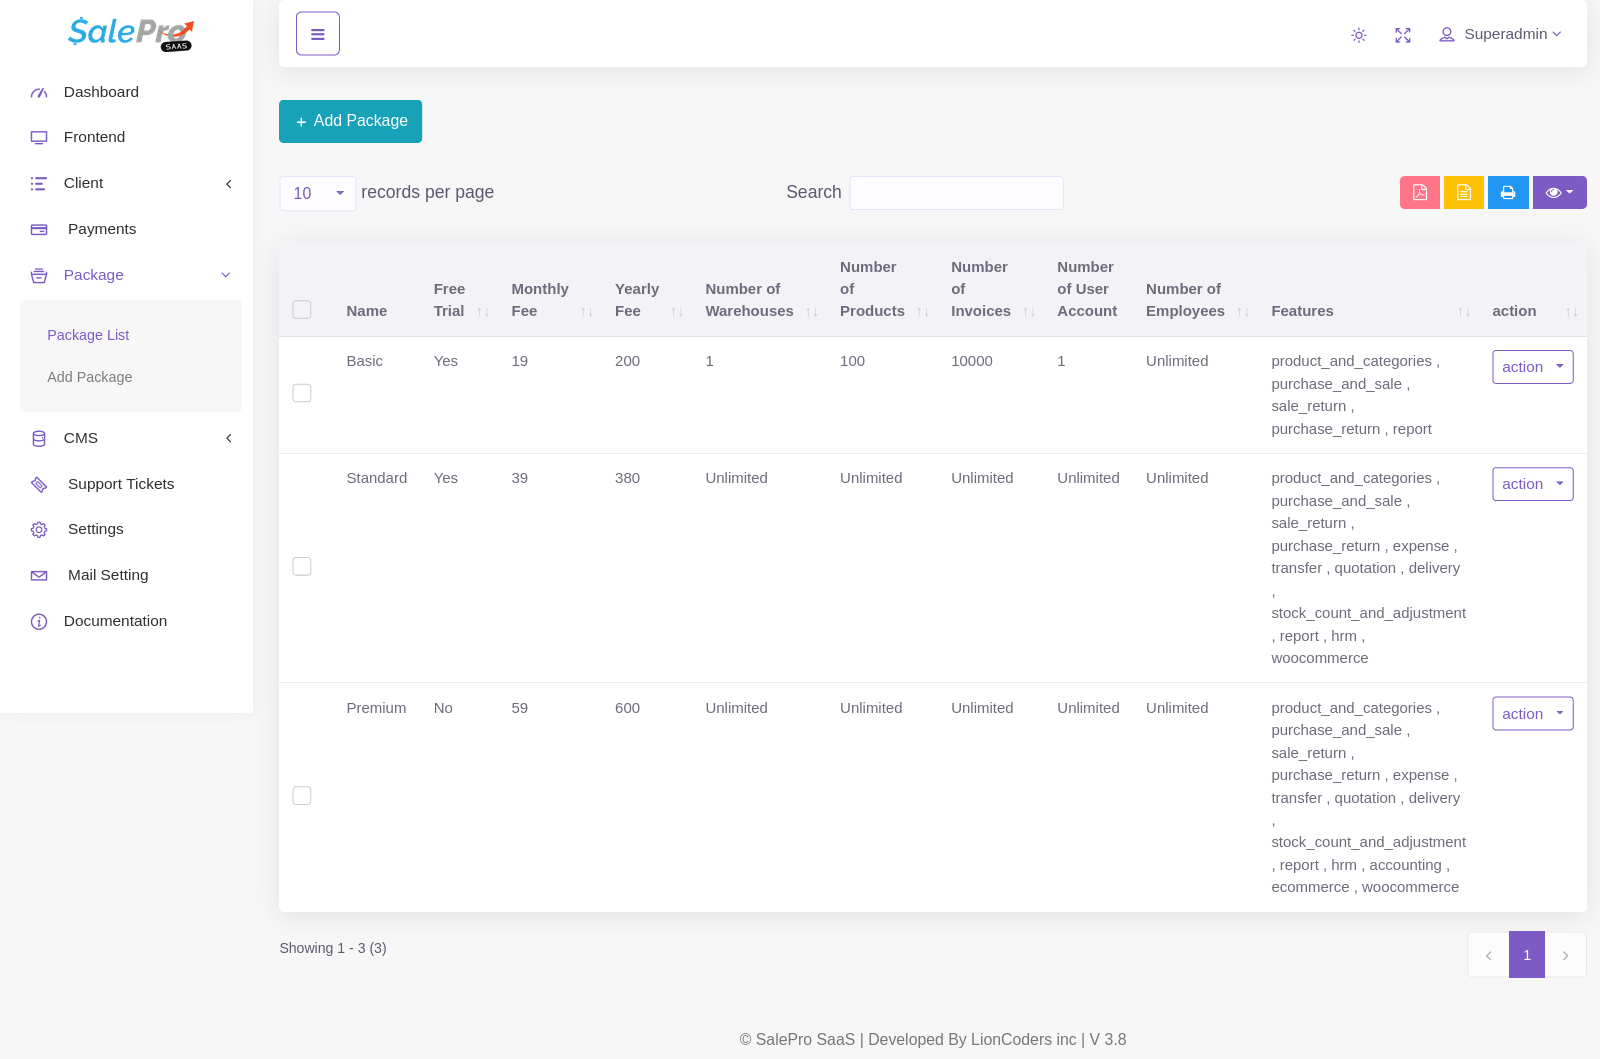
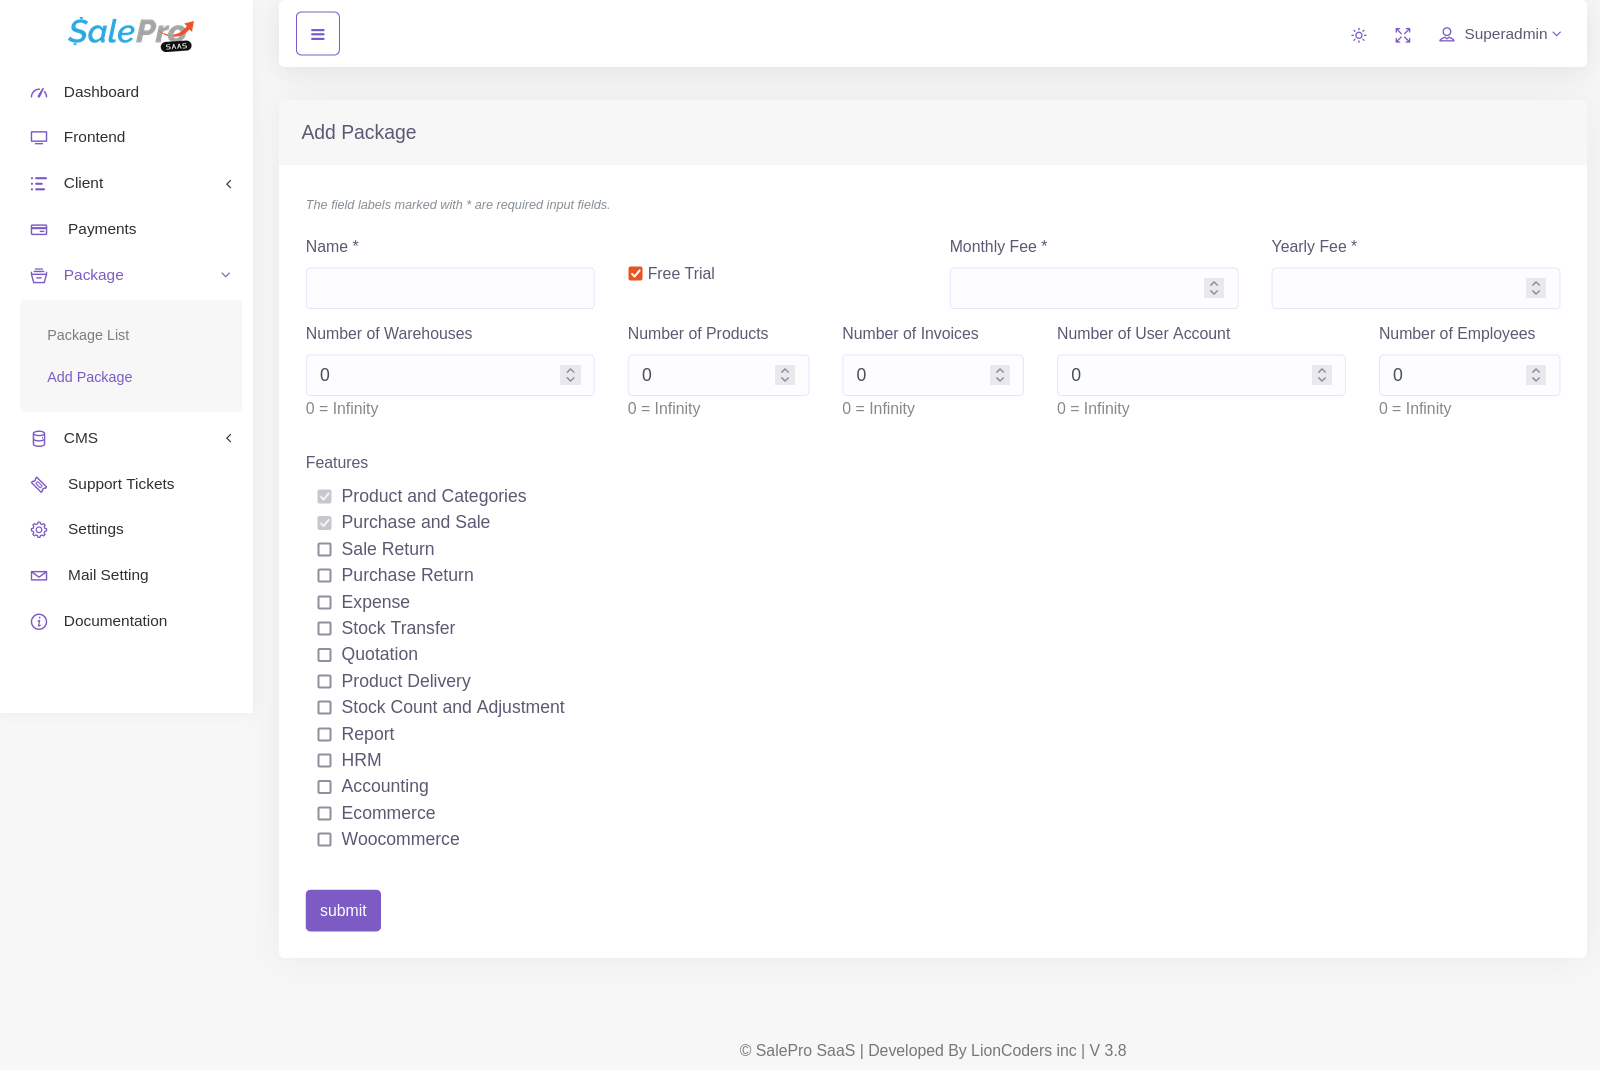
Add Package
- Free Trial : Client can use the package for free but for a certain time.
- Number of User Account : How many user you can add.
- Number of Employees : How many Employee you can add.
- Select Features :
Select the checkbox so that the feature is available on the package.