Addon Installation
It is presumed that you already have SalePro installed on your server. If you login to SalePro, you should see ‘Addons’ menu item on your admin panel/dashboard sidebar. Click ‘Addons’ and on the following page you should see ‘SalePro API’ listed along with other Add-ons. Unless already installed, it should show ‘Buy Now’ and ‘Install’ button. When installed, it will show ‘Update’ button.
To purchase this addon click the ‘Buy Now’ button.
Note: You can install the app from Google Play by scanning the QR Code below.

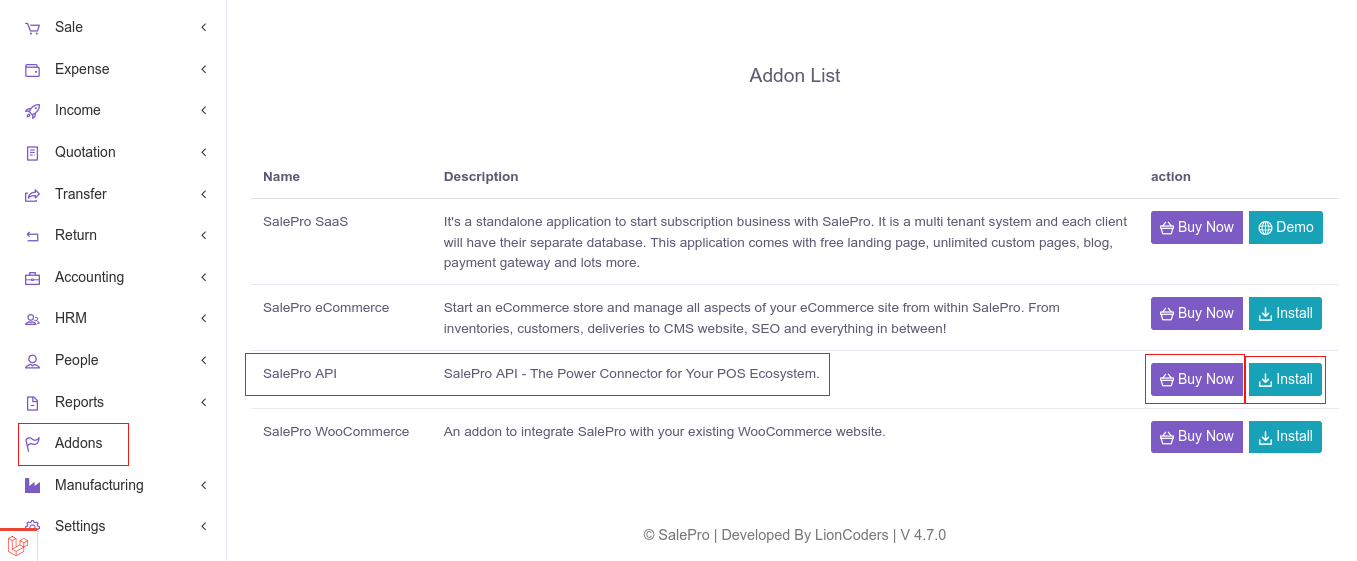
If you have already purchased, click the ‘Install’ button
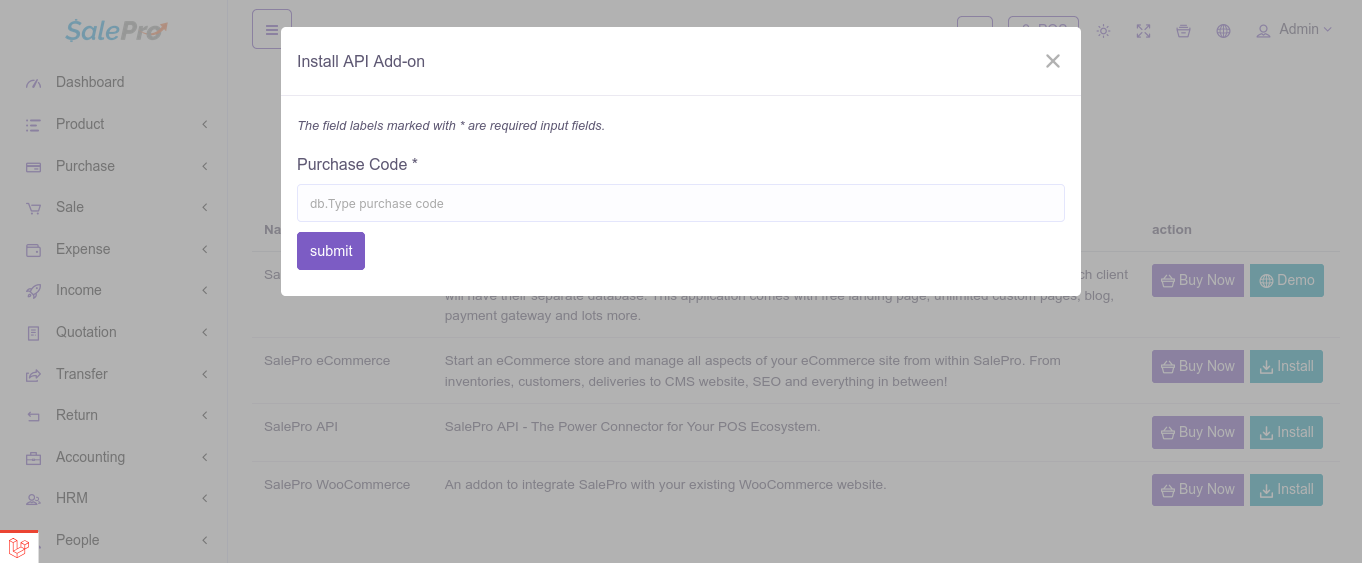
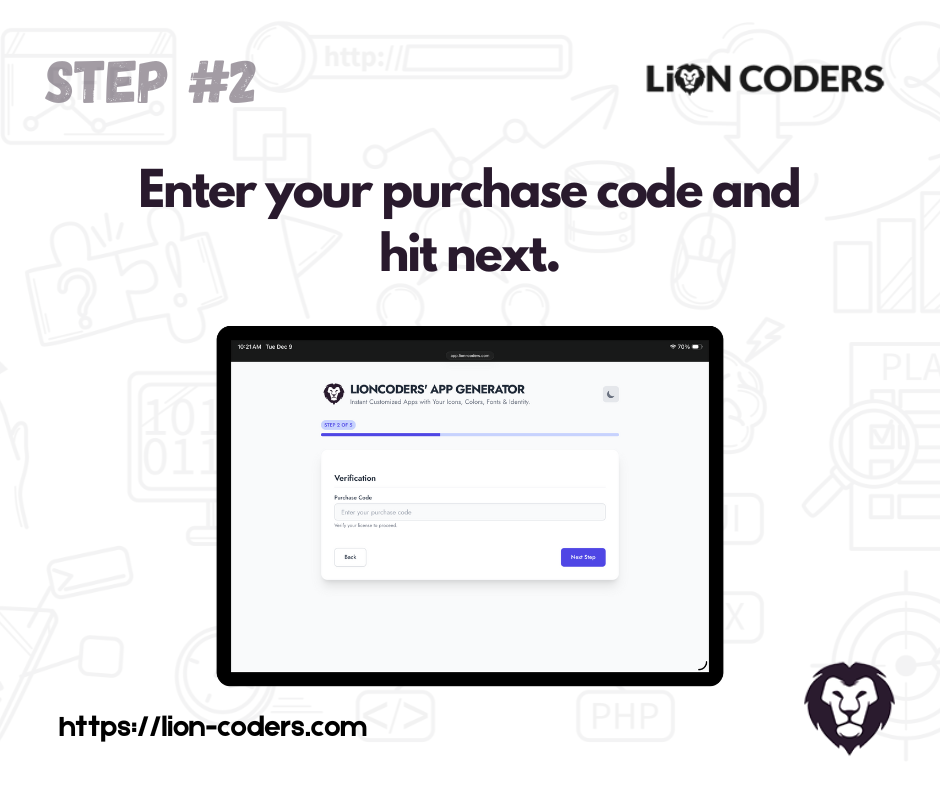
Type your purchase key which you will get from the envato during the purchase. Then click on the submit button. If your purchase key is correct then the addon will be installed automatically.
Configure the Server for Connecting to the app (Required for each tenant as well in Salepro SAAS)
You have to go to General Setting first. You will see an input like below.

Hit the Generate button and you will see somthing like below.

Now, hit the submit button and you will see something like below.
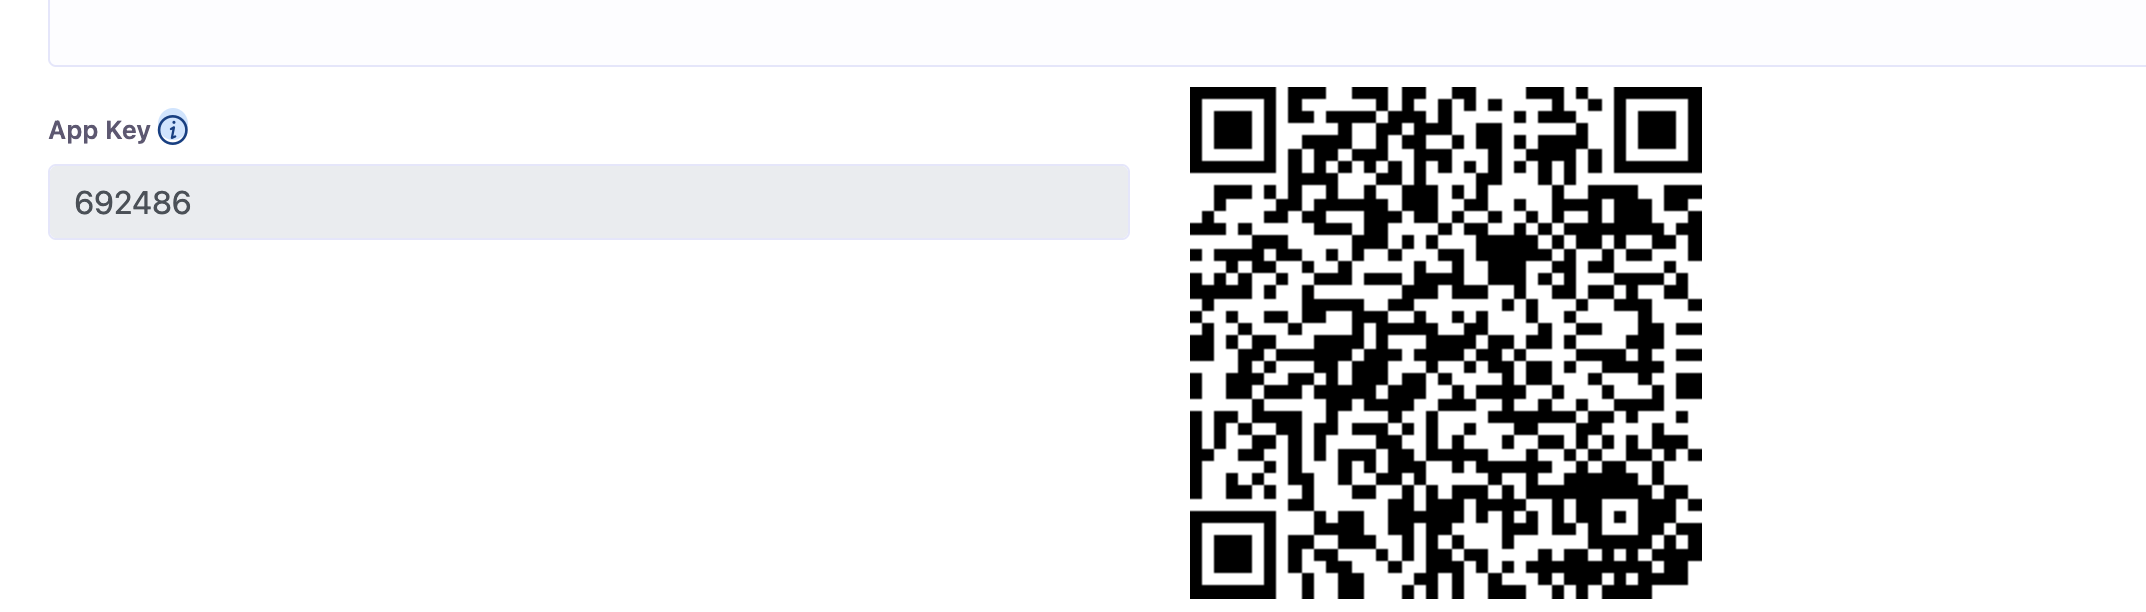
If you see the QR Code then you are ready to connect the app.
Connecting with the Mobile App
If you don’t want to set up your custom app or don’t want to take the hassle, then just use our SalePro POS app from Google Play. You can see the video below about setting up the mobile app with your server.
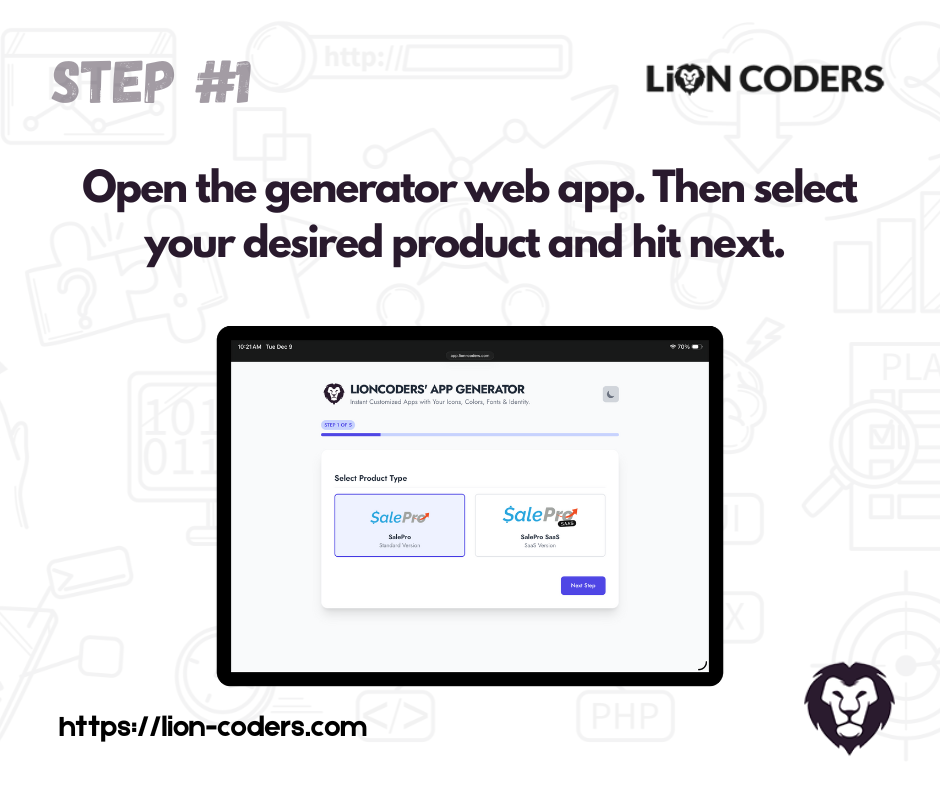
Custom Salepro App Setup (Who Purchased Source Code version)
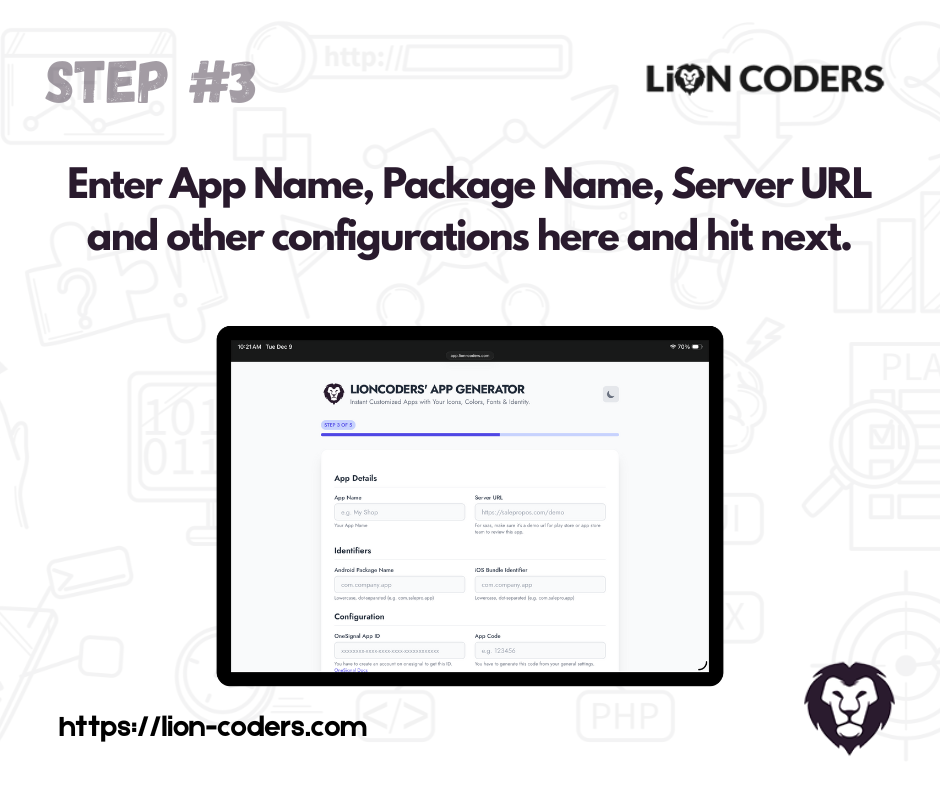
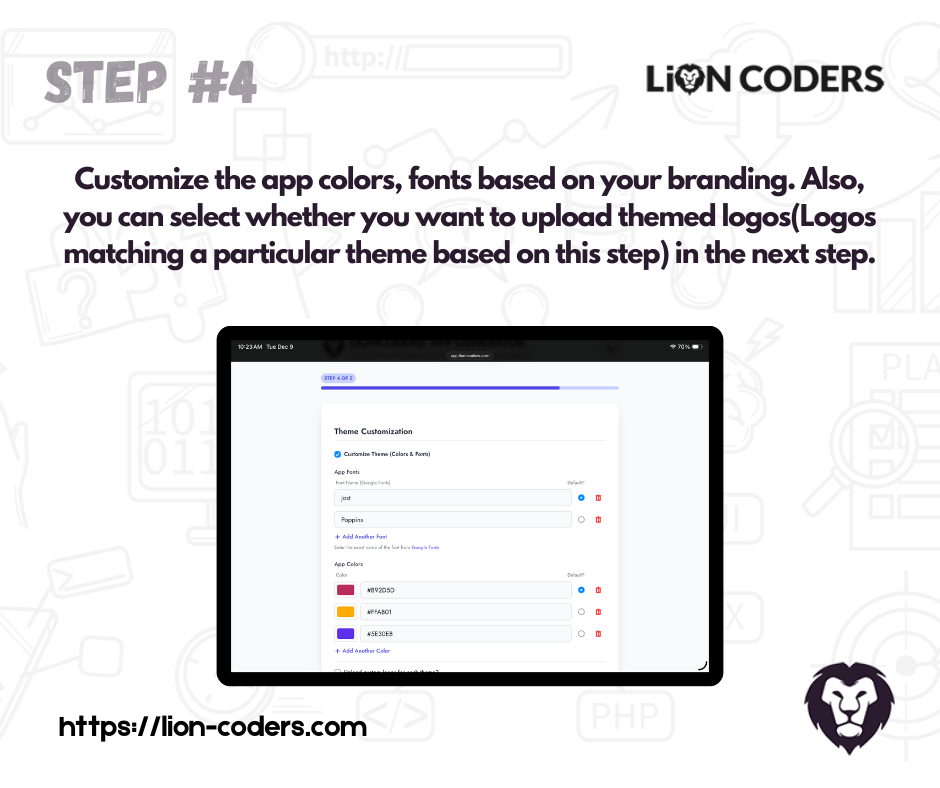
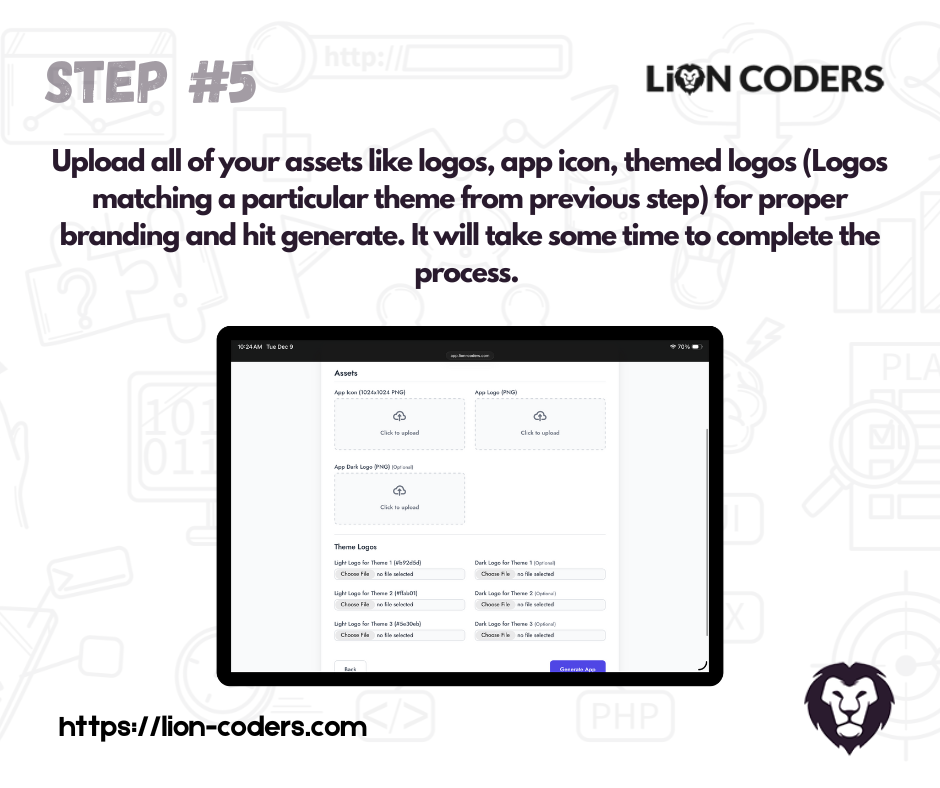
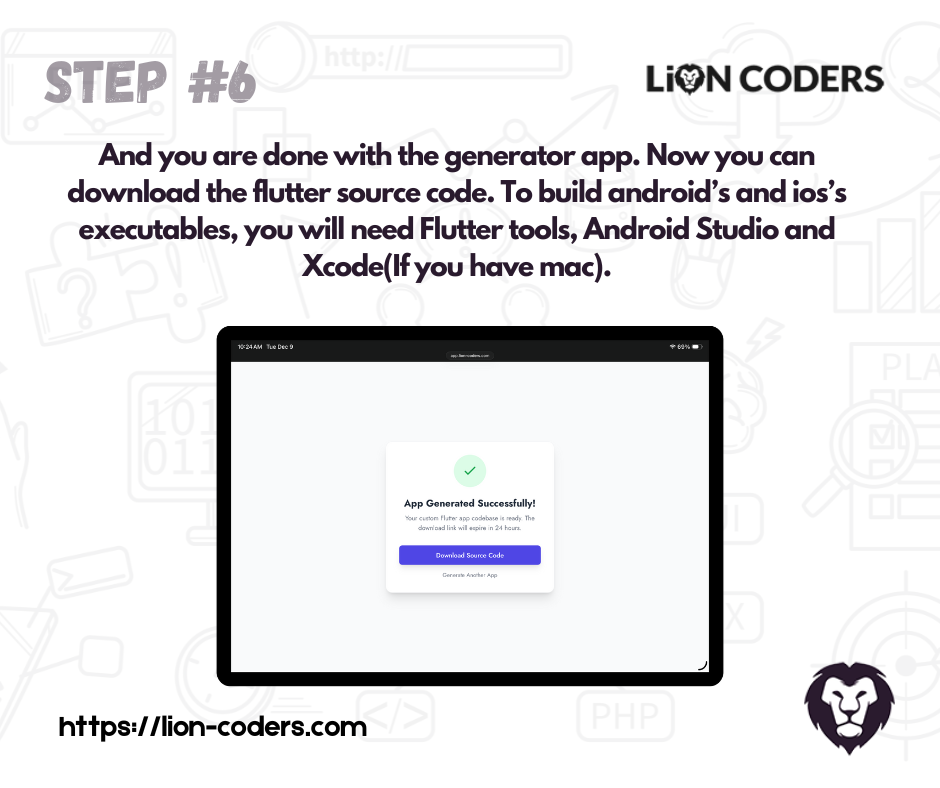
To setup a custom version of the Salepro app, you will need several steps to follow. First, head over to our generator web app (https://app.lion-coders.com) and do the steps below.
Disclaimer
You might face a lot of issues if you make mistakes while configuring the app. We recommend you either hire a Flutter developer or create a support ticket on our Lion-Coders website.


1. Flutter Environment Setup
Before you start, ensure you have Flutter set up on your machine. Follow these steps:
- Install Flutter from the official website: Flutter Install Guide
- Ensure you have all necessary dependencies like Android Studio, Xcode (for macOS), and other tools required for your platform.
- Run the following command to check for any missing dependencies:
- Make sure your IDE (VS Code/Android Studio) is set up with Flutter and Dart plugins.
- Verify your setup by running:
- Now you can run these code pieces below to build Android and IOS executables.
2. OneSignal Setup (Android & iOS)
To enable push notifications, follow these steps:
- Create a OneSignal account and set up an app for both Android and iOS. For setup details, visit the official
OneSignal documentation:
OneSignal Docs - Integrate Firebase for Android and upload the APNs key for iOS.
- You have to add the OneSignal App ID in the generator web app.
Stuck or facing issues with setup? We offer full installation and configuration assistance
via AnyDesk or Google Meet for a one-time fee of USD $100. Reach out to our team to schedule
support.
Support
We are happy to provide support for any issues within our software. We also provide customization. So if you have any features in mind or suggestions, please feel free to contact us at Support. Please note that we don’t provide support though any other means (example- WhatsApp, comments etc.). So, please refrain from commenting your queries on CodeCanyon or knocking us elsewhere.
Also, in case of any errors/bugs/issues on your installation, please contact us with your hosting details (url, username, password), software admin access (url, username, password) and purchase code.
My support has expired
If your support period has expired, please renew support on CodeCanyon before contacting us for support.
Thank you and best wishes from LionCoders.